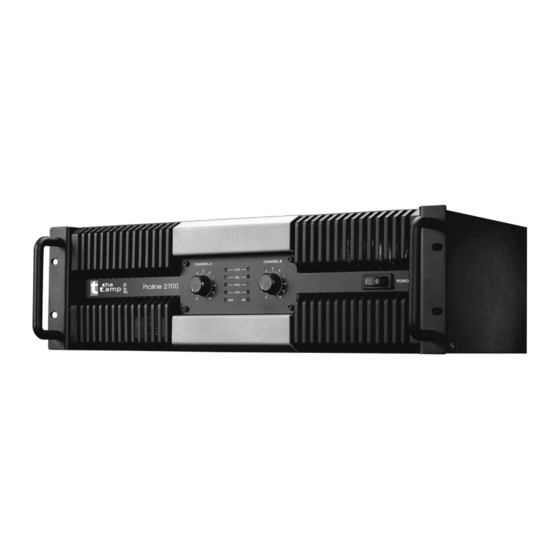
Summary of Contents for t.amp Proline 1300
- Page 1 Bedienungsanleitung user manual Proline 1300 Proline 1800 Proline 2700 Proline 3000...
- Page 2 Magnetfelder ACHTUNG ACHTUNG! Positionieren Sie empfindliche Geräte wie z. Gefahr durch Stromschlag B. Vorverstärker oder Kassettendecks niemals direkt NICHT ÖFFNEN!! über oder unterhalb der Endstufe. Das Gerät erzeugt starke magnetische Felder, welche die Funktion von Um die Gefahr eines schlecht abgeschirmten Geräten beeinflussen können. elektrischen Schlages zu Die Felder sind direkt ober- und unterhalb der Endstufe vermeiden, öffnen Sie das Gerät...
- Page 3 Vorderseite: 1. Netzschalter 3-4 Sekunden nach dem Einschalten des Netzschalters hören Sie ein “click” - die Endstufe ist somit hochgefahren. Nach weiteren 1-2 Sekunden hören Sie ein weiteres “click” - die Lautsprecherausgänge sind nun freigeschaltet und die Endstufe ist betriebsbereit. 2.
- Page 4 Rückseite: 1. CH A Signal Eingang XLR-Buchse Standard XLR Buchse. Pin1: Masse Pin2: Signal + Pin3: Signal - 2. CH B Signal Eingang XLR-Buchse Standard XLR Buchse. Pin1: Masse Pin2: Signal + Pin3: Signal - 3. CH A Signal Eingang 6,3mm Klinkenbuchse Standard 6,3mm Klinkenbuchse.
-
Page 5: Technische Daten
Eingang: sym. XLR und 6,3mm Klinke, Ausgang: Speakon Stromaufnahme (bei 50% @ 8Ohm) 550W 850W 1250W 1550W Spannung 200 - 240V AC, 50-60Hz Abmessungen 482x430,5x132mm Gewicht 31,5 Technische Änderungen vorbehalten. t.amp proline 1300 Art-Nr.:168987 t.amp proline 1800 Art-Nr.:168988 t.amp proline 2700 Art-Nr.:168989 t.amp proline 3000 Art-Nr.:168990... - Page 6 Please read carefully the instructions, which includes important infromation about the installation, usage and maintenance. Safety Instructions WARNING Please keep this User Guide for future consultation. If you sell the unit to another user, be sure that they also receive this instruction booklet Unpack and check carefully there is no transportation damage before using the unit.
-
Page 7: Front Panel
Front panel: 1.Power switch When this switch is pushed down, the power on/off transient protection starts working. After 3 to 4 seconds, you can hear “click” once; the amplifier is soft started. After another 1-2 seconds, there will be another “click”, the amplifier is ready to work. 2. -
Page 8: Rear Panel
Rear panel: 1. CHA XLR input connector standard XLR socket. Pin1: ground Pin2: positive Pin3: negative 2. CHB XLR input connector standard XLR socket. Pin1: ground Pin2: positive Pin3: negative 3. CHA 1/4” JACK input connector 1/4” standard connector,. You can use unbalanced or balanced input jack. Tip: signal + Ring: signal - Sleeve: ground 4. -
Page 9: Technical Specifications
Power 200 - 240V AC, 50-60Hz Dimension (WxDxH) 482x430,5x132mm Weight (kg) 31,5 Specifications and design subject to change for improvement purposes without prior notice. t.amp proline 1300 P/N:168987 t.amp proline 1800 P/N:168988 t.amp proline 2700 P/N:168989 t.amp proline 3000 P/N:168990... - Page 10 © 2 0 0 4 M u s i k h a u s T h o m a n n 9 6 1 3 8 B u r g e b r a c h . K e i n T e i l d i e s e r A n l e i t u n g...


Need help?
Do you have a question about the Proline 1300 and is the answer not in the manual?
Questions and answers