
Related Manuals for Chef's Choice 315S


Summary of Contents for Chef's Choice 315S
- Page 1 MODEL 315S I NSTRUCTI ONS Sharpener For sian Knives Read these instructions before use. It is essential that you follow these instructions to achieve optimum results. © 2011 EdgeCraft Corp.
-
Page 2: Important Safeguards
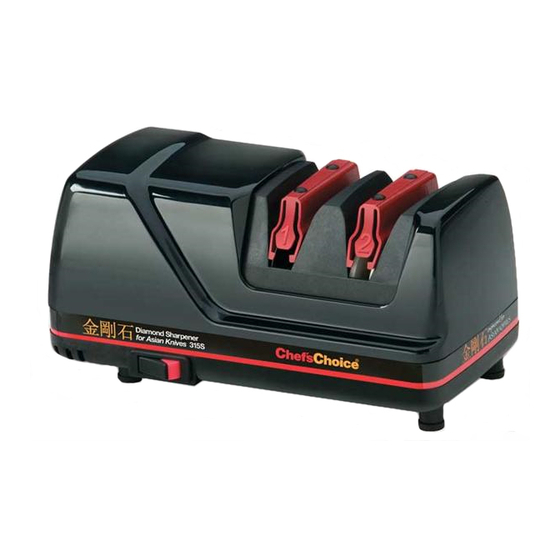
2. To protect against electrical hazards, do not immerse the Chef’sChoice Model 315S in water or other liquid. 3. Make sure only clean knife blades are inserted in Model 315S. 4. Unplug from outlet when not in use, before putting on or taking off parts and before cleaning. - Page 3 UNDERSTANDING THE CHEF’SCHOICE ASIAN KNIFE SHARPENER The Chef’sChoice Model 315S is designed to create a factory sharp Asian edge on contempo- rary Japanese style knives, all Chinese style cleavers, and the traditional style Japanese blades. Because of the low sharpening angle and the fine diamond abrasives used in this specialized sharpener, it is not recommended for routine sharpening of thick sporting knives, the heavier European style chef knives and European cleavers.
- Page 4 (Bevel A. See page 9 for further detail). The Model 315S is equipped with a manually actuated diamond dressing pad that can be used, if necessary, to clean any accumulated food or sharpening debris from the ultrafine abrasive surface of the Stage 2 polishing/stropping disks.
- Page 5 If the knife is not yet shaving sharp, repeat steps a and b above. Again test the blade for sharpness. In the event the knife still is not sufficiently sharp it will be faster to first pre-hone it in Stage 1 as follows: USING THE HONING STAGE 1 a.
- Page 6 ® laborious and time consuming. The Chef’sChoice Model 315S Sharpener is designed to sharpen all traditional Asian blades and to create a factory-like edge. Before you start to sharpen a traditional blade, examine it carefully in order to confirm that you have the traditional single bevel blade and to determine whether you have a right or left handed type as described on page 9, Figure 9b.
- Page 7 longer blades). Feel for a burr on back side of blade edge as shown in Figure 4. (The burr will be extremely small). If there is no burr, make ten (10) additional slow pulls through the left slot. If no burr is formed after these pulls proceed to Step 2;...
- Page 8 SHARPENING LEFT HANDED TRADITIONAL BLADES The procedure you must use with left handed blades is similar to that procedure for right handed blades as detailed above – Except, in all cases the slots you must use are reversed. Where the sharpening procedure for right handed blades calls for use of the left slot, you must use the right slot when sharpening a left-handed blade.
- Page 9 STROPPING & POLISHING IN STAGE 2 a. Make about 4 to 5 pairs of pulls through Stage 2 (Figure 8), alternating each pull in the left and right slots (about 3 seconds for each pull on a 5 inch [12 cm] long blade.) b.
- Page 10 Fi gur e 9c. DRESSING OF STROPPING/POLISHING DISKS – STAGE 2 The Model 315S is equipped with a built-in accessory to manually clean/dress the stropping/polishing disks in Stage 2. In the event these disks become glazed with grease, food or sharpening debris, they can be cleaned and reshaped by actuating the manual lever on the rear of the sharpener.
- Page 11 ® 6. To increase your proficiency with the Chef’sChoice Model 315S, learn how to detect a burr along the edge (as described on page 5). While you might be able to sharpen well without using this technique, it is the best and fastest way to determine when you have sharpened sufficiently in the preliminary steps.
- Page 12 Your finger can act as a “stop” and prevent you from inserting the blade so far that the choil area will catch on the front stop-bar of the sharpener as you begin to withdraw the blade. A little practice will help you perfect this technique. As you insert the blade let your finger slide down the front of the sharpener.
Need help?
Do you have a question about the 315S and is the answer not in the manual?
Questions and answers