Advertisement
Quick Links
Installation and
Operating Instructions
Fan Forced Wall Heater
RSH/RDH/TWH Series
Installation Instructions
Congratulations on purchasing a small wall heater from
Dimplex North America. Your heater is manufactured using
the highest quality materials and workmanship and will
provide many years of trouble free service.
This heater is designed for permanent installation only,
care should be taken to install according to the following
instructions. All required clearances should be maintained, in
addition all electrical wiring and connections should comply
with local electrical codes.
! NOte: It is extremely important to read all information
labels. Care must be taken to ensure that the heater is
rated the same voltage as the electrical supply wires.
Failure to do so could result in unsafe heater operation as
well as damage to the unit. If replacing an existing heater,
check the labels of the old heater to ensure the voltage of
the new heater is compatible.
All units should be controlled by means of a regulating
thermostat. Certain models only are provided with built in
thermostats, check the Model Key Information section for
verification. Wall thermostats should comply with the voltage
and wattage of all heaters on the circuit. Built in thermostats
are not suitable for Register Grill Models.
All installations require the following components:
1) Recess Mount Box (Model 1011650100)
2) Heater Assembly (See nameplate Label)
3) Grill (Either Multi- Directional Style or Register Style)
An optional Surface mount box is available for installations
that are not recessed in wall cavity.
Step 1 – Placement
All units are designed for placement in either interior or
exterior walls. Care should be taken to provide a minimum
of 8" clearance from floors, ceilings and adjacent walls.
Once installed, the airflow through the heater should not
be blocked in any way. Maintain three (3) feet clearance of
objects from the front of unit. Maintain a spacing of three
(3) feet between heaters in order to prevent re-circulation
of heated air. Insulation surrounding the back and sides of
the recess mount box will not affect performance. Ensure
insulation is rated for temperatures up to 85 o C.
! NOte: Certain flooring and wall covering materials
(particularly those incorporating clear vinyl materials tend
to distort at temperatures in the vicinity of 60 C ( 140 F ).
Material shall be checked prior to installation to determine
7207160100rev02
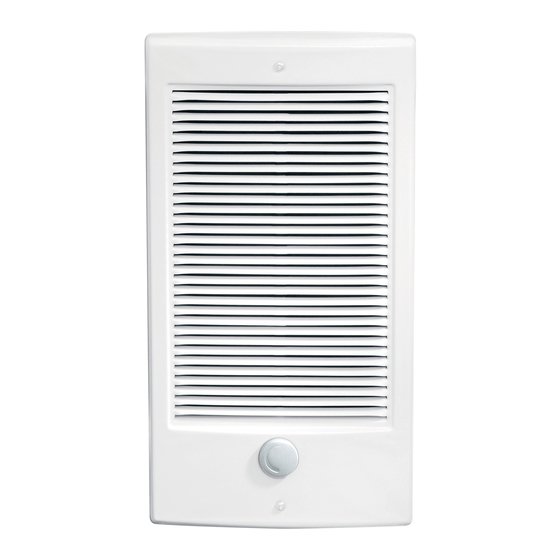
Figure 1
Multi-Directional Grill Orientation
for use with 6902270000 RSH/RDH/TWH Series
Figure 2
Alternate Multi-Directional Grill Orientation
! NOte: Maintain a minimum clearance of 8" from adjacent
walls, floors and ceilings on all four sides of the grill
if discoloration will occur. Units are not approved for
placement in floors or ceilings. Do not install in any area
where combustible vapors, gases, dusts or liquids are
present. Fire or explosion may occur.
Step 2 – Mounting the Recess Box
Determine the desired orientation of unit. Provide an
opening in wall 14 ¼" x 8 5/8" x 3 3/8" deep minimum.
Care should be taken to install the recess box in the correct
orientation to accommodate grill. Note the position of
the electrical entry knockouts and orient recess box
according to Figure 1. Ensure all required clearances are
met.
6902270000
Heaters
Recess Box
Wiring Access
Register Grill
Orientation
Advertisement

Related Manuals for Dimplex RSH Series


Summary of Contents for Dimplex RSH Series
-
Page 1: Operating Instructions
Multi-Directional Grill Orientation Congratulations on purchasing a small wall heater from for use with 6902270000 RSH/RDH/TWH Series Dimplex North America. Your heater is manufactured using Heaters the highest quality materials and workmanship and will provide many years of trouble free service. -
Page 2: Operation And Maintenance
Ensure recess box flanges are flush with the finished the grounding wire to the ground screw on the heater wall surface. For new construction, the sides of the recess chassis. On models with Register Style Front Grills only, a box are marked with guidelines to allow for ½” and 5/8“ terminal box cover plate is provided. -
Page 3: Replacement Parts
240/208V 1500/1125W 2200540800 Accessories TWHT1 _ Single Pole Thermostat Kit TWHSBA Surface Mount Box - Almond TWHT2 _ Double Pole Thermostat Kit TWHSBW Surface Mount Box - White Dimplex North America Limited 1367 Industrial Road Cambridge ON Canada N1R 7G8 1-888-346-7539 www.dimplex.com...
Need help?
Do you have a question about the RSH Series and is the answer not in the manual?
Questions and answers