Table of Contents
Advertisement
Portable Unflued Gas
Convection Heaters
With Electric Boost
Operation Manual
This appliance shall be installed in accordance with:
• Manufacturer's Installation Instructions
• Current AS/NZS 3000 & AS/NZS 5601
• Local Regulations and Municipal Building Codes
This appliance must be installed, serviced and repaired by an Authorised Person.
To Suit Models
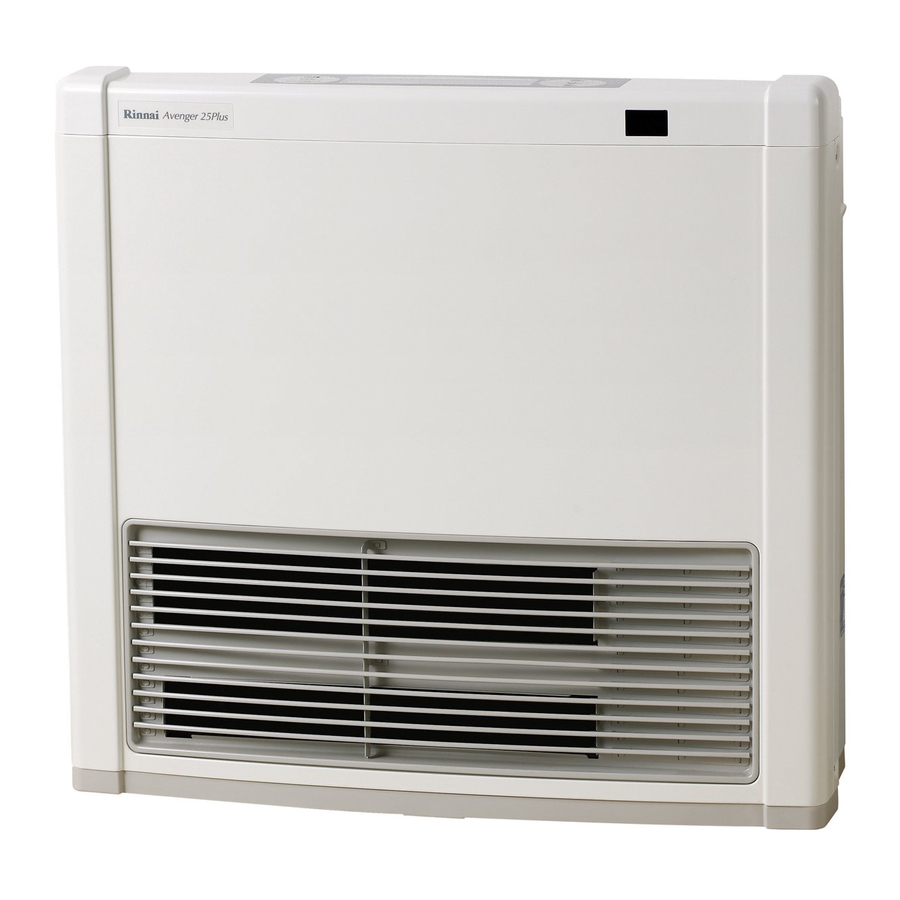
Avenger 25 Plus
Capella 18 Plus
N10378
Advertisement
Table of Contents

Related Manuals for Rinnai Avenger 25 Plus


Summary of Contents for Rinnai Avenger 25 Plus
- Page 1 Portable Unflued Gas Convection Heaters With Electric Boost Operation Manual To Suit Models Avenger 25 Plus Capella 18 Plus This appliance shall be installed in accordance with: • Manufacturer’s Installation Instructions • Current AS/NZS 3000 & AS/NZS 5601 • Local Regulations and Municipal Building Codes N10378 This appliance must be installed, serviced and repaired by an Authorised Person.
- Page 2 This page intentionally blank. Rinnai Operation Manual...
-
Page 3: Table Of Contents
PROGRAMMING THE ON/OFF TIMERS..............17 OPERATING THE ON/OFF TIMERS ................18 PRE-HEAT .........................18 OVERRIDE FUNCTION .....................19 USING THE REMOTE CONTROL ................19 CHILD LOCK ......................20 SAFETY DEVICES ....................20 CARE OF HEATER ....................21 TROUBLE SHOOTING....................22 ERROR CODES ......................23 SPECIFICATIONS .....................24 CONTACT INFORMATION ..................26 Rinnai Operation Manual... -
Page 4: About Your New Avenger/Capella Plus
ABOUT YOUR NEW AVENGER/CAPELLA PLUS STANDBY/ON BUTTON Rinnai Operation Manual... -
Page 5: Control Panel Layout
CONTROL PANEL LAYOUT Rinnai Operation Manual... -
Page 6: Remote Control
REMOTE CONTROL STANDBY BUTTON Timer mode. STANDBY button will cancel any future timer operations, these will have to be reset manually. Rinnai Operation Manual... -
Page 7: Features
Timer program. ECONOMY AUTO-OFF The Economy / Auto-Off functions are energy saving FUNCTION feature designed to control the room temperature and are automatically selected in all modes. Rinnai Operation Manual... -
Page 8: Important Points
If the supply cord or gas hose are damaged or require replacing, they must be replaced by the manufacturer or the manufacturer's agent or similarly qualified person in order to avoid a hazard. The appliance weighs 21 kg. Exercise caution when lifting or moving. Rinnai Operation Manual... - Page 9 DO NOT play with the appliance. Do not sit on this heater. Do not allow children or elderly persons to sleep in the warm air discharge from the heater. Do not cover or place articles on or against this appliance. Rinnai Operation Manual...
- Page 10 Most aerosols contain butane gas which can be a fire hazard if used near this heater when it is in use. Use of aerosols, paint, polishes etc. whilst this heater is in use may also cause unpleasant smells. DO NOT modify this appliance. Rinnai Operation Manual...
- Page 11 ON/ OFF times will remain in the memory. Do not place containers of liquid on top of the heater. Water spillage can cause extensive damage to the appliance and create an electrocution hazard. Rinnai Operation Manual...
- Page 12 When the heater is operated for the first time or after long periods of non use a slight odour may be emitted, this is normal. However if odours persist switch of the appliance and contact Rinnai. Rinnai Operation Manual...
-
Page 13: Customer Operating Instructions
Fixed ventilation must conform to local regulations. Number and position of vents is for illustrative purposes only. For more information on ventilation, please refer to our Rinnai Web Site www.rinnai.com.au DO NOT install in a bedroom or bathroom. The bayonet plug on the factory fitted flexible hose simply plugs into your bayonet fitting. The control panel is located on the top of the appliance, basic controls are also located on the remote control. -
Page 14: How To Operate The Heater
''STANDBY/ON'' button once. ''STANDBY/ON'' button twice to restart. heaters ''STANDBY/ON'' button The ''STANDBY'' and ''ON'' buttons located on the remote control can also be used to operate the appliance. Remote control STANDBY and ON Buttons Rinnai Operation Manual... -
Page 15: Adjusting Temperatures
ADJUSTING TEMPERATURES S TAN DBY/ON ''STANDBY/ON'' button STANDBY/ON Button ''STANDBY/ON'' S TAN DBY/ON button once. S TAN DBY/ON S TAN DBY/ON Rinnai Operation Manual... -
Page 16: Heater Modes & Functions
“SET” temperature. Note: Electric convection will only operate when the “SET” temperate is at least 2°C higher than the “CURR” temperature. Timer operation is disabled when the appliance is in the “ELECTRIC” only mode. Rinnai Operation Manual... -
Page 17: Setting Heater Modes
SETTING HEATER MODES Rinnai Operation Manual... -
Page 18: Setting Clock
S TA N D B Y / O N S TA N D B Y / O N S TA N D B Y / O N S TA N D B Y / O N ''STANDBY/ON'' Button STANDBY Rinnai Operation Manual... -
Page 19: Programming The On/Off Timers
Here we will learn how to set the Timer (s) function by following the steps below. STANDBY/ON Button With the heater in the STANDBY condition press STANDBY/ON the ''SET'' button until ''PROGRAM'' is shown in the control panel display and the hour digits are flashing. STANDBY/ON STANDBY/ON STANDBY/ON STANDBY/ON STANDBY/ON STANDBY/ON Rinnai Operation Manual... -
Page 20: Operating The On/Off Timers
The temperature differential at the time of sensing the room temperature combined with the data from previous operation governs exactly how long before the programmed ON time the micro-computer will operate the heater and ignite the burner. Rinnai Operation Manual... -
Page 21: Override Function
STANDBY or ON and adjust the heater temperature UP or DOWN. Heater in Stand by. STA NDBY/ON STANDBY STA NDBY/ON the ''STANDBY'' button once will return the heater to STANDBY. STA NDBY/ON return the heater to STANDBY, then the Rinnai Operation Manual... -
Page 22: Child Lock
The tilt switch may also operate if the heater is jolted or picked up whilst in operation. POWER FAILURE In the event of a power failure or power cut, the gas valves will automatically close. After the power is re-instated the appliance must be operated manually. Rinnai Operation Manual... -
Page 23: Care Of Heater
Replace filters by carefully repositioning the location tabs and fasten in place with the retaining screw. Filter 3 (the small filter) should be left in position for cleaning, carefully use a vacuum cleaner to remove any contaminates such as dust and lint. Rinnai Operation Manual... -
Page 24: Trouble Shooting
Any service or repair work should only be carried out by an authorized person. Rinnai Australia has service and spare parts departments. Fault Finding Procedure If you are unsure about the way your heater is operating, contact Rinnai Australia, or your local agent. Rinnai Operation Manual... -
Page 25: Error Codes
3 to 4 more times, however if the heater ignition continues to be unsuccessful arrange a service call. Rinnai Operation Manual... -
Page 26: Specifications
Continuous Spark electronic Ignition Operation Push Button Electronic/Remote Control Safety Devices Overheat Switch Oxygen Depletion Sensor Electric Fuse Tilt Switch Flame Failure Sensor Power Failure Sensor Electric Booster Avenger 25 Plus - 2000 W Capella 18 Plus - 2000 W Rinnai Operation Manual... -
Page 27: Wiring Diagram
AC240V CONTROL TIMER CONTROL DISPLAY CIRCUIT CIRCUIT CIRCUIT F [ 3A ] POWER SUPPLY TRANSFORMER CIRCUIT FLAME FAILURE IGNITION MODULATION SOLENOID CIRCUIT CIRCUIT VALVE CIRCUIT VALVE CIRCUIT CONVECTION HEATER FAN CIRCUIT FAN CIRCUIT ODS1 ODS2 MAIN BURNER Rinnai Operation Manual... -
Page 28: Contact Information
Tel: (03) 9271 6625 Fax: (03) 9271 6622 102646 Rinnai has a Service and Spare Parts network with personnel who are fully trained and equipped to give the best service on your Rinnai appliance. If your appliance RC -670-93x08(00) requires service, please call our Service Line. Rinnai recommends that this appliance be serviced every 2 years.
Need help?
Do you have a question about the Avenger 25 Plus and is the answer not in the manual?
Questions and answers