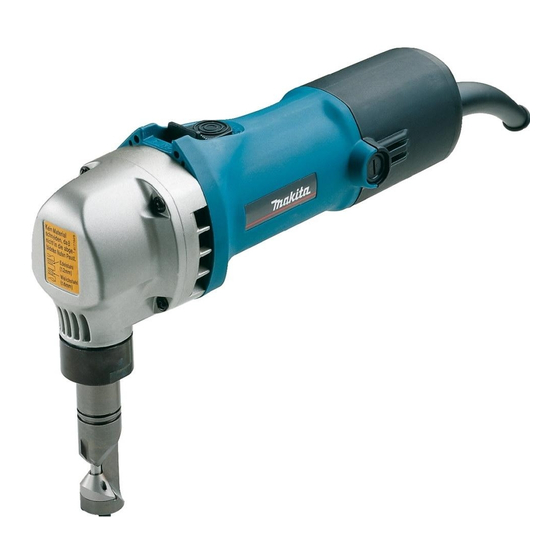
Makita JN1601 Instruction Manual
Nibbler
Hide thumbs
Also See for JN1601:
- Instruction manual (33 pages) ,
- Instruction manual (21 pages) ,
- Instruction manual (33 pages)
Table of Contents
Advertisement
Quick Links
Download this manual
See also:
Instruction Manual
Advertisement
Table of Contents

Related Manuals for Makita JN1601


Summary of Contents for Makita JN1601
- Page 1 Nibbler MODEL JN1601 004772 DOUBLE INSULATION I N S T R U C T I O N M A N U A L WARNING: For your personal safety, READ and UNDERSTAND before using. SAVE THESE INSTRUCTIONS FOR FUTURE REFERENCE.
-
Page 2: Specifications
Responsible manufacturer: Power supply Makita Corporation Anjo Aichi Japan The tool should be connected only to a power supply of the same voltage as indicated on the nameplate, and can only be operated on single-phase AC supply. They... -
Page 3: General Safety Rules
GENERAL SAFETY RULES GEA001-3 WARNING: Read all instructions. Failure to follow all instructions listed below may result in electric shock, fire and/or serious injury. The term “power tool” in all of the warnings listed below refers to your mains-operated (corded) power tool or battery- operated (cordless) power tool. - Page 4 19. Store idle power tools out of the reach of chil- the manner intended for the particular type of dren and do not allow persons unfamiliar with power tool, taking into account the working con- the power tool or these instructions to operate ditions and the work to be performed.
-
Page 5: Functional Description
FUNCTIONAL CAUTION: DESCRIPTION • Always be sure that the tool is switched off and unplugged before adjusting or checking function on the tool. Changing the die position 004774 The die position can be changed 360°. To change it, proceed as follows. Loosen the lock nut with the wrench provided. - Page 6 ASSEMBLY CAUTION: • Always be sure that the tool is switched off and unplugged before carrying out any work on the tool. Removing or installing the punch and die 004779 Always replace the punch and die as a set. To remove the punch and die, loosen the lock nut with the wrench.
-
Page 7: Operation
Then install the die holder on the tool so that the punch is inserted through the 004782 hole in the die holder. Tighten the lock nut to secure the die holder. After replacing the punch and die, lubricate them with machine oil and run the tool for a while. -
Page 8: Maintenance
Cutting the corrugated or trapezoidal sheet metals 004790 Set the die position so that the die faces the cutting direction either when cut- ting at an angle or perpendicular go grooves in corrugated or trapezoidal sheet metals. 1. From the top view 2. - Page 9 CAUTION: • These accessories or attachments are recommended for use with your Makita tool specified in this manual. The use of any other accessories or attachments might present a risk of injury to persons. Only use accessory or attachment for its stated purpose.
- Page 10 Memo...
- Page 11 Memo...
- Page 12 Makita Corporation Anjo, Aichi, Japan 883894B222...
Need help?
Do you have a question about the JN1601 and is the answer not in the manual?
Questions and answers