Table of Contents
Advertisement
Advertisement
Table of Contents

Related Manuals for Denon DA-300USB


Summary of Contents for Denon DA-300USB
- Page 1 English DEutsch Français italiano DA-300USB D/A Converter EsPaÑol Getting Started nEDErlanDs sVEnsKa РУССКИЙ PolsKi Erste Schritte/ Mise en route/ Guida introduttiva/ Antes de empezar/ Aan de slag/ Att komma igång/ Начало работы/ Skrócona instrukcja obsługi...
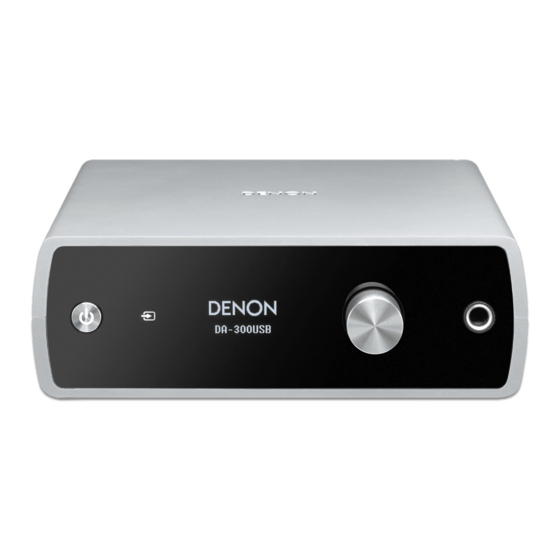
- Page 2 Welcome Thank you for choosing a Denon D/A Converter. This guide provides step-by-step instructions for setting up your D/A Converter. If you have setup problems: If you need additional help in solving problems, contact Denon customer service in your area.
-
Page 3: Before You Begin
Before You Begin What’s In the Box Required for setup Getting Started CD-ROM Safety Instructions USB cable (Owner’s Manual) • T hese drawings are for illustrative purposes only and may not represent the actual product(s). D/A Converter AC adapter AC adapter plug unit (for UK) Stand for vertical Feet for horizontal... - Page 4 Setup There are five steps to the setup process. Installing the driver software onto your PC (Windows OS only) Placing this unit Connecting the D/A Converter to the amplifier or the headphone Connecting the AC adapter Enjoying music using PC or Mac...
-
Page 5: Installing The Driver Software Onto Your Pc (Windows Os Only)
Installing the driver software onto your PC (Windows OS only) Download the dedicated driver from the e The wizard menu is displayed. Click “Next”. “Download” section of the DA-300USB page of the Denon website (http://www.denon.com/pages/home.aspx) onto your PC. Unzip the downloaded file. - Page 6 y Click “Install” on the installation start dialog. o When the installation is completed, click “Finish”. • The installation starts. Do not perform any operation on the PC until the installation is completed. u In the Windows security dialog, select “Always trust software from DandM Holdings Inc.”. i Click “Install”.
-
Page 7: Vertical Placement
Placing this unit n Horizontal placement n Vertical placement Guide Guide Feet for horizontal placement Align the rear edge of this unit to the guide Attach the feet for horizontal placement as position. shown in the figure. Press down this unit onto the stand until it clicks. - Page 8 Connecting the D/A Converter to the amplifier or the headphone n Connecting the amplifier n Connecting the headphone Amplifier AUDIO Audio cable (supplied) • A n amplifier and speaker need to be connected in order to playback music. See the owner’s manual of the device you are using for details on how to connect it.
-
Page 9: Connecting The Ac Adapter
Connecting the AC adapter To household power outlet (AC 100 – 240 V, 50/60 Hz) AC adapter (supplied) - Page 10 n How to attach the AC n How to remove the AC adapter plug unit (for UK) adapter plug unit Align the q guide with the w guide and press While pressing and holding the q button, slide it down in the arrow direction until it clicks. it in the arrow direction to pull it up.
-
Page 11: Enjoying Music Using Pc Or Mac
• When the unit power is turned on, the computer automatically finds and connects to the unit. under in “Digital Audio Interface” of the “Playback” tab. • When there is a checkmark for a different device, click “Denon USB Audio” and “Set Default”. - Page 12 General Supported Formats Levels Advanced Digital Audio Interface Default Format Denon USB Audio Default Device Select the sample rate and bit depth to be used when running in shared mode. Speakers 2 channel, 24 bit, 192000 H z (Studio Quality)
- Page 13 NOTE Play back a music file with music playback • A djust the volume to an appropriate level on the computer. software such as Windows Media Player, iTunes, • W hen using this unit with headphones connected, turn the foobar2000, Audirvana Plus and JRiver Media headphone volume adjustment knob to adjust the volume.
- Page 14 Please reference this manual for more details about the setup and operation of the D/A Converter and it’s features. Insert the disc into your PC. Follow the screen or double click on the PDF file. • Y ou can also download the owner’s manual from the Denon website. www.denon.com...
- Page 15 D&M Holdings Inc. Printed in China 5411 11134 00AD...
Need help?
Do you have a question about the DA-300USB and is the answer not in the manual?
Questions and answers