Table of Contents
Advertisement
Advertisement
Table of Contents

Subscribe to Our Youtube Channel
Related Manuals for Challenge Challenge


Summary of Contents for Challenge Challenge
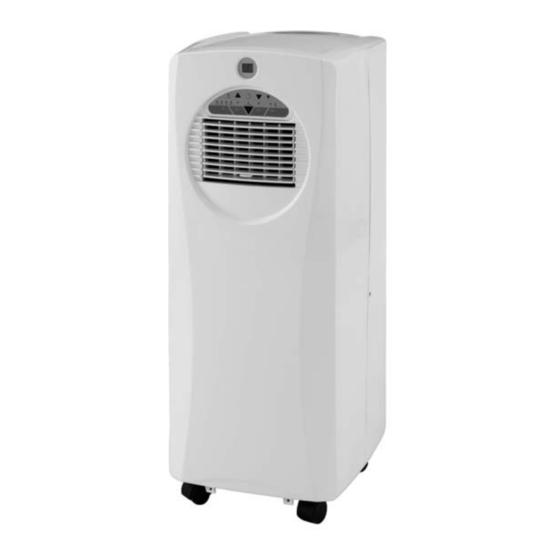
- Page 1 Portable Air Conditioner INSTRUCTION MANUAL...
-
Page 2: Safety Instructions
THAnK You Thank you for choosing this innovative Challenge air conditioner. We suggest that you keep this manual in a safe place for future reference. It describes the many benefits and advanced features this unique product has to offer. Before you use your air conditioner you should carefully read these instructions to maximise this product s performance. - Page 3 Do not use your air conditioner: If the power cable When small On a slope or Close to a heat wires are frayed children may be uneven surface source or cut left unattended This products is If there is a risk of Inside unit exposed In a permanent not made for DIY...
-
Page 4: Before Use
BEFORE USE GENERAL SAFETY • Only use in the upright position on a flat level surface and at least 36 cm from any objects (fig 1 & 4). • Do not place objects on the unit or block the air inlet / outlet (fig. 2). FIG. -
Page 5: Front/Back View & Accessories
PARTS Front Back FIG.6 FIG.5 Display Cord storage Control panel Air filter Air outlet Air inlet Carrying handle Exhaust air outlet Caster Air inlet Water stopper/drainage Accessories 12. Exhaust hose 13. Outward adapter - for insertion over hose and into foam strip (or into hole in the wall/window). -
Page 6: Installation
INSTALLATION Installation of the exhaust pipe The unit is a portable air conditioner that may be moved from room to room. Using the adaptor Wall or Window Outward adaptor FIG.10 FIG.9 • Cut a 137mm diameter hole in the wall or window. •... - Page 7 Mounting of the exhaust pipe • Use only the hose provided and clip exhaust hose to the back of the air conditioner FIG.11 • Avoid kinks and bends in the exhaust hose as this will cause expelled moist air to build up causing the unit to overheat and shut down.
- Page 8 Installation of the carbon filter Remove the filter frame from the unit. Remove the active carbon filter from its plastic bag. Insert the active carbon filter into the back of the unit. Re-fit the filter frame inside the unit. FIG.15...
-
Page 9: Control Panel
OPERATION Control panel COMP AUTO COOL FAN FULL WATER MODE TIMER SLEEP SPEED FIG.16 Mode button ON/OFF button Timer button Increase temperature button “ Water ” indicator 13. Timer operation indicator Sleep button 14. Compressor operation indicator Fan speed button Fan mode indicator Low ventilation indicator Air-conditioning mode... -
Page 10: Indicators
INDICATORS Water Full indicator - This light will be illuminated when the water tank is full. Please follow the step in EMPTYING THE WATER CONTAINER section to clear out the water. If the water is not drained out, the appliance will not operate. Low ventilation indicator - This light will be illuminated when the appliance is operating with low speed fan. -
Page 11: Auto Mode
AUTO MODE This appliance is equipped with a built-in program to adjust the operation mode (FAN / Air- conditioning) and fan speed (High / Low) by itself under this mode. Press the mode button continuously until the AUTO mode indicator is illuminated. -
Page 12: Remote Control
REMOTE CONTROL The air conditioner responds to all signals that are sent by the remote control. Two use the remote control. Point the remote control hand batteries are required to the control panel of the unit and press the relevant button, the red LED set towards on the hand set will flash whenever a button is pressed. -
Page 13: Empting Water Container
During the process of cooling, some water will be extracted from the air into the unit. If the reservoir is full, both of the compressor and motor will stop and the units would buzz (you can press any button to stop the buzz). The Water f ul l indicator will flash to show you. - Page 14 • The drain tube may be extended by adding an extension tube and using a suitable connector. Drain tube FIG.21 Please note • The drain must be at or below the Originally supplied tube outlet level. • Flashing ‘full water’ indicator will not function in this mode of drainage.
-
Page 15: Maintenance
MAINTENANCE Always unplug the air conditioner from the mains before cleaning. To maximize the efficiency of the air conditioner clean regularly. Cleaning the housing Use a soft, damp cloth to wipe the body clean. Never use aggressive chemicals, gasoline, detergents, chemically treated cloths, or other cleansing solutions. -
Page 16: Troubleshooting
TRouBLE SHooTinG Never try to repair or dismantle the air condition yourself. Incompetent repairs result in loss of warranty and can endanger the user and the property Problem Cause Solution The air No power supply . Connect to a functioning outlet and conditioner switch on. -
Page 17: Specifications
SPECIFICATION Model no. TC-8061 BTU/hr 9000 Cooling capacity 2.637 Power/Ampere consumption for cooling* 4.29 Air volume (max. speed) m /h Humidity removal capacity L/hr Power supply 220~240V /50Hz Compressor rotary Refrigerant R410A Fan speed Timer 1~ 12 Working temperature 18 ~ 32 Exhaust pipe Ø... - Page 18 Before Switching on make sure that the voltage of your electricity supply is the same as that indicated on the rating plate. MAIN CORD Wiring Instructions: Should it be necessary to change the plug please note the wires in the mains lead are coloured in accordance with the following code : BLUE - NEUTRAL BROWN - LIVE...
-
Page 19: Product Guarantee
- Specifications are subject to change without notice. - The manufacturer disclaims any liability for the incidental or consequential damages. - The guarantee is in addition to, and does not diminish your statutory or legal rights. Guarantor: Argos Ltd 489-499 Avebury Boulevard Central Milton Keynes MK9 2NW...
Need help?
Do you have a question about the Challenge and is the answer not in the manual?
Questions and answers