
Related Manuals for Daikin RXYQ72PYDN


Summary of Contents for Daikin RXYQ72PYDN
-
Page 1: Installation Manual
INSTALLATION MANUAL System air conditioner English Français Español RXYQ72PYDN RXYQ96PYDN RXYQ120PYDN RXYQ144PYDN RXYQ168PYDN RXYQ192PYDN RXYQ216PYDN RXYQ240PYDN... - Page 2 < > < > If installed as a single unit When installed in serial (Pattern 1) (Pattern 1) ≥11-3/4 ≥11-3/4 ≥3/8 ≥3/4 ≥3/8 ≥3/8 ≥19-5/8 ≥19-5/8 ≥3/8 ≥3/4 ≥3-7/8 ≥3-7/8 (Pattern 2) (Pattern 2) ≥2 ≥3-7/8 ≥2 ≥2 ≥19-5/8 ≥19-5/8 ≥3-7/8 ≥2 (Pattern 3)
- Page 3 16-1 figure 14 16-2 16-3 figure 15 figure 16 figure 17 figure 18-1 figure 18-2 F1 F2 F1 F2 F1 F2 TO I N / D UNI T TO OUT/ D UNI T TO MULTI UNI T TO MULTI UNI T F1 F2 F1 F2 Q1 Q2...
- Page 4 : 19 : 20 figure 25 figure 24 figure 26 figure 27 figure 28 : 15 : 17 : 18 : 16 figure 29 figure 30 : 15 : 17 : 18 : 16 figure 31 figure 32...
-
Page 5: Table Of Contents
Children playing with plastic bags face the danger FIRST OF ALL of death by suffocation. • This document is an installation manual for the Daikin RXYQ-P Series VRV Inverter. Before installing the unit, read this manual thor- WARNING oughly, and following the instructions contained in it. -
Page 6: Special Notice Of Product
Daikin are used, fire or explosion may result. such as thinner or gasoline are handled. • Do not touch the switch with wet fingers. -
Page 7: Disposal Requirements
• RXYQ-P series are designed for outdoor installation and used for cooling and heating applications. Shape • The indoor units that combined with RXYQ-P system for air condi- tioning are Daikin VRV series indoor units that compatible with φ3/4 O.D φ1 I.D φ1 φ1... -
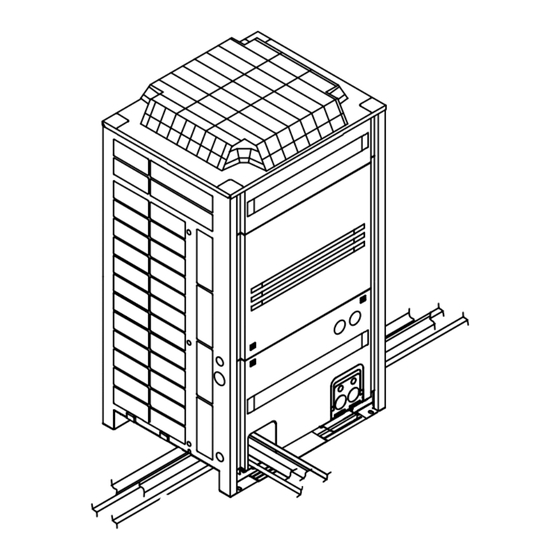
Page 8: Inspecting And Handling The Unit
• If the work conditions in figure 2 do not apply, contact your dealer or • Hoist the unit making sure it is being lifted at its center of gravity. Daikin directly. After installation, remove the transportation clasp (yellow) attached (Refer to figure 2) to the large openings. -
Page 9: Refrigerant Piping
REFRIGERANT PIPING NOTE Do not use anti-oxidants when brazing the pipe joints. NOTE Residue can clog pipes and break equipment. • All field piping must be installed by a licensed refrigeration technician and must comply with relevant local and national regulations. •... - Page 10 13. High side equalizer accessory pipe (1) (2) The piping between outside units must be installed level (Pattern 14. L type accessory joint (1) 1) or with a rise (Pattern 2). Otherwise oil may pool in the pipes. 15. L type accessory joint (2) Pattern 1 16.
- Page 11 Prohibited pattern Unit B Unit A Front connections to indoor unit Unit A Unit B Side (bottom) connections to indoor unit Oil remains in the stopping outside unit. Change to pattern 1 or pattern 2 Unit Unit Unit Unit Unit Unit Oil remains in the unit B when system stops.
-
Page 12: Example Of Connection
6-5 Example of connection English... - Page 13 English...
- Page 14 English...
-
Page 15: Field Wiring
FIELD WIRING • Use insulated wire for the power cord. • Select the power supply cable type and size in accordance with rel- evant local and national regulations. NOTE • Specifications for local wiring power cord and branch wiring are in •... -
Page 16: Transmission Wiring Connection Procedure
7-4 Transmission Wiring Connection Procedure 7-5 Power Wiring Connection Procedure • Referring to figure 19 connect the transmission wiring between out- • Be sure to connect the power supply wiring to the power supply ter- side unit and indoor unit, outside unit and outside unit of other sys- minal block and hold it in place using the included clamp as shown in tem, outside unit and outside unit of same system. -
Page 17: Air Tight Test And Vacuum Drying
4. When routing out the transmission wiring from the opening 8. Gas pipe shutoff valve for piping. 9. Low side equalizer pipe shutoff valve 5. When routing out the power/ground wires from the front. 10. Liquid pipe shutoff valve 6. Clear over 2 in.. 11. -
Page 18: Checking Of Device And Installation Conditions
• Reinforce the insulation on the refrigerant piping according to the (See the figure below.) installation environment. Condensation might form on the surface of With siphon pipe the insulation. Refer to the below. Stand the tank upright and charge. Ambient temperature : 86°F, humidity : 75% to 80% RH : min. (The siphon pipe goes all the way inside, thickness : 9/16 in.. -
Page 19: 11-2.Procedure Of Adding Refrigerant Charging And Check Operation
<Tightening torque> Securely tighten the valve until the shaft contacts the main body seal. Tightening torque ft · lbf (Turn clockwise to close) Make sure to tighten the cap securely. Shutoff valve size (For the tightening torque, refer to the item <Tightening Torque>.) Shaft (valve body) Cap (valve lid) Service port φ... - Page 20 The refrigerant charge port of this product have electric expansion valve. When charging in cooling mode, the system will stop operation when The valve will be closed at end of refrigerant charging. However the valve the required amount of refrigerant is charged. will be opened on operation after refrigerant charging (check operation, During charging in heating mode, a person must manually close nomal operation, etc.).
- Page 21 [Remote controller cooling mode malfunction code] In case of cooling mode Code The work contents (7) Push the TEST button (BS4) once within 5 minutes after procedure (5) (*4) and close the all front panels (*5). Charging is almost finished. Ready to close the valve A. After that, open the valve A immediately (See figure 31) (*6) and The refrigerant tank is empty.
-
Page 22: Onsite Settings
(3) Perform the check operation following the Check Operation Method WARNING Electric Shock Warning of the [Service Precautions] label (lower) on the EL. COMPO. BOX lid. (See figure 32) The system operation for about 40~60 minutes Use an insulated rod to operate the push buttons via the inspection door and automatically stops the check operation. -
Page 23: Caution For Refrigerant Leaks
Where the installation of a facility results in a concentration in excess of the maximum concentration level then it will be necessary to revise the system. Please consult your Daikin supplier. 1. direction of the refrigerant flow 2. room where refrigerant leak has occurred (outflow of all the refrigerant from the system) Pay a special attention to the place, such as a basement, etc. - Page 24 NOTES English...
- Page 25 1645 Wallace Drive, Suite 110 Carrollton, TX 75006 info@daikinac.com www.daikinac.com 3P215731-2 EM07A038 (0712)
Need help?
Do you have a question about the RXYQ72PYDN and is the answer not in the manual?
Questions and answers