Advertisement
LIMITED WARRANTY
All equipment which is sold under ANVIL trademark and used for
commercial purposes is warranted against defects in materials and
workmanship. The warranty runs for one year from the date of origi-
nal installation and is for the benefit of the original purchaser only.
All other Warranties ,expressed or implied , statutory or otherwise,
including without limitations any implied Warranty of Merchantability
or fitness for purpose are excluded .The Seller shall in no event be
liable for direct,indirect or consequential damages in connection with
ANVIL commercial products.
The Sellers obligation under this Warranty is limited to the re-
pair of defects without charge. Defective units must be taken or
shipped,transportation charges prepaid,to ANVIL.
This Warranty is not effective if damage occurs because of
accident,carelessness,improper installation,lack of proper set-
up,supervision when required or if the equipment is installed or
operated in any manner contrary to the installation and operating
instructions. In these cases,repairs will be made at a reasonable
cost. Work performed by unauthorized personnel or unauthorized
service agencies voids this Warranty.
NB:
REGISTER ON-LINE TODAY
Register your warranty on-line now at www.anvilworld.com
NO WEB ACCESS
If you do not have access to the Web. Kindly register by completing
the warranty registration form and fax it to the ANVIL office in the
country of purchase.
Failure to do so will invalidate your warranty.
4-INS-COA1001R01
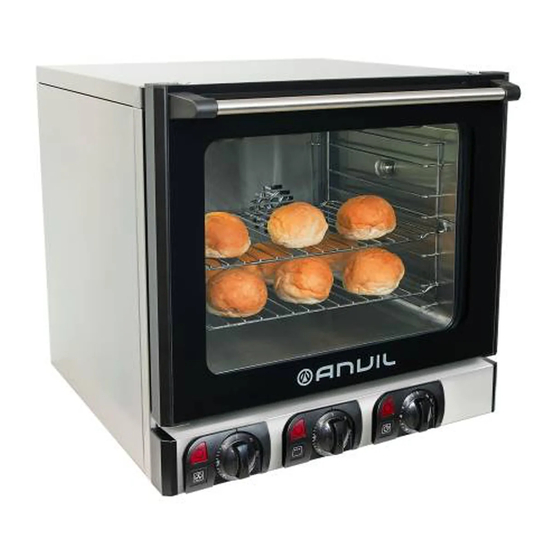
COUNTER-TOP CONVECTION OVENS
INSTALLATION OPERATION AND CARE OF
COUNTER-TOP CONVECTION OVENS
MODELS: COA1001 R01/COA1002 R01/ COA1003 R02
COA1004 R02
Advertisement
Table of Contents


Need help?
Do you have a question about the COA1001 R01 and is the answer not in the manual?
Questions and answers