Table of Contents
Advertisement
Advertisement
Table of Contents

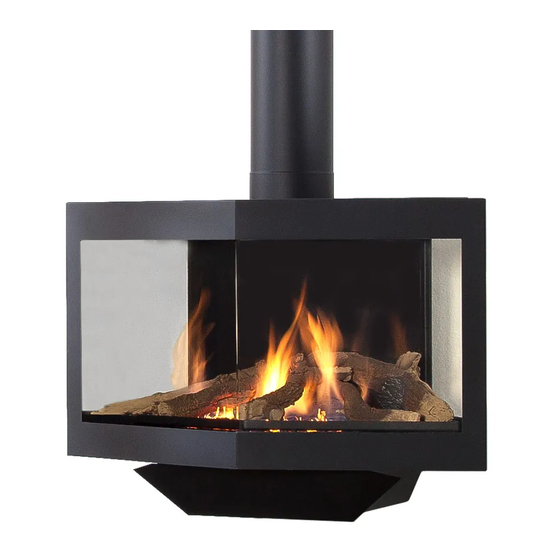
Summary of Contents for WANDERS Stealth
- Page 1 INSTRUCTIONS FOR USE INTALLATION MANUAL STEALTH www.wanders.com...
-
Page 2: Table Of Contents
Table of contents: Installation guide Page 3 Installation possibilities Page 4 Wood log set Page 7 Operating instructions Page 10 Remote control Page 13 Technical data Page 15 Guaranty Page 16 Wall mounting of the Stealth Page 17... -
Page 3: Installation Guide
We are therefore confident that you will enjoy your stove for many years. Your Wanders gas fire is built with a single burner system and the hearth has a closed combustion room. Thanks to the use of a double walled (concentric) tube and to natural draft, the necessary oxygen can be taken from outside the building, while waste gases are blown out at the same time. -
Page 4: Installation Possibilities
Installation possibilities The Stealth can be installed in many different ways. The two main possibilities are: 1. Through the wall 2. Through the roof The stove may only be installed using flue material approved by Wanders! For installation through the wall or through the roof, the under mentioned conditions need to be respected: 1. - Page 5 Fixing the Stealth to the wall (see page 17) Preparations for installing the intake and exhaust system: Make a choice from the installation possibilities according to figure 1. Build up the concentric tubes from the top of the stove.
- Page 6 L= 1+ 2+ 5+ (2x1)= 10 L= 1+ 1+ 4+ (2x2)= 10 3m exl m.d.v. L= 10m L= 3+ 1+ (1X2)= 6M Figure 1 figuur:1 With a vertical roof outlet from 2 meters up to 6 meters one needs to place a staunch ring of Ø...
-
Page 7: Woodlog Set
ATTENTION you can also first install the tubes, before placing the stove. You should then make use of a piece of telescopic tube with adaptable length, so that the necessary length can be achieved easily. WOODLOG SET Take off the frame by removing the 4 screws in the left and right corners (see scheme 3A). - Page 8 scheme.2a scheme.2b Scheme.2c...
- Page 9 Scheme.3a Scheme.3b...
-
Page 10: Operating Instructions
OPERATING INSTRUCTIONS In the middle of the stove, behind the lid, you will find the control buttons BUTTON B BUTTON A Open the gas tap, which is placed in the gas supply tube. Turn the ignition button – A- against the direction of the clock, as far as you can. Then press and wait several seconds. - Page 11 User guidelines Never place inflammable objects underneath or in front of the Stealth. Once the gas fire has gone out, you should wait for at least 3 minutes before igniting the stove again. In order to assure a perfect functioning of the gas fire, we advise to have it cleaned and serviced by a certified fitter.
- Page 12 Connection microswitch Connection motor Receiver Cable Connect the Plugs to the Connection motor microswitch...
-
Page 13: Remote Control
Instructions for the use of remote control Setting the display (from °C/24h to °F/12h and vice versa) After connecting the battery (type: 9V block, quality recommendation: alkaline) or by pressing AUTO and TIMER simultaneously the display will start to flash. While flashing the appliance is in display-setting mode. - Page 14 Temperature control (AUTO) Press AUTO briefly. The set temperature will appear briefly and after that the room temperature. Timer (TIMER) In time-mode during ‘ time on’ the temperature will be regulated just like in AUTO mode, during the ‘ time off ’ the stove will be left on pilot light. To check the set temperatures press AUTO and then go back to time-mode.
-
Page 15: Technical Data
G25 I2L 25mb 5,3kw 14,3mb 1,65 1.45 0,634 I3B/P 16,2 1,40 0,215 G20/G25 I2E+ 20/25mb 15,4mb 1,35 1.45 0,525 16,2 1,40 0,215 G20/G25 I2E+ 20/25mb 15,4mb 1,35 1.45 0,525 16,2 1,40 0,215 G20 I2H 20mb 15,4mb 1,35 1.45 0,525 16,2 1,40 0,215 G20/G25 I2ELL... -
Page 16: Guaranty
Wanders B.V. in Netterden (The Netherlands) guarantees, for a period of 1 year after date of purchase, the good functioning of this gas-stove, provided that the Stealth is being installed properly, by an approved fitter and used in conformity with the mentioned indications. -
Page 17: Wall Mounting Of The Stealth
Put the glass away gently as it is very fragile! Next, fix the support bracket to the wall and attach the Stealth by making use of the 4 hooks at the back. In case the stove is to be connected with a wall outlet, the diameter of the hole in the wall can be determined by means of the concentric tubes and elbow. - Page 20 Wanders B.V. Amtweg 4 7077 AL Netterden /NL Tel: +31 315 386 414 Fax: +31 315 386201 WWW.WANDERS.NL...


Need help?
Do you have a question about the Stealth and is the answer not in the manual?
Questions and answers