Advertisement
Quick Links
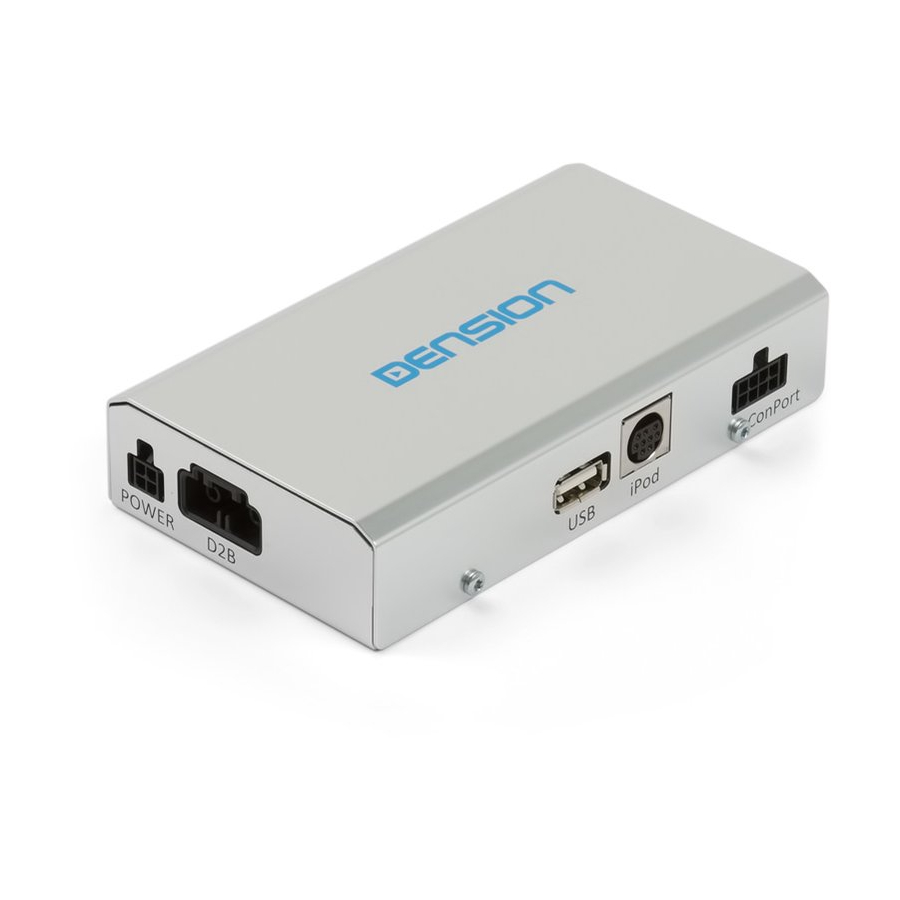
Gateway 500 Lite D2B
Installation Guide
v1.3
GWL-9211-3
1. I
NTRODUCTION
Gateway 500 Lite D2B emulates a CD changer and
uses CD changer controls to access off board audio
sources like iPod and USB devices.
2. C
ONNECTIONS
3. I
NSTALLATION
The best place to install the Gateway 500 Lite D2B
maybe somewhere behind the dashboard / head unit.
Remove the car's head unit from the dashboard
according to car manufacturer instructions. If you do not
have a CD changer in your car, please make sure that
the head unit can control a CD changer (e.g. products
light at optical output socket of the head unit.) If not,
please refer to an official Mercedes service, where they
can easily reprogram the head unit to enable the optical
network for Gateway 500 Lite D2B . If you finished this
step or you made sure that the car's D2B network can
accept a CD changer or a CD Changer exists in your
car please do the following.
4. E
I
LECTRICAL
NSTALLATION
(2.) Join the power harness of the Gateway 500 Lite D2B
to the radio.
Plug the power cable lead to the Gateway 500 Lite D2B .
The allocation of the #1 cable is the following:
Red: + 12V battery
Black: GND
Purple: Wakeup
See the pinout of the Mercedes power harness of
different head units.
Audio 10/30
Note:
If the indicated Pin is not populated, make the
connection to the blue/black wire or if that wire does
not exist, measure the right Pin location using a
multimeter. If you have any doubt during the
installation, please ask help from professional
installer in order to avoid any problem.
Advertisement

Related Manuals for Dension Gateway 500 Lite D2B


Summary of Contents for Dension Gateway 500 Lite D2B
-
Page 1: Installation Guide
USB devices. 2. C ONNECTIONS Gateway 500 Lite D2B Plug the power cable lead to the Gateway 500 Lite D2B . Installation Guide The allocation of the #1 cable is the following: Red: + 12V battery v1.3... - Page 2 Unplug the connector of the optical harness from the head unit and connect it to the #21/22 socket of the optical harness of the Gateway 500 Lite D2B . If there is no factory fitted optical cable connected to the Head Unit, you should connect the given #23 optical loop to the spare female connector of the #22 optical cable.
Need help?
Do you have a question about the Gateway 500 Lite D2B and is the answer not in the manual?
Questions and answers