Table of Contents
Advertisement
Advertisement
Table of Contents

Related Manuals for La Marzocco Swift EPSb


Summary of Contents for La Marzocco Swift EPSb
- Page 1 SWIFT EPS Troubleshooting Manual...
-
Page 2: Table Of Contents
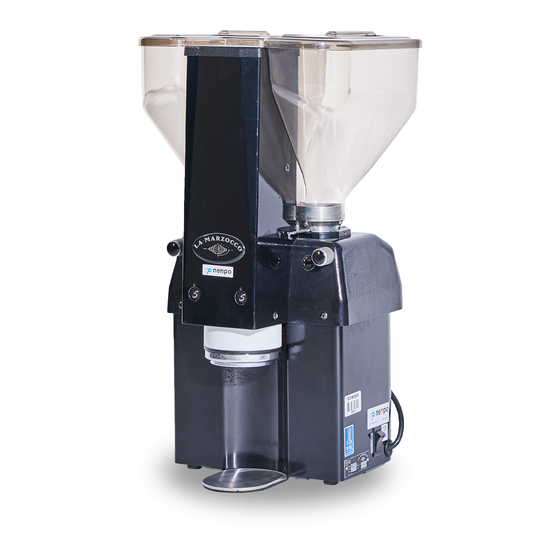
Table of Contents 1. MANUFACTURER’S INTRODUCTION..........3 2. LEGEND OF SYMBOLS ................3 3. IMPORTANT SAFETY INFORMATION & GENERAL PRECAUTIONS FROM THE MANUFACTURER .............4 4. WARRANTY DESCRIPTION PARTS ORDERING.........4 5. INSTALLATION & UPACKING INSTRUCTIONS .........6 6. EQUIPMENT OPERATING INSTRUCTIONS.........8 7. EQUIPMENT CARE & CLEANING ............10 8. - Page 3 1. Manufacturer’s Introduction Introduction Swift espresso preparation system The Swift EPS grinds, doses and tamps coffee directly into the portafilter, eliminating the need to do this manually. It measures and doses by volume, not time, so waste and product inconsistency are reduced.
- Page 4 3. Important Safety Information & General Precautions from the Manufacturer Warning Equipment contains dangerous voltages and can be hazardous if installed or operated incorrectly. Non-compliance with warnings or failure to follow the instructions contained in this manual can result in loss of life, severe personal injury or serious damage to property. Some procedures in this manual require the power for the equipment to be turned off and isolated.
- Page 5 5. Installation & Unpacking Instructions Components Verify that all parts are included when you receive your new Swift EPS A. Grinder B. Two bean hoppers and lids C. Drip tray part# 5.336 D. Fuse pulling tool part# 5.123 E. Cleaning brush part# 5.118 F.
- Page 6 Overview 1. Left bean hopper 2. Left bean hopper gate (not visibile) 3. Left grind adjust knob 4. Left grinder start button 5. Bayonet ring 6. Foot plate 7. Right bean hopper 8. Right hopper bean gate 9. Right grind adjust knob 10.
-
Page 7: Equipment Operating Instructions
6. Equipment Operating Instructions Engaging the portafilter The portafilter engages directly to the Swift EPS . Since the Swift EPS has no watertight seal, it is not necessary to force the portafilter into place. Engage the portafilter with only a light amount of force. - Page 8 Blinking indicator lights The indicator lights will flash for a number of reasons. These are summarized below: • You attempted to start the process with a full portafilter. • The safety timer has run out due to: Empty hopper; Closed bean gate; or Plugged hopper chute.
-
Page 9: Daily Cleaning
7. Equipment Care & Cleaning Daily cleaning Daily cleaning of the Swift EPS is important for the quality of your coffee beverages and for the mechanical life of the equipment. When the cleaning instructions are carried out each day, there will be little chance of old coffee residues spoiling the flavour of your espresso drinks, or interfering with the mechanical operation of your machine. - Page 10 6. Vacuum out the burr area. 7. Using a clean towel, wipe the inside of each hopper. Pay close attention to the bean gate area. 8. Reassemble and test for proper operation. CLEANING THE IMPELLER 1. Unplug the Swift. 2. Remove the tower cover. 3.
- Page 11 6. Insert the brush into the collection area above the impeller and again wipe away loose grounds. 7. Clean the impeller with a soft dry cloth. 8. Reinstall the impeller by turning counter-clockwise. USING THE CLEAN-OUT TOOL If either Grinder motor fails to operate, the usual cause is a clogged grinding chute or chamber. 2002 model Swifts now come with a tool that can be used to unclog the chute without disassembling the grinder.
- Page 12 3. Rotate the cover to the grind chute to access the grinding chute hole inside to clean the grinder. 4. Locate the clean-out tool access hole on either side of the coffee chute. 5. Gently and with caution insert insert the Clean-out tool into the hole and apply forward pressure until the tool is fully inserted into the chute.
-
Page 13: Parts Description And Identification
8. Parts Description and Identification... - Page 20 WARNING Technician Tasks only to be completed by qualified and skilled service personnel. Electronics...
-
Page 21: Preventative Maintenance Details
9. Preventative maintenance details WARNING Technician Tasks only to be completed by qualified and skilled service personnel. Bi annual preventative maintenance checklist La Marzocco Swift EPS Service Confirm serial number of grinder: #________________ Clean hoppers Replace all coffee baskets and remove old baskets from premises... - Page 22 WARNING Technician Tasks only to be completed by qualified and skilled service personnel. GRINDING BURR REPLACEMENT Periodic burr replacement is required. While the ceramic burrs used in the Swift have a much longer life expectancy than normal steel burrs, it is still necessary to watch your coffee for the tell-tale signs of burr wear.
- Page 23 WARNING Technician Tasks only to be completed by qualified and skilled service personnel. 9. Remove the adjustment gear assembly from the upper burr carrier 10. Rotate the upper burr carrier anticlockwise until the threads are free allowing removal 11. Remove the upper burr carrier 12.
- Page 24 WARNING Technician Tasks only to be completed by qualified and skilled service personnel. 17. Rotate the carrier clockwise until you see the lower mill move 18. Once you locate the point in which the two grinding burrs come into contact with one another, turn the upper carrier counter clockwise 1/4 turn 19.
-
Page 25: Troubleshooting Guide
10. Troubleshooting Guide (* Items are for Technicians) WARNING Technician Tasks only to be completed by skilled service personnel Pushing start buttons and NOTHING happens. -Check that the electrical plug is fully inserted -Switch the on/off switch to the on position (the light should be lit) *Check fuses Pushing the start button and the LIGHTS FLASH. - Page 26 WARNING Technician Tasks only to be completed by skilled service personnel Safety micro switch Impeller Micro-switch - 1 This micro-switch is activated by the impeller disc. The impeller disc rises upward as coffee is dosed into the portafilter. When sufficient coffee has been ground and dosed, the impeller rises up far enough to actuate the micro-switch, which...
- Page 27 WARNING Technician Tasks only to be completed by skilled service personnel Fuse replacement and reset switches The Swift EPSB has four fuses located at the rear of the machine behind the removable panel. These correspond to each of the grinder motors, the tamping motor, and the electronic controls.
- Page 28 WARNING Technician Tasks only to be completed by skilled service personnel Adjusting finish height of the impeller To ensure consistency of the shot time and shot quality, the tamping impeller must be adjusted to the proper height. Follow the steps below to determine the impeller's height 1.
- Page 29 WARNING Technician Tasks only to be completed by skilled service personnel Coffee dose too high. Impeller must be lowered. The diffuser screen is pressed into the coffee puck, evidenced by a pronounced ring from the diffuser screen around the circumference of the portafilter.(1) There is also a deep indentation in the center of the coffee pack from the diffuser screw.(2) HOW TO PERFORM THE ADJUSTMENT:...
- Page 30 WARNING Technician Tasks only to be completed by skilled service personnel 3. Using a Long-arm L-key 3/32 HEX SIZE (part# 5.129 in your kit), loosen the screw several turns. It is not necessary to completely remove the screw. 4. Pulling the shaft brake, use your other hand to rotate the impeller one or more complete turns.
-
Page 31: Equipment Specifications
11. Equipment Specifications... -
Page 32: Wiring Diagram
12. Wiring Diagram...
Need help?
Do you have a question about the Swift EPSb and is the answer not in the manual?
Questions and answers