
Related Manuals for Jensen DVDB01


Summary of Contents for Jensen DVDB01
- Page 1 DVDB01 DVD/CD/MP3 Player Installation and Operation Manual DVD VCD TRACK TITLE CHAPTER CLASSIC POP ROCK...
-
Page 2: Table Of Contents
DVDB01 INTRODUCTION Thank you for choosing a JENSEN product. We’ve tried to make the instructions in this owner’s manual clear and easy to follow. If you take a few minutes to look through it, you’ll learn how to use all of the features of your new JENSEN DVDB01 Mobile Multimedia DVD/CD/MP3 Player for maximum enjoyment. -
Page 3: Preparation
To prevent a short circuit, be sure to turn off the ignition and remove the negative (-) battery cable prior to installation. NOTE: If the DVDB01 is to be installed in a vehicle equipped with an on-board drive or navigation computer, do not disconnect the battery cable. If the cable is disconnected, the computer memory may be lost. -
Page 4: Installation
Carefully slide the DVD player into the half-sleeve making sure it is right-side-up until it is fully seated and the spring clips lock it into place. -
Page 5: Removing The Unit
Lift the top of the outer trim ring then pull it out to remove it. Insert both of the supplied keys into the slots at the middle left and right sides of the unit, then pull the unit out of the dashboard. Removing the Unit DVDB01 DV DB DV D/C P3 PL... -
Page 6: Wiring
DVDB01 WIRING Power/Accessory Connections POWER WIRING HARNESS WIRED REMOTE P.A. – Connect to PADIN5. REMOTE CONTROL EXTENDER – Position extender where you are likely to use the remote control. Point remote at eye to control the unit. CONSTANT POWER WIRE (yellow) –... -
Page 7: Audio/Video Connections
Audio/Video Connections NOTE: When replacing a fuse, be sure to use correct type and amperage to avoid damaging the DVD player. The DVDB01 uses one 3 amp and one 1 amp ACC fuse, located in line with the power wires. -
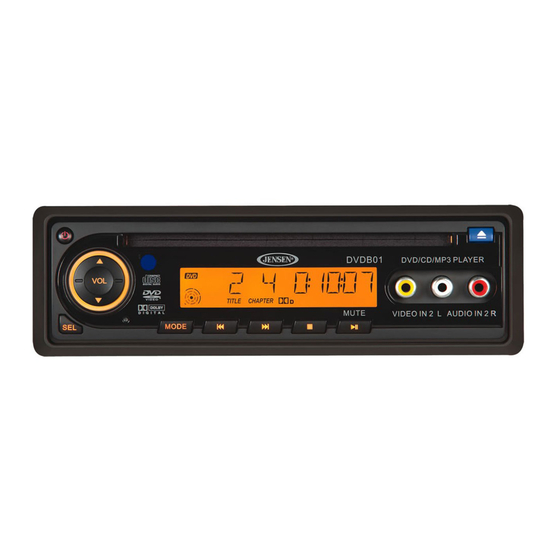
Page 8: Controls And Indicators
DVDB01 CONTROLS AND INDICATORS The buttons located on the unit and the remote control that perform the same function are assigned the same number for reference on the diagrams and in the text. Front Panel Operation DVD VCD TRACK TITLE... - Page 9 Function Select the equalization mode, such as CLASSIC, POP, ROCK <</TRACK Search in reverse rapidly >>/TRACK Search forward rapidly Enter track/chapter number directly. Use GOTO to search. GOTO Used with numeric buttons to search disc Press to mute/resume audio. DVDB01...
-
Page 10: Basic Operation
DVDB01 BASIC OPERATION Turning the Unit On/Off Press the POWER button (1) on the front panel or remote control to turn the unit on/off. Inserting a Disc Insert a disc, label side up, into the disc slot (12). The player will start playback automatically. -
Page 11: Cd/Dvd/Vcd Operation
To select a track directly, use the number pad on the remote control (36). For single digit entries, press the corresponding number. For two digit entries, press the 10+ button (27) followed by the last digit (i.e., for track 16, press 10+ and then 6). DVDB01 > buttons (29) to move the picture up, down, left, or... -
Page 12: Goto Search
DVDB01 Goto Search During DVD or VCD playback, perform the following steps to use the GOTO feature to access a specific location on a disc: Title/Chapter Search To play a specific title/chapter: Press the GOTO button (37) button. The On Screen Display information will appear with the track/chapter number highlighted (TRK 00/00). -
Page 13: Multi-Language Discs (Dvd Only)
ANGLE button (23) on the remote control to toggle available angles of the on-screen image. If no other angles are recorded, “INVALID KEY” is displayed in the top left corner of the screen. button (22) DVDB01... -
Page 14: Mp3 Operation
DVDB01 MP3 OPERATION DVD VCD TRACK TITLE CHAPTER Insert/Eject Disc Insert a disc label-side up into the disc slot (12), and the disc will begin to play. Press the eject button (3) to stop playback and eject the disc. NOTE: MP4 streaming video format is not supported. -
Page 15: Random Playback
– “X” indicates repeat play is OFF, “1” indicates repeat song, and “D” indicates repeat directory (folder). • Press repeatedly to view the following information for elapsed/remaining playing time: • 00:02:18 – total elapsed playing time for disc • C –00 :34 :37 – remaining playing time for disc DVDB01... -
Page 16: Dvd Setup Menu
DVDB01 DVD SETUP MENU Press the (setup) button (29) on the remote control to access the SYSTEM SETUP menu and adjust system settings for the following categories: • System Setup • Language Setup • Audio Setup • Video Setup •... -
Page 17: Audio Setup
Audio Setup The Audio Setup menu controls the following features: AUDIO SETUP Key: This item changes the audio output key. DVDB01... -
Page 18: Disc Symbols And Properties
DVDB01 DISC SYMBOLS AND PROPERTIES Table 1: Disc Properties Symbol 12cm Disc Properties Single side single layer (DVD-5) Single side double layer (DVD-9) Double side single layer (DVD-10) Double side double layer (DVD-18) Single side single layer (Video CD) Single side single layer... -
Page 19: Troubleshooting
The ventilation should not be impeded by covering the ventilation openings with items such as newspapers, table-cloths, curtains, etc. • The DVD player may not operate properly in extreme hot or cold. If such conditions occur, allow the interior of the vehicle to reach a normal temperature before using player. Cause... -
Page 20: Specifications
DVDB01 SPECIFICATIONS Supply Voltage: 12V DC (11V-15V), negative ground Current Consumption: Less than 2A Signal System: Composite video 1.0Vp-p 75ohms Discs Played: DVD-VIDEO disc • 5” (12 cm) single-sided, single-layer • 5” (12 cm) single-sided, double-layer Compact disc (CD-DA/CD-R/CD-RW/MP3) 5” (12 cm) VIDEO CD Audio Output Level: 10kohms (2 ch 2.0 Vrms) - Page 21 DVDB01 ASA Electronics Corporation www.asaelectronics.com www.jensenrvdirect.com © 2009 ASA Electronics Corporation v.061709...
Need help?
Do you have a question about the DVDB01 and is the answer not in the manual?
Questions and answers