Jensen VM9224 Installation Manual
Jensen car video system installation guide
Hide thumbs
Also See for VM9224:
- Operating instructions manual (56 pages) ,
- Operating instructions manual (65 pages)
Table of Contents
Advertisement
Available languages
Available languages
Para obtener instrucciones en Español, diríjase a la página 5.
Double DIN Half Sleeve Install Bracket
Two Custom Cosmetic Trim Rings
WARNING! Never install this unit where operation and viewing could interfere with
safe driving conditions.
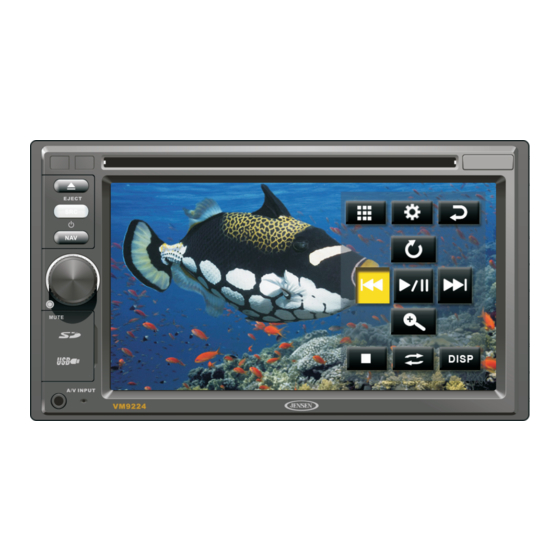
VM9224
EJECT
What's in the Box
VM9224 Head Unit
Left and Right Double DIN
Mounting Brackets
Remote Control with Battery
Parking Brake Wire
Hardware Bag
Speaker Output Harness
Power Input Harness
2 x Accessory Harness
Installation Guide
Pour des instructions en Francais, référez-vous à la page 9.
Tools and Supplies
You will need these tools and supplies to
install your VM9224:
•
Torx type, fl at-head and Philips
screwdrivers
•
Wire cutters and strippers
•
Tools to remove existing radio (screw
driver, socket wrench set or other tools)
•
Electrical tape
•
Crimping tool
•
Volt meter/test light
•
Crimp connections
•
18 gauge wire for power connections
•
16 – 18 gauge speaker wire
1
Installation Guide
Instruccionnes de Instalación
Instructions d'installation
Advertisement
Table of Contents

Related Manuals for Jensen VM9224


Summary of Contents for Jensen VM9224
-
Page 1: Tools And Supplies
Para obtener instrucciones en Español, diríjase a la página 5. What’s in the Box VM9224 Head Unit Left and Right Double DIN Mounting Brackets Double DIN Half Sleeve Install Bracket Remote Control with Battery Two Custom Cosmetic Trim Rings Parking Brake Wire... -
Page 2: Optional Equipment
To prevent a short circuit, be sure to turn off the ignition and remove the negative (-) battery cable prior to in- stallation. NOTE: If the VM9224 is to be installed in a car equipped with an on-board drive or navigation computer, do not disconnect the battery cable. If the cable is disconnected, the computer memory may be lost. Under these conditions, use extra caution during installation to avoid causing a short circuit. -
Page 3: Installation Using Half-Sleeve
Installation Using Half-Sleeve Install half-sleeve in the dashboard. Install adapter if necessary (optional). Install half-sleeve into adapter or dashboard (use only the supplied screws). Do not force the sleeve into the opening or cause it to bend or bow. WARNING! Only connect the unit to a 12-volt power supply with proper grounding. -
Page 4: Wiring Diagram
Wiring Diagram IMPORTANT: Incorrect wiring connections can damage the unit. Follow the wiring instructions carefully, or have the installation handled by an experienced technician. Need Help? For technical assistance, call the Jensen customer support line at 1-800-323-4815. FRONT L FRONT R... -
Page 5: Qué Hay En La Caja
¡ADVERTENCIA! Nunca instale esta unidad donde la operación y la vista pudiera interferir con condiciones seguras de conducción. Pour des instructions en Francais, référez-vous à la page 9. VM9224 EJECT Herramientas y Suministros Necesitará estas herramientas y suministros para instalar su VM9224: • • • • • •... -
Page 6: Equipo Opcional
NOTA: Si el VM9224 será instalado en un automóvil equipado con una computadora de abordo o de naveg- ación, no desconecte el cable de la batería. Si se desconecta el cable, podría perderse la memoria de la computadora. - Page 7 Utilice los tornillos suministrados para atar la radio a la cubierta. Utilizando el Anillo de Ajuste Prolijo Dos anillos de ajuste prolijo viene con el VM9224 para lograr fl exibilidad en la instalación. El VM9224 encajará en la mayoría de los tableros importados con necesidad de modifi cación del tablero o su cavidad pequeña o inexistente.
-
Page 8: Diagrama De Cableado
IMPORTANTE: Las conexiones incorrectas del cableado pueden dañar la unidad.Siga las instrucciones del cableado cuidadosamente, o haga que la instalación sea manejada por un técnico experimentado. ¿Ayuda Necesidad? Para la asistencia téchnica, llame la Jensen en 1-800-323-4815. FRONT L FRONT R... -
Page 9: Outils Et Fournitures
AVERTISSEMENTS! N’installez jamais cet appareil là où il peut interférer avec des conditions de conduite sûre. Para obtener instrucciones en Español, diríjase a la página 5. VM9224 EJECT Vous aurez besoin de ces outils et fourni- tures pour installer votre VM9224 : • • • • •... -
Page 10: Equipment Facultatif
(-) avant d’installation. A NOTER : Si le VM9224 est à installer dans une voiture équipée d’un lecteur à bord ou un ordinateur de navi- gation, ne débranchez pas la pile. Si le câble est débranché la mémoire de l’ordinateur peut être perdue. Dans ces conditions, soyez très sûr pendant l’installation pour éviter de provoquer un court-circuit. -
Page 11: Installation Using Half-Sleeve
Utilisez les vis fournies pour attacher la radio à mon- chon de montage. Utilisation de la rondelle décorative Deux rondelles décorative vient avec le VM9224 pour fl exibilité d’installation. Le VM9224 va s’accomoder à la plupart des tab- leaux de bord importés avec peu de ou aucune modifi cation du tableau de bord/cavité. -
Page 12: Diagramme De Câblage
IMPORTANT : Les raccordements incorrects de câblage peuvent endommager l’unité. Suivez les instructions de câblage soigneusement, ou faites manipuler l’installation par un technicien expérimenté. Aide du besoin ? Pour l’assistance technique, appelez la ligne de support de Jensen à 1-800-323-4815. FRONT L...
Need help?
Do you have a question about the VM9224 and is the answer not in the manual?
Questions and answers