Table of Contents
Advertisement
Quick Links
ASSEMBLY, CARE & USE MANUAL
WARNING & SAFETY INFORMATION
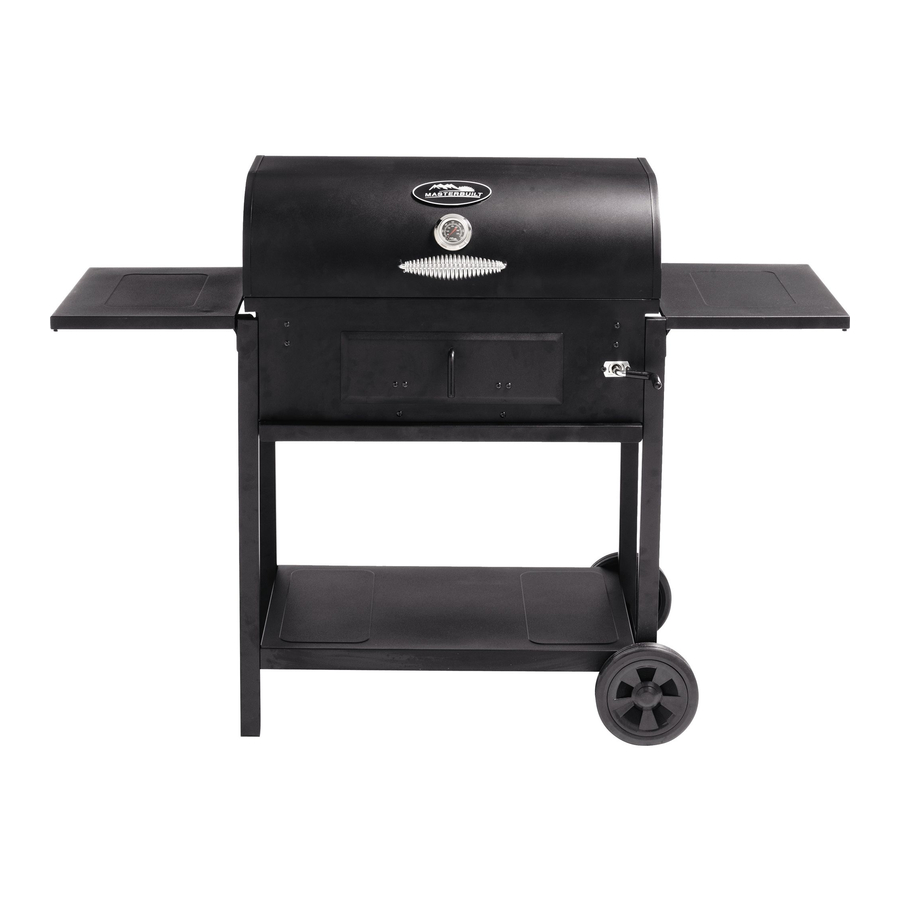
MODEL 20042211 CHARCOAL GRILL
THIS PRODUCT IS FOR OUTDOOR USE ONLY
Masterbuilt Manufacturing, Inc.
1 Masterbuilt Court
Columbus, Georgia 31907
Customer Service 1-800-489-1581
Tools needed for assembly:
Phillips Head Screwdriver
Adjustable Wrench
CARBON MONOXIDE HAZARD
WARNING
Burning charcoal gives off carbon
This manual contains important
monoxide, which has no odor and can
information necessary for the proper and
cause death.
safe use of this grill.
DO NOT burn charcoal inside homes,
Read and follow all warnings and
vehicles, tents, garages or any enclosed
instructions before using grill and
areas.
during use.
Use only outdoors where it is well
Keep this manual for future reference.
ventilated.
Failure to follow these warnings and instructions properly could result in fire or explosion, which could cause
property damage, personal injury, or death.
Advertisement
Table of Contents

Subscribe to Our Youtube Channel
Summary of Contents for Masterbuilt 20042211
- Page 1 ASSEMBLY, CARE & USE MANUAL WARNING & SAFETY INFORMATION MODEL 20042211 CHARCOAL GRILL THIS PRODUCT IS FOR OUTDOOR USE ONLY Masterbuilt Manufacturing, Inc. 1 Masterbuilt Court Columbus, Georgia 31907 Customer Service 1-800-489-1581 Tools needed for assembly: Phillips Head Screwdriver Adjustable Wrench...
-
Page 2: General Warning And Safety Information
• Keep area clear of all combustible materials such as wood, dry plants, grass, brush, paper or canvas. This expressed warranty is the sole warranty given by Masterbuilt and is in lieu of all other warranties, expressed or implied including implied warranty, merchantability, or fitness for a particular purpose. -
Page 3: Approximate Grilling Times
PARTS LIST APPROXIMATE GRILLING TIMES BEEF SIZE GRILLING TIME INTERNAL TEMP Steaks ” (2cm) thick 3 to 4 min. /side med rare 145°F (62°C) 4 to 5 min. /side med 160°F (71°C) Kabobs 1” (2.5cm) cubes 3 to 4 min. /side 145°-160°F (62-71°C) Hamburger patties ”... -
Page 4: Hardware List
RECIPES HARDWARE LIST PAPRIKA CHICKEN DINNER PACKETS GLAZED COUNTRY RIBS 4 boneless skinless chicken breast halves (You can 1 cup ketchup ½ cup water substitute 2 thighs per each breast if you prefer dark meat) ¼ cup finely chopped onion 2 cups quartered small red potatoes (4 or 5 potatoes) 1 ½... -
Page 5: Replacement Parts List
STOP! For Assembly Assistance, Missing or Damaged Parts 1/3 cup soy sauce 1 tsp fennel seeds Call: MASTERBUILT Customer Service at 1-800-489-1581 1/2 tsp cayenne pepper 1 tsp crushed red pepper 1/4 cup dark brown sugar, packed ¾ tsp salt 1/2 tsp paprika ½... - Page 6 ASSEMBLY INSTRUCTIONS RECIPES Before assembly read instructions carefully. Assemble grill on a clean, flat surface. This unit is heavy. DO NOT ASSEMBLE WITHOUT ASSISTANCE. GET A HELPER! SPICY GRILLED BRISKET CARIBBEAN SALMON PACKETS Tools needed for assembly: 4 to 6 cups mesquite wood chips 2 cups uncooked instant rice Adjustable Wrench 1 4- to 5-lb fresh beef brisket...
- Page 7 CHARCOAL LIGHTING INSTRUCTIONS STEP 3. Read all instructions and warnings on charcoal bag and in manual before using. Do not tighten screws all the way. 1. Stack briquets in a pyramid. Note: Shelf may require tilting to place in position. 2.
- Page 8 GRILL OPERATION CAUTIONS • Avoid bumping or impacting grill. STEP 5. • Keep your hands, hair and face away from burning charcoal. Thread crank (7) through hole on front of body (2). • This grill has an open flame. Be careful of loose hair and clothing during operation. They may catch fire.
-
Page 9: Frequently Asked Questions
FREQUENTLY ASKED QUESTIONS STEP 7. Note: Attach both ends of lid handle before fully tightening hex flange Q: My grates have rust on them. How do I get rid of it? nuts. If rust occurs, clean with a steel brush. Reapply vegetable shortening and heat as indicated above. - Page 10 SOME PARTS NOT SHOWN FOR STEP 11. CLARITY. Insert ash pan (19) into bottom of body (2) as shown. STEP 9. Note: Do not over tighten. Air damp- ers should move freely. Attach air damper (4) to body (2) using phillips head screw (E) and lock nut (H) as shown.


Need help?
Do you have a question about the 20042211 and is the answer not in the manual?
Questions and answers