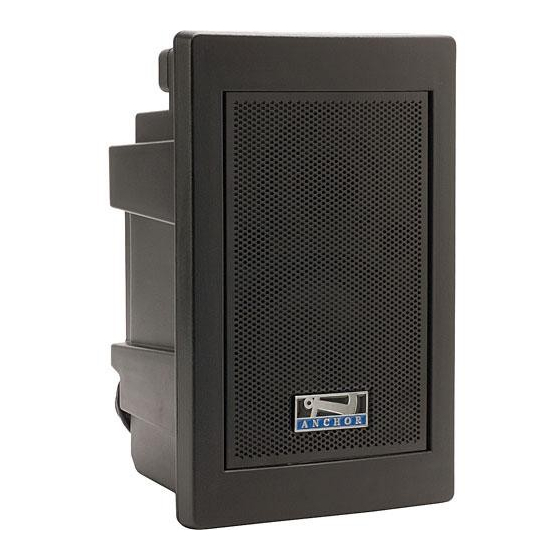
Anchor Explorer PRO User Manual
Anchor audio portable sound system
Hide thumbs
Also See for Explorer PRO:
- Owner's manual (8 pages) ,
- Owner's manual (4 pages) ,
- Owner's manual (8 pages)
Advertisement
Table of Contents
- 1 Troubleshooting Guide
- 2 Important Safeguards
- 3 Specifications
- 4 Getting Started
- 5 Wireless Microphone Operation
- 6 Wireless Operation
- 7 Battery Operation
- 8 Battery Level Indicator
- 9 Charging Batteries
- 10 Replacing Transmitter Battery
- 11 General Operation
- 12 Line Inputs
- 13 Line Outputs
- 14 Speaker Output
- Download this manual
See also:
Owner's Manual
Having trouble with the sound system?
Condition
No sound (power LED not lit):
Charge indicator doesn't light:
No sound (power LED lights):
Shortened battery life:
Distorted sound:
Excessive hum or noise:
Having trouble with the wireless system?
Condition
No sound (RX ON indicator lights):
No sound (RX ON indicator off):
TROUBLESHOOTING GUIDE
Possible Solution
• turn POWER switch ON
• charge battery or plug in AC cord
• leave plugged in for 48 hours to repair battery
• check for output from source
• make sure all cables are completely plugged in
• turn up volume control of input used
• remove plug from speaker output if not using
external speaker output
• charge battery fully; if battery life continues to
deteriorate, contact Anchor customer service
• lower system volume control
• use shielded cables
• use balanced microphone
Possible Solution
• set MUTE switch to on (handheld mic only)
• turn up WIRELESS volume control
• make sure mic is plugged into bodypack
transmitter
• pull VOLUME knob
• turn Explorer POWER switch on
• make sure transmitter power switch is on
• set receiver and transmitter to same channel
• replace battery in transmitter
ANCHOR Audio, Inc. (310) 784-2300
100-0143-000 / Revision 1 - 03/04
(Wireless Models Only)
Advertisement
Table of Contents

Summary of Contents for Anchor Explorer PRO
-
Page 1: Troubleshooting Guide
• remove plug from speaker output if not using external speaker output Shortened battery life: • charge battery fully; if battery life continues to deteriorate, contact Anchor customer service Distorted sound: • lower system volume control Excessive hum or noise: •... - Page 2 Explorer PRO Sound System Owner’s Manual...
-
Page 3: Important Safeguards
(service) dans le livret d'instruction accompagnant l'appareil. DATE OF MANUFACTURE The date of manufacture of this Anchor Audio product can be determined by the seven or eight digit serial number code. The fifth and sixth digits from the right denote the year, the seventh digit (letter) from the right denotes the month (A=Jan, B=Feb, etc.) Example:... -
Page 4: Specifications
SPECIFICATIONS Explorer PRO Rated power output: 60 watts (AC mode) / 30 watts (DC mode) Max SPL @ rated power: 110 db @ 1 meter General Frequency response: 80 Hz - 16 kHz Speaker type: 6.5" woven fiber woofer, high-output horn tweeter... - Page 5 Battery powered, outboard CD player mounts on top of Explorer PRO case ....... . . P/N: EXP-CD Speaker Stand Heavy duty brushed aluminum speaker stand .
- Page 6 Thank you for choosing an Anchor Audio portable sound system. Our products incorporate state-of- the-art design and the finest quality of materials and workmanship. We’re proud of our products and appreciate the confidence which you have shown by selecting an Anchor system.
-
Page 7: Getting Started
Notify your dealer of the pending freight claim. Returning Systems For Service or Repair IMPORTANT: Should your unit require service, contact your dealer or the Anchor Save the Audio Customer Service Department at (800) 262-4671 to obtain a shipping Return Authorization (RA) number. -
Page 8: Wireless Microphone Operation
2. Turn the transmitter power ON, the red LED will flash once. the “MIC” (If the red LED stays on, the battery is low.) position when 3. Turn the Explorer PRO power switch to ON. Pull out the a mic is volume knob for the correct microphone channel. plugged into 4. -
Page 9: Battery Operation
BATTERY OPERATION Battery Level Indicator The Explorer PRO sound system features a built in battery level indicator that shows the battery level in three steps at power on. 1. GREEN: Battery is fully charged. 2. YELLOW: Battery level is depleted. - Page 10 PRECAUTIONS Feedback Feedback is a howling or shrill sound that is self-generated by the CAUTION: sound system. It is caused by microphone pickup of the sound Feedback can emanating from the speaker and then being re-amplified. Once be damaging started, feedback will continue until adjustments are made. to both your equipment and a persons...
-
Page 11: General Operation
GENERAL OPERATION Explorer PRO Control Panel 1. Set all input level controls to minimum and tones controls to flat or middle position before turning on the power. 2. Plug a microphone into Mic 1 or Mic 2, or plug an audio source into the Line-in input jack. -
Page 12: Line Inputs
GENERAL OPERATION Mic 1 & 2 / Wireless 1 & 2 Mic Input Balanced or unbalanced microphone input. Use XLR mics and cables when long mic cables are needed. The XLR input has phantom power for use with condenser microphones. Line Inputs The line input is used for playback of a tape or CD player, VCR or similar source.


Need help?
Do you have a question about the Explorer PRO and is the answer not in the manual?
Questions and answers