
Subscribe to Our Youtube Channel
Related Manuals for Akai ACAC100UC


Summary of Contents for Akai ACAC100UC
- Page 1 Operator’s manual www.akai.com CAR AUDIO - MP3 / CD RECEIVER ACAC100UC Operator’s manual (GB) 1-11 Gebruiksaanwijzing (NL) 13-24 Manuel de l’utilisateur (FR) 26-37...
-
Page 2: Table Of Contents
TABLE OF CONTENTS LOCATIONS OF CONTROLS INSTALLATION TO SUPPORT THE UNIT DETACHING THE FRONT PANEL ATTACHING THE FRONT PANEL ISO CONNECTOR OPERATING INSTRUCTIONS USING THE RDS FUNCTION CD CONTROL LOCATION OF PARTS 10. HOW TO SELECT MP3 FILES 11. TECHNICAL INFORMATION... -
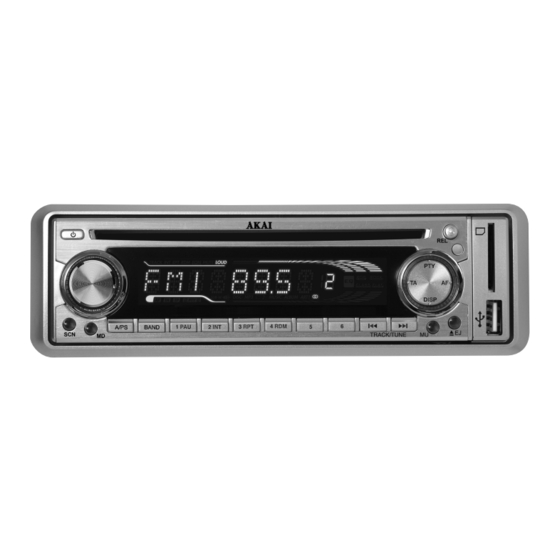
Page 3: Locations Of Controls
DISP COMPACT DIGITAL AUDIO TRACK/TUNE LOCATIONS OF CONTROLS DISP COMPACT DIGITAL AUDIO TRACK/TUNE 13 9 14 18 (1-6) 1. POWER ON / OFF ( 2. FUNCTION SELECT BUTTON: BASS / TREBLE / BALANCE / FADER / TA SEEK / MASK DPI / RETUNE / AUDIO DSP / LOUDNESS / ESP / CD MULTI / BEEP / SEEK / STEREO / LOCAL (SEL) 3. -
Page 4: Installation
INSTALLATION PRECAUTIONS • Choose the mounting location carefully so that the unit will not interfere with the normal driving functions of the driver. • Avoid installing the unit where it would be subject to high temperatures, such as from direct sunlight or hot air from the heater, or where it would be subject to dust, dirt or excessive vibration. -
Page 5: Detaching The Front Panel
Detaching and attaching the front panel The front panel of this unit can be detached in order to prevent the unit from being stolen. DETACHING THE FRONT PANEL Before detaching the front panel, be sure to press the PWR button OFF first. Pull out the panel towards you in order to detach completely the panel from the main unit. -
Page 6: Iso Connector
ISO CONNECTOR RCA Jack Line Out White (left) Red (right) RCA Jack Line In White (left) Red (right) CONNECTOR A 4. MEMORY +12V 5. AUTO ANTENNA OUTPUT 7. +12V (TO IGNITION KEY) 8. GROUND Note: (connector A no. 7) must be connected by car ignition key in order to avoid that car bat- tery being drained when the car will be not used for long period. -
Page 7: Operating Instructions
OPERATING INSTRUCTIONS 1. POWER ON/OFF By pressing this key, the unit is switched on or off. This unit is turned on by pressing any key. 2. SELECT 3. VOLUME UP/DOWN Turning the VOL knob Right or Left (3), you can adjust VOL/BASS/TREB/BAL/FAD. To select other functions, press the SEL (2) button shortly until the desired functions is shown on the display. - Page 8 TA SEEK MASK DPI MASK DPI / MASK ALL TA SEEK MASK DPI RETUNE RETUNE L / RETUNE S 2 sec. TA SEEK TA SEEK / TA ALARM 2 sec. 2 sec. 2 sec. TA SEEK MASK DPI RETUNE RETUNE L / RETUNE S TA SEEK MASK DPI DSP ON...
-
Page 9: Using The Rds Function
2 sec. MULTI BEEP LOUD TA SEEK MASK DPI RETUNE SEEK SEEK1 / SEEK 2 STEREO/MONO (2) LOUD MULTI BEEP When press the SEL button for more than 2 seconds, it is activated as selecting mode of these function. 2 sec. SEEK SEEK1 / SEEK 2 TA SEEK... - Page 10 6. ‘TA’ function (TRAFFIC ANNOUNCEMENT) When pressed short, it is activated as TA mode on or off When TA mode is on and traffic announcement is transmitted – When the unit is it CD/MP3 mode, it will switch to radiomode temporarily. –...
-
Page 11: Cd Control Location Of Parts
CD CONTROL LOCATION OF PARTS TRACK/SEARCH BUTTON (11) FORWARD AND REVERSE TRACK SEARCH (or changing songs) Press the SKIP button ( ) during play to go to the desired track(song)..REVERSE ..FORWARD Press and hold the SKIP button ( ) during play to scan the disc at high speed. When the desired music section of the disc is found, release the button. -
Page 12: How To Select Mp3 Files
HOW TO SELECT MP3 FILES 1. Searching Track: • Press “A/PS”, then searching track is activated. • Press “SEL”, then the first digit is blinking. • With “VOL / VOL ” knob, select first digit you want. • Press “SEL”, then the first digit is fixed and second digit is blinking. •... -
Page 13: Technical Information
For more detailed information about recycling of this product, please contact your local city office, your household waste disposal service or the shop where you purchased the product. Importer AKAI Benelux – Elmarc B.V. Information : www.akai.eu...
Need help?
Do you have a question about the ACAC100UC and is the answer not in the manual?
Questions and answers