Table of Contents
Advertisement
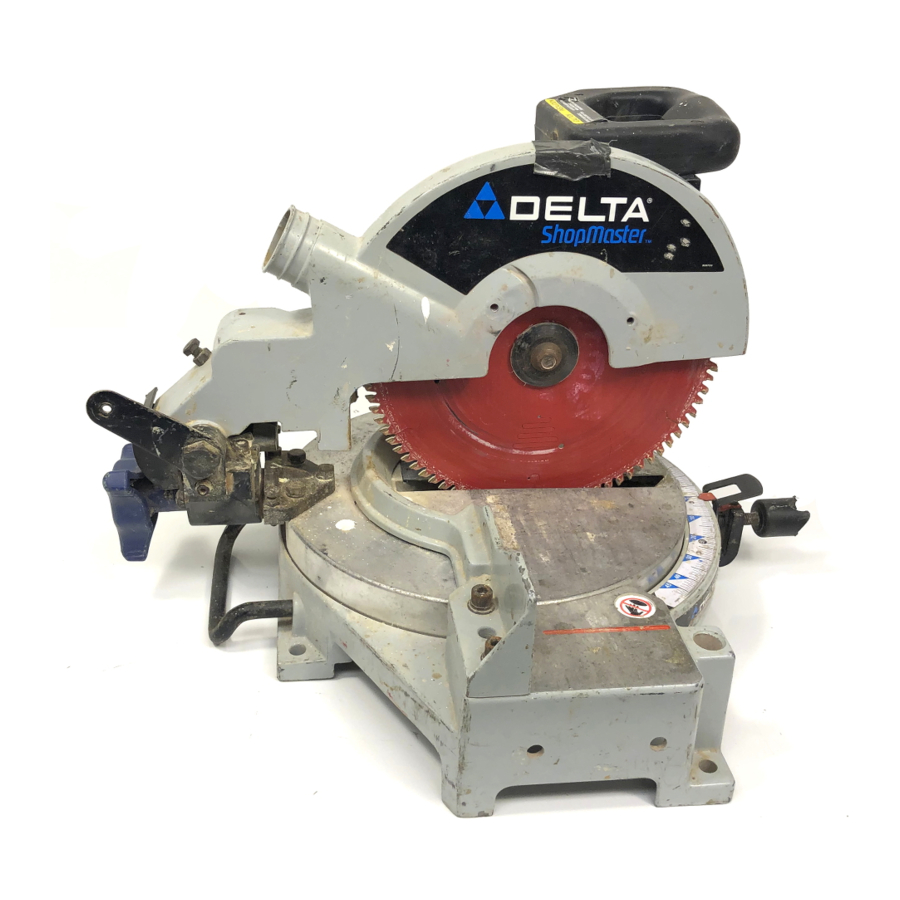
10" Compound
Power Miter Saw
(Model MS250)
PART NO. A05737_01-24-06_RevB
Copyright © 2006 Delta Machinery
To learn more about DELTA MACHINERY
ESPAÑOL: PÁGINA 23
visit our website at: www.deltamachinery.com.
For Parts, Service, Warranty or other Assistance,
1-800-223-7278 (
1-800-463-3582).
please call
In Canada call
Advertisement
Table of Contents

Related Manuals for Delta ShopMaster MS250


Summary of Contents for Delta ShopMaster MS250
- Page 1 10" Compound Power Miter Saw (Model MS250) PART NO. A05737_01-24-06_RevB Copyright © 2006 Delta Machinery To learn more about DELTA MACHINERY ESPAÑOL: PÁGINA 23 visit our website at: www.deltamachinery.com. For Parts, Service, Warranty or other Assistance, 1-800-223-7278 ( 1-800-463-3582). please call...
-
Page 2: Table Of Contents
Machinery strongly recommends that this product NOT be modified and/or used for any application other than for which it was designed. If you have any questions relative to its application DO NOT use the product until you have written Delta Machinery and we have advised you. -
Page 3: Safety Guidelines
SAFETY GUIDELINES - DEFINITIONS It is important for you to read and understand this manual. The information it contains relates to protecting YOUR SAFETY and PREVENTING PROBLEMS. The symbols below are used to help you recognize this information. Indicates an imminently hazardous situation which, if not avoided, will result in death or serious injury. Indicates a potentially hazardous situation which, if not avoided, could result in death or serious injury. -
Page 4: General Safety Rules
TION MANUAL BEFORE OPERATING mended by Delta may cause damage to the MACHINE. Learning the machine’s application, machine or injury to the user. limitations, and specific hazards will greatly minimize the possibility of accidents and injury. -
Page 5: Additional Specific Safety Rules
ADDITIONAL SPECIFIC SAFETY RULES FAILURE TO FOLLOW THESE RULES MAY RESULT IN SERIOUS PERSONAL INJURY. DO NOT OPERATE THIS MACHINE until it is WHEN USING A SLIDING MITER SAW AS A REGULAR completely assembled and installed according to the MITER SAW, LOCK THE SLIDE MECHANISM IN PLACE. instructions. - Page 6 POWER CONNECTIONS A separate electrical circuit should be used for your machines. This circuit should not be less than #12 wire and should be protected with a 20 Amp time lag fuse. If an extension cord is used, use only 3-wire extension cords which have 3-prong grounding type plugs and matching receptacle which will accept the machine’s plug.
-
Page 7: Functional Description
FOREWORD Delta ShopMaster Model MS250 is a 10" Compound Power Miter Saw designed to cut wood, plastic, and aluminum. Compound angle and bevel cutting are easy and accurate. It can crosscut up to 5-3/4" x 2-3/8", miter at 45° both left and right up to 4-1/8"... -
Page 8: Carton Contents
CARTON CONTENTS Fig. 1 Remove the miter saw and all loose items from the carton. Do not lift the miter saw by the switch handle. This action can cause misalignment. Always lift the machine by the base or the carrying handle. Miter Saw Arm Table Lock Handle Miter Saw Base... - Page 9 For your own safety, do not connect the machine to the power source until the machine is completely assembled and you read and understand the entire instruction manual. ATTACHING THE MITER SAW ARM TO THE BASE DISCONNECT MACHINE FROM POWER SOURCE! Align the bevel lock handle screw (A) Fig.
-
Page 10: Moving Cuttinghead To The Up Position
Rotate the table to the left until the index stop engages with the 90° positive stop (Fig. 6). Tighten the table lock handle (A). Fig. 6 MOVING CUTTINGHEAD TO THE UP POSITION Push down on handle (A), Inset, Fig. 7. Pull out the cuttinghead lock knob (B). Move the cuttinghead (C) to the up position (Fig. -
Page 11: Operation
OPERATION OPERATIONAL CONTROLS AND ADJUSTMENTS TABLE HAZARD AREA The area inside the two red lines (A) Fig. 11 on the table is designated as a hazard zone. Never place your hands inside this area while the machine is running. Fig. 11 USING THE OPTIONAL WORK CLAMP An optional work clamp (A) Fig. -
Page 12: Pointer And Scale
ROTATING THE TABLE FOR MITER CUTTING Your miter saw will cut any angle from a straight 90° cut to 47° right and left. Turn the lock handle (A) Fig. 15 counter-clockwise one or two turns, depress the index lever (B), and move the control arm to the desired angle. Tighten the lock handle (A). The miter saw is equipped with positive stops at the 0°, 22.5°, 31.62°, and 45°... - Page 13 TILTING THE CUTTINGHEAD FOR BEVEL CUTTING You can tilt the cuttinghead of your compound miter saw to cut any bevel angle from a 90° straight cut off to a 45° left bevel angle. Loosen the bevel lock handle (A) Fig. 20, tilt the cutting arm (B) to the desired angle, and tighten the lock handle (A).
- Page 14 ADJUSTING THE FENCE 90° TO THE BLADE DISCONNECT MACHINE FROM POWER SOURCE! If the fence (A) Fig. 24 is removed from the saw, adjust it after replacement so that it is 90° to the blade. Place one end of the square (B) Fig. 24 against the fence (A) and the other end against the blade. To adjust, loosen the four screws (C) Fig.
- Page 15 Loosen the bevel lock handle. Move the cutting arm all the way to the left bevel position and tighten the bevel lock handle. Use a combination square (A) Fig. 29 to see if the blade is at 45° to the table. Fig.
-
Page 16: Typical Operations And Helpful Hints
MACHINE USE TYPICAL OPERATIONS AND HELPFUL HINTS Before cutting, make certain that the cutting arm and table are at their correct settings and firmly locked in place. Place the workpiece on the table and hold or clamp it firmly against the fence. The optional clamp (A) Fig. 33 can also be used on the right side of the machine (See Fig. -
Page 17: General Cutting Operations
GENERAL CUTTING OPERATIONS Your machine has the capacity to cut standard 2 x 4’s, lying flat or on edge, at the 45° right and left miter angles (Fig. A1 & A2). A standard 2 x 6 can be cut in the 90° straight cut-off position in one pass (Fig. A3). Cutting a standard 4 x 4 can be accomplished with one pass (Fig. -
Page 18: Cutting Aluminum
CUTTING ALUMINUM Aluminum extrusions such as used for making aluminum screens and storm windows can easily be cut with your compound miter saw. When cutting aluminum extrusions, or other sections that can be cut with a saw blade and are within the capacity of the machine, position the material so the blade is cutting through the smallest cross-section (Fig. -
Page 19: Cutting Crown Moulding
NOTE: The above instructions are assuming the angle between the walls is 90°. If you need help cutting crown moulding set at angles other than 90°, see the instruction sheet “CUTTING CROWN MOULDING” on the Delta Machinery web site at www.deltamachinery. -
Page 20: Troubleshooting
TROUBLESHOOTING For assistance with your machine, visit our website at www.deltamachinery.com for a list of service centers or call the DELTA Machinery help line at 1-800-223-7278 (In Canada call 1-800-463-3582). MAINTENANCE CHANGING THE BLADE Use only cross-cutting saw blades. When using carbide-tipped blades, do not use blades with deep gullets as they can deflect and contact the guard. -
Page 21: Brush Inspection And Replacement
BRUSH INSPECTION AND REPLACEMENT Brush life varies. It depends on the load on the motor. Check the brushes after the first 50 hours of use for a new machine or after a new set of brushes has been installed. After the first check, examine them after about 10 hours of use until a replacement is necessary. -
Page 22: Service
Two Year Limited New Product Warranty Delta will repair or replace, at its expense and at its option, any new Delta machine, machine part, or machine accessory which in normal use has proven to be defective in workmanship or material, provided that the customer returns the product prepaid to a Delta factory service center or authorized service station with proof of purchase of the product within two years and provides Delta with reasonable opportunity to verify the alleged defect by inspection. -
Page 23: Español
The following are trademarks of PORTER-CABLE • DELTA (Las siguientes son marcas registradas de PORTER-CABLE • DELTA S.A.) (Les marques suivantes sont des marques de fabriquant de la PORTER-CABLE • DELTA): Auto-Set ® , BAMMER ® , B.O.S.S. ® , Builder’s Saw ® , Contractor’s Saw ® , Contractor’s Saw II™, Delta ® , DELTACRAFT ®...
Need help?
Do you have a question about the ShopMaster MS250 and is the answer not in the manual?
Questions and answers