
Related Manuals for Kenmore 43813


Summary of Contents for Kenmore 43813
-
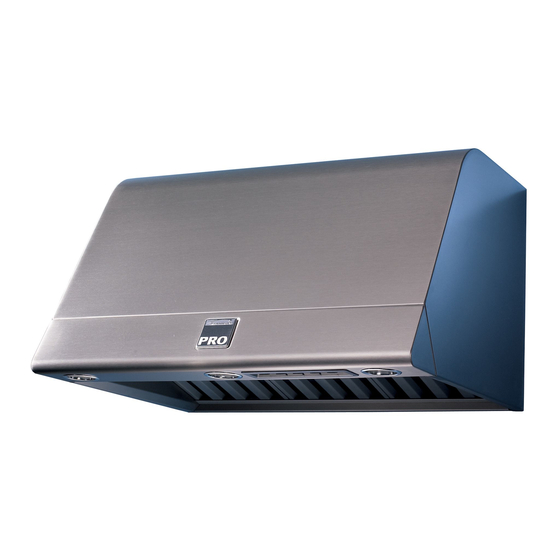
Page 1: Range Hood
Range Hood Use & Care Guide Installation Manual Models 43813 (30” wide - Stainless) 43823 (36” wide - Stainless) HB0057 V07820 rev. A SEARS CANADA INC., Toronto, Ontario M5B 2B8 www.sears.ca... -
Page 2: Table Of Contents
3. Clean ventilating fans frequently. Grease should not be allowed to 8. To reduce the risk of fire and electric shock, the Kenmore PRO accumulate on fan or filter. hood must be installed with blower models 32686, 32685, or 4. -
Page 3: Operation
OPERATION CLEANING Always turn ON your hood before you begin cooking in order Baffle filters to establish an air flow in the kitchen. Let the blower run for a The baffle filters should be cleaned frequently. Use a warm few minutes to clear the air after you turn off the range. This detergent solution. -
Page 4: Parts Included With Hood
PARTS INCLUDED WITH HOOD PARTS NOT INCLUDED WITH HOOD Wood mounting strip (screwed on back of hood) Baffle Filter (3 per hood) HR0013 Parts Bag (includes 4 flat head screws #10-2’’, Ducting Accessories 8 screws #8-¾’’, 4 Nuts #10-32, (See “Range Hood System” on page 5 for Ducting Accessory 2 Wall anchors and Model Nos.) 2 Washers... -
Page 5: Range Hood System
(600 cfm Interior Blower Model 32675) Blower and Rough-in Plate) Choose 1 of 3 Blower Systems 43813 or 43823 Hood (Canopy with blower Sears Stock Number 32686 controls & lighting. Blower / Rough-in Kit Required for all (1200 cfm Interior Blower and installations.) -
Page 6: Equivalent Duct Length Chart
EQUIVALENT DUCT LENGTH CHART Kenmore range hoods are designed to perform efficiently when attached to long runs of duct. As a point of reference, this hood will function at approximately 80% of its rated air performance when 100 equivalent feet of 7" round ductwork is attached (for 600 cfm blowers) or 125 equivalent feet of 10"... -
Page 7: Prepare The Hood Location
PREPARE THE HOOD LOCATION 1. The Kenmore PRO Series hood must be installed with 2. Dimensions for the most common installations are shown interior blower models 32685 or 32686, or exterior blower below. 32675 only. Other blowers cannot be substituted. -
Page 8: Prepare The Hood
PREPARE THE HOOD 1. Measure and mark a level line on wall above cooktop location for the wood mounting strip (see illustration to the right and under step 2 on page 7). Unscrew the mounting strip from the hood and discard the screws. Use #10-2”... -
Page 9: Install The Hood
INSTALL THE HOOD 1. Rest the back cavity of the hood on the wood mounting strip. CAUTION: Hold the hood until it is completely DELAY secured to the wood mounting strip. Secure hood to wood strip with (4) screws #8 - ¾” provided at location shown. -
Page 10: Connect The Wiring
CONNECT THE WIRING WARNING: Risk of electrical shock. Electrical 1. Remove wiring cover from rough-in plate and set aside. wiring must be done by qualified personnel 2. Remove appropriate knock-out from rough-in plate. As you in accordance with all applicable codes and are installing the rough-in plate, feed 6”... -
Page 11: Install The Filters
INSTALL FILTERS CAUTION: Remove protective plastic film covering baffle filters before installing them. It is recommended to install side baffle filters first and finish with center one. HD0172 1) Insert one end of baffle filter into the hood. Push towards the front of the hood in order to insert the retaining clip into the baffle border slots. -
Page 12: Service Parts
Inside Frame Ass’y (including item 9) 36’’ x 18’’ x 24’’ V07678 Harness Kit V07820 Kenmore PRO Installation Manual V12971 Installation Bag (Flat head screws #10 x 2” (4), Screws #8 x ¾” (8), Nuts #10-32 (4), Wall anchors (2), Washers ”...
Need help?
Do you have a question about the 43813 and is the answer not in the manual?
Questions and answers