Table of Contents
Advertisement
Quick Links
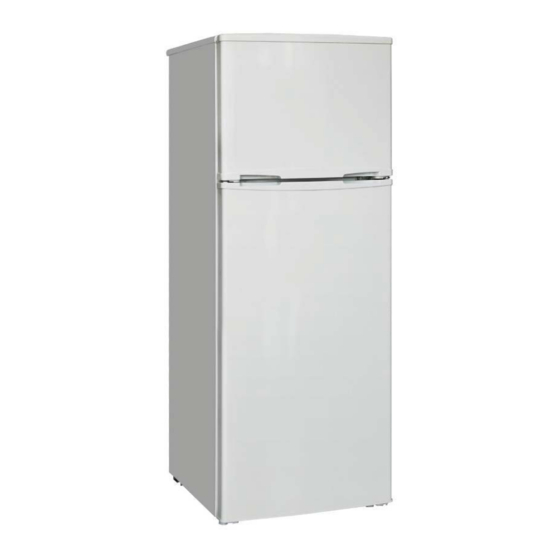
REFRIGERATOR-FREEZER
Model Number : CP96
INSTRUCTION MANUAL
BEFORE USE, PLEASE READ AND FOLLOW ALL SAFETY RULES
AND OPERATING INSTRUCTIONS.
Felix Storch, Inc
Summit Appliance Division
Write Serial Number (on back of unit) here:
770 Garrison Avenue
Bronx, New York 10474
_______________________________
www.summitappliance.com
0
Advertisement
Table of Contents

Related Manuals for Summit CP96


Summary of Contents for Summit CP96
- Page 1 REFRIGERATOR-FREEZER Model Number : CP96 INSTRUCTION MANUAL BEFORE USE, PLEASE READ AND FOLLOW ALL SAFETY RULES AND OPERATING INSTRUCTIONS. Felix Storch, Inc Summit Appliance Division Write Serial Number (on back of unit) here: 770 Garrison Avenue Bronx, New York 10474 _______________________________ www.summitappliance.com...
-
Page 2: Table Of Contents
Table of Contents Important Safeguards .................. 2 - 3 Location of Parts ....................4 Installation Instructions ................4 – 7 1. Before using your appliance ..............4 2. Installing your appliance ..............4 – 5 3. Reversing the door swing ..............5 – 7 4. -
Page 3: Important Safeguards
IMPORTANT SAFEGUARDS Before the refrigerator/freezer is used, it must be properly positioned and installed as described in this manual, so read the manual carefully. To reduce the risk of fire, electrical shock or injury when using this appliance, follow basic precautions, including the following: •... - Page 4 • To ensure proper ventilation for your refrigerator, the front of the unit must be completely unobstructed. Choose a well-ventilated area with temperatures above 60°F (16°C) and below 90°F (32°C). This unit must be installed in an area protected from the elements such as wind, rain, water spray or drips. •...
-
Page 5: Location Of Parts
Location of Parts 1. Top cover 2. Wire shelf of freezer compartment 3. Thermostat 4. Glass shelf 5. Crisper cover 6. Crisper 7. Adjustable leg 8. Long rack 9. Short rack 10. Bottle rack INSTALLATION INSTRUCTIONS 1. Before using your appliance a. -
Page 6: Reversing The Door Swing
• To ensure proper ventilation for your refrigerator, leave not less that 12” of space at the top and 4" on both sides and the back. • If you are installing the refrigerator next to a fixed wall, leave sufficient space on the hinge side to allow for the door to swing open at least 120°. - Page 7 3. Remove the middle hinge and then slide the lower door up and lift away from the appliance. 4. Undo the screws and remove the lower hinge from the base and then refit the hinge to the opposite side. 5. Set the refrigerator door in place first and screw the middle hinge on the opposite side.
-
Page 8: Electrical Connection
Plug the appliance into an exclusive, properly installed, grounded wall outlet. Any questions regarding power and/or grounding should be directed toward a certified electrician or an authorized Summit service center. • It is recommended that a separate circuit serving only this appliance be provided. -
Page 9: Operation
Operation After cleaning the appliance and allowing it to stand for at least 30 minutes, you can connect it to a 115-120V AC, 60 Hz power source. 1. Power On a. Once the unit is connected to the power source, turn the thermostat knob to a setting between 1 and 5. -
Page 10: Freezer
5. Freezer • Freezer temperature is below 32 F (0 C). It is suitable for keeping fish, meat, frozen dinners, etc. stored for extended periods of time. • Mark packages with the following data: Kind and amount of food and date of loading. -
Page 11: Replacing The Light Bulb
3. Replacing the light bulb Turn the thermostat to the OFF position 0 and disconnect from the electrical power supply. Remove all food from the top shelf of the refrigerator and pull the shelf forward slightly. The bulb is located in the back of the thermostat housing. Remove the plastic cover by pressing the front center while pulling upwards on the small rim on the bottom. -
Page 12: Troubleshooting
Troubleshooting If your appliance is not working normally, you may be able to avoid the cost of a service call by checking the following list of common problems: 1. Troubleshooting guide Problem Possible cause Unit stops working. Thermostat is set at 0 (OFF). Power plug is not firmly set in socket. -
Page 13: Circuit Diagram
Circuit Diagram Disposal Instructions In the event of the unit being damaged beyond repair, please dispose of it according to local regulations for the disposal of appliances. Please take off the doors before you discard the appliance, to prevent children from being trapped inside. -
Page 14: Limited Warranty
Limited Warranty ONE-YEAR LIMITED WARRANTY Within the 48 contiguous United States, for one year from the date of purchase, when this appliance is operated and maintained according to instructions attached to or furnished with the product, warrantor will pay for factory-specified parts and repair labor to correct defects in materials or workmanship. Service must be provided by a designated service company.
Need help?
Do you have a question about the CP96 and is the answer not in the manual?
Questions and answers