Sign In
Upload
Download
Table of Contents
Contents
Add to my manuals
Delete from my manuals
Share
URL of this page:
HTML Link:
Bookmark this page
Add
Manual will be automatically added to "My Manuals"
Print this page
×
Bookmark added
×
Added to my manuals
Manuals
Brands
Summit Manuals
Refrigerator
CP72W
User manual
Summit CP72W User Manual
4.5 cu. ft. refrigerator-freezer
Hide thumbs
1
Table Of Contents
2
3
4
5
6
7
8
9
10
11
12
13
14
page
of
14
Go
/
14
Contents
Table of Contents
Troubleshooting
Bookmarks
Table of Contents
Table of Contents
Appliance Safety
Important Safeguards
Location of Parts
Installation Instructions
Before Using Your Appliance
Installation of Your Appliance
Reversing the Door Swing
Electrical Connection
Operating Instructions
Setting the Temperature Control
Interior Light
Defrosting
Care and Maintenance
Cleaning Your Appliance
Changing the Light Bulb
Power Failure
Vacation
Moving Your Appliance
Energy-Saving Tips
Troubleshooting
Limited Warranty
Advertisement
Quick Links
Download this manual
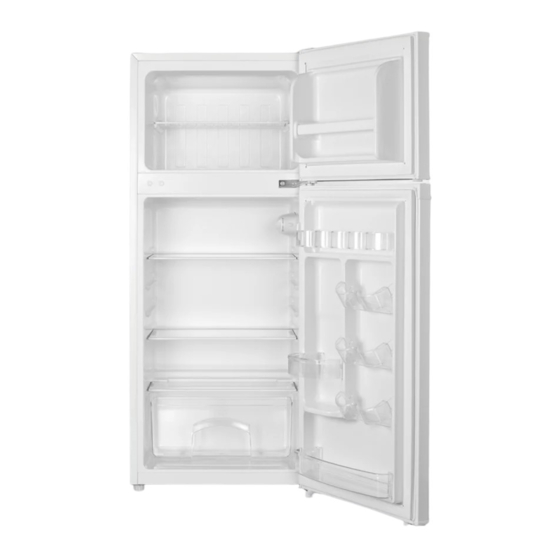
4.5 cu. ft. REFRIGERATOR-FREEZER
User Manual
Models:
CP72W
LC72W
ARF725W
CP73PL
LC73S
ARF726P
BEFORE USE, PLEASE READ AND FOLLOW ALL SAFETY RULES AND OPERATING
INSTRUCTIONS IN THIS MANUAL.
Table of
Contents
Previous
Page
Next
Page
1
2
3
4
5
Advertisement
Table of Contents
Need help?
Do you have a question about the CP72W and is the answer not in the manual?
Ask a question
Questions and answers
Related Manuals for Summit CP72W
Refrigerator Summit CP-35 Instruction Manual
Summit appliance refrigerator manual (9 pages)
Refrigerator Summit CP-35LL Specifications
Compact energy star listed two-door refrigerator-freezer with cycle defrost and zero degree freezer (2 pages)
Refrigerator Summit CP35 Instruction Manual
(16 pages)
Refrigerator Summit CP97 Specifications
Two-door refrigerator-freezer with cycle defrost in slim 21 1/2 inch width (2 pages)
Refrigerator Summit CP171 Series User Manual
Refrigerator with bottom freezer (16 pages)
Refrigerator Summit CP97R-1 Instruction Manual
(16 pages)
Refrigerator Summit CP96 Instruction Manual
(14 pages)
Refrigerator Summit CP36W Instruction Manual
2 door refrigerator-freezer (16 pages)
Refrigerator Summit CP351W Instruction Manual
(16 pages)
Refrigerator Summit CP972SS Use And Care Manual
(16 pages)
Refrigerator Summit CP73PL User Manual
4.5 cu. ft. refrigerator-freezer (14 pages)
Refrigerator Summit CP34W Owner's Manual
(32 pages)
Refrigerator Summit CP978PL User Manual
Manual defrost top mount refrigerator-freezer (60 pages)
Refrigerator Summit CT66 Series Use And Care Manual
24 inch refrigerators, freezers, wine cellars, refrigerator-freezers (17 pages)
Refrigerator Summit SPRF34D User Manual
Frost-free refrigerator/freezers (16 pages)
Refrigerator Summit BeautiFridge COOL1D Instruction Manual
Cosmetics refrigerator (32 pages)
This manual is also suitable for:
Lc72w
Arf725w
Cp73pl
Lc73s
Arf726p
Table of Contents
Print
Rename the bookmark
Delete bookmark?
Delete from my manuals?
Login
Sign In
OR
Sign in with Facebook
Sign in with Google
Upload manual
Upload from disk
Upload from URL


Need help?
Do you have a question about the CP72W and is the answer not in the manual?
Questions and answers