Advertisement
Quick Links
Advertisement

Subscribe to Our Youtube Channel
Related Manuals for RODE Microphones NTK


Summary of Contents for RODE Microphones NTK
- Page 1 Instruction Manual www.rodemic.com ( EMC, LVD )
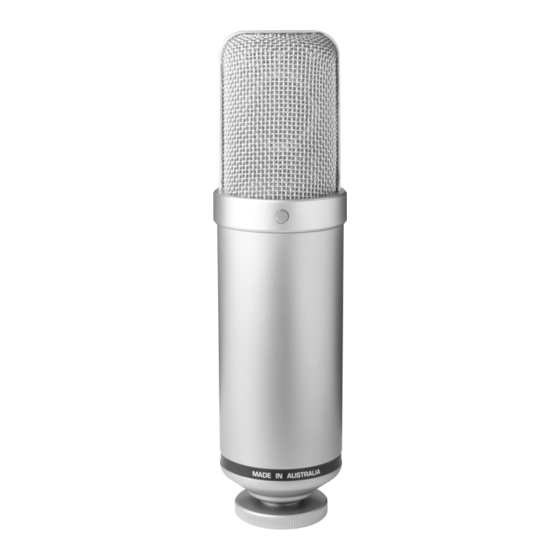
- Page 2 The NTK is the result of an extensive development program to create a truly superior valve condenser microphone. The heart of the NTK is the Australian designed and manufactured HF-2 capsule. The electronic circuitry complementing this very sensitive transducer includes a hand-selected twin-triode 6922 valve and audiophile grade components and layout.
-
Page 3: Specifications
Specifi cations Acoustic Pressure gradient Principle: Active Valve/tube impedance Electronics: converter with bipolar output buffer Directional Cardioid Pattern: (see graph) Frequency 20Hz ~ 20,000Hz Range: (see graph) Output 200Ω Impedence: Sensitivity: -38dB re 1V/Pa @ 1kHz (25mV/Pa @ 94dB SPL) ±2dB @ 1kHz Equivalent Noise: 12dBA SPL (per IEC651) - Page 4 Specifi cations Frequency Response Polar Response – – – Accessories • Power supply (NTK-PS) • Power cable (PL100) • NTK cable (NTK-C) • Stand adaptor (M2) - 4 -...
- Page 5 Features • Large capsule (1”) with gold-plated diaphragm • Class “A” valve circuitry • Hand selected and graded 6922 twin-triode valve • Dedicated power supply • Ultra low noise • Wide dynamic range • High strength heat treated steel mesh head •...
- Page 6 Before using the NTK • Ensure that your NTK has been set to the correct voltage, as used in your country. The NTK can be used with mains suppliy voltages of between either 110-120V 50/60Hz or 220-240V 50/60Hz. - To select for 110-120V use, set the voltage selector to 115V.
- Page 7 NTK to the power supply. Do not connect the power to the mains before connecting the microphone. • Connect the male 7-pin plug of the NTK cable to the 7-pin input socket on the rear of the power supply.
- Page 8 Using the NTK • The gold dot on the face of the NTK indicates the front of the microphone, and the pick-up area of the cardioid pattern. Please be sure to have the side with the dot facing the sound source you wish to record.
- Page 9 • We strongly recommend the use of a pop shield or fi lter for all vocal recording. These aid in minimising plosive sounds (hard ‘P’, ‘B’, ‘T’ and ‘K’ sounds) that produce a sudden jet of air which can cause the capsule to overload and produce a ‘popping’...
- Page 10 Storage • After use the NTK should be removed from its mount, wiped with a dry, soft cloth and placed in its protective case. • Be sure to place the moisture-absorbent crystals (supplied) at the head of the microphone, so as to absorb any moisture present.
-
Page 11: Important Notice
I’alimentation vous-même! NOTA: No manipule internamente la fuente de alimentacion del NTK, puesto que el alto voltaje puede ser perjudicial en caso de sufrir una descarga. Si se apreciara un functionamiento incorrecto de la fuente de alimentacion, debera consultarlo en el establecimiento donde adquirio la unidad, solo puede ser manipulado por un servicio tecnico cualifi... -
Page 12: Warranty
Warranty microphones are warranted for one year from date of purchase. You can extend that to a full ten years if you register online at www.rodemic.com. The warranty covers parts and labour that may be required to repair the microphone during the warranty period.
Need help?
Do you have a question about the NTK and is the answer not in the manual?
Questions and answers