
Related Manuals for Fisher & Paykel OB60SL models


Summary of Contents for Fisher & Paykel OB60SL models
-
Page 1: Installation Instructions
INSTALLATION INSTRUCTIONS Built-in Oven OB60SL models NZ AU GB IE 590477A 02.13... -
Page 2: Safety And Warnings
SAFETY AND WARNINGS IMPORTANT SAFETY INSTRUCTIONS! WARNING! Electrical shock hazard To avoid hazard, follow these instructions carefully Before carrying out any work on the before installing or using this appliance. electrical section of the appliance, it must Please make this information available to the person be disconnected from the mains electricity installing the appliance - doing so could reduce your supply. -
Page 3: Prior To Installation
PRIOR TO INSTALLATION the benchtop and oven cavity are square and level, and are the required dimensions. the installation will comply with all clearance requirements and applicable standards and regulations. a suitable isolating switch providing full disconnection from the mains power supply is incorporated in the permanent wiring, mounted and positioned to comply with the local wiring rules and regulations. The isolating switch must be of an approved type and provide a 3 mm air gap contact separation in all poles (or in all active [phase] conductors if the local wiring rules allow for this variation of the requirements). -
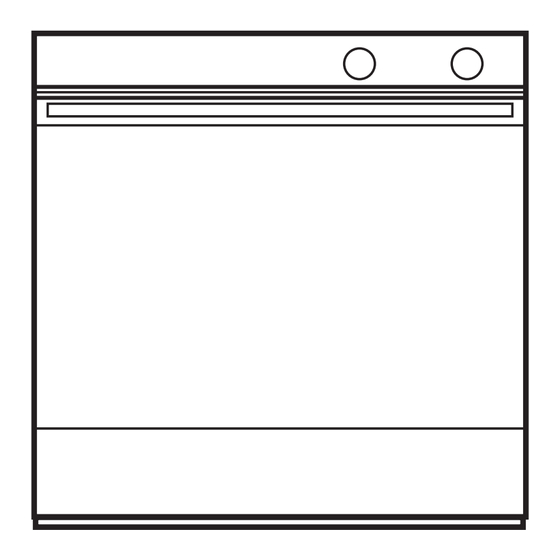
Page 4: Product Dimensions
PRODUCT DIMENSIONS FRONT SIDE Product dimensions (mm) overall height of product overall width of product overall depth of product (excluding handle and dials) height of chassis width of chassis depth of chassis depth of oven frame and control panel (=distance between front of chassis and front of oven door, excl. knobs) depth of oven door when fully open (measured from front of control panel) -
Page 5: Cabinetry Dimensions
CABINETRY DIMENSIONS Electrical supply 16-20 mm min. 1.5 mm SIDE Cabinetry dimensions (mm) minimum inside width of cavity overall width of cabinetry minimum inside height of cavity overall height of cabinetry minimum inside depth of cavity Note: If installing a cooktop above the oven, ensure adequate clearance is provided for the cooktop as per the cooktop manufacturer’s instructions. - Page 6 DISCARD PACKAGING RESPONSIBLY Important! When you remove the oven from the carton be careful not to damage the lower trim. The trim is lower trim important for both ventilation and to ensure the door opens fully without obstruction. Recycle responsibly CONNECT THE OVEN TO THE MAINS SUPPLY Important! This oven must be connected to the mains power supply only by a suitably qualified person.
-
Page 7: Secure The Oven To The Cabinetry
SECURE THE OVEN TO THE CABINETRY Position the oven in the prepared cavity. Important! Do not lift the oven by the door handle. Open the oven door fully. Use the supplied screws to secure the oven to the cabinetry. Important! Do not over-tighten the screws. -
Page 8: Final Checklist
FINAL CHECKLIST TO BE COMPLETED BY THE INSTALLER Installer’ s name: Make sure the oven is level and securely fitted to the cabinetry. Installer’ s signature: Check the lower trim is undamaged. Installation company: Open the oven door slowly until it is fully open and check there is adequate clearance between the bottom of the door and the lower trim.
Need help?
Do you have a question about the OB60SL models and is the answer not in the manual?
Questions and answers