Table of Contents
Advertisement
ALL-REFRIGERATOR
FF511L
Models
CM405
FF521BL
CM411L
SCR450L
SCR500BL
CM421BL
Owner's Manual
BEFORE USE, PLEASE READ AND FOLLOW
ALL SAFETY RULES AND OPERATING INSTRUCTIONS
FELIX STORCH, INC.
Write the Serial Number here:
770 Garrison Avenue
_________________________
Bronx, NY 10474
www.summitappliance.com
Advertisement
Table of Contents

Related Manuals for Summit FF511L


Summary of Contents for Summit FF511L
- Page 1 ALL-REFRIGERATOR FF511L Models CM405 FF521BL CM411L SCR450L SCR500BL CM421BL Owner's Manual BEFORE USE, PLEASE READ AND FOLLOW ALL SAFETY RULES AND OPERATING INSTRUCTIONS FELIX STORCH, INC. Write the Serial Number here: 770 Garrison Avenue _________________________ Bronx, NY 10474 www.summitappliance.com...
-
Page 2: Important Safeguards
IMPORTANT SAFEGUARDS Your safety and the safety of others are very important. We have provided many important safety messages in this manual and on your appliance. Always read and obey all safety messages. This is the Safety Alert Symbol. This symbol alerts you to potential hazards that can kill or injure you and others. -
Page 3: Risk Of Child Entrapment
Use two or more people to move and install the refrigerator. Failure to do so can result in back or other injury. To ensure proper ventilation for your refrigerator, the front of the unit must be completely ° °... -
Page 4: Table Of Contents
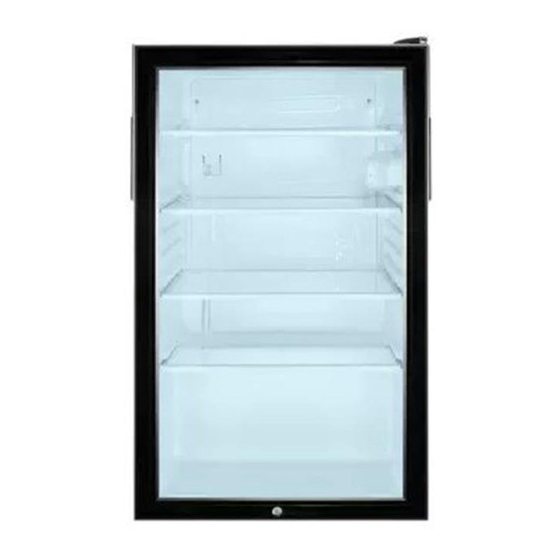
Energy-Saving Tips ..................... 9 Problems with Your Refrigerator? (Troubleshooting) ............10 Limited Warranty ........................11 Location of Parts Temperature control knob Wire shelf Door (solid door for FF511L & FF521BL; glass door for Crisper cover SCR450L & SCR500BL) Crisper Leveling legs... -
Page 5: Technical Information
Technical Information Models: FF511L (white with solid door) FF521BL (black with solid door) SCR450L (white with glass door) SCR500BL (black with glass door) Capacity: 4.1 cubic feet Electrical Input: 115V AC / 60Hz Rated Current: 1.4A Power Input: 100W Refrigerant: R134a, 1.75 oz... -
Page 6: Electrical Connection / Extension Cord
Avoid locating the unit in moist areas. Plug the unit into an exclusive, properly installed and grounded wall outlet. Do not under any circumstances cut or remove the third (ground) prong from the power cord. Any questions concerning power and/or grounding should be directed toward a certified electrician or authorized service center. -
Page 7: Reversing The Door Swing / Door Handle Installation
Reversing the Door Swing: Figure 1 (Default position) Figure 2 (After door reversal) 1. Upper hinge cover 6. Screws 2. Screws 7. Hole cover 3. Upper hinge 8. Cabinet 4. Door 9. Pin cap 5. Lower door hinge This refrigerator can be opened from either the right side or the left. By default, the door hinge is on the right side. -
Page 8: Operating Your Refrigerator
Operating Your Refrigerator Setting the Temperature Control: Your unit has only one control for regulating the temperature in the compartment. The temperature control is located on the upper right-hand side of the compartment. When you turn the unit on for the first time, set the control to its coldest setting, which is 6. -
Page 9: Care And Maintenance
Care and Maintenance Cleaning Your Refrigerator: 1. Turn the temperature control to Off, unplug the unit and remove the food and shelves. 2. Wash the inside surfaces with a solution of warm water and baking soda. The solution should contain about 2 tablespoons of baking soda to a quart of water. -
Page 10: Energy-Saving Tips
Energy-Saving Tips: The unit should be located in the coolest area of the room, away from heat- producing appliances and out of direct sunlight. Let hot foods cool to room temperature before placing in the unit. Overloading the unit forces the compressor to run longer. ... -
Page 11: Problems With Your Refrigerator? (Troubleshooting)
Problems with Your Refrigerator? You can easily solve many common problems with your refrigerator, saving you the cost of a possible service call. Try the suggestions below to see if you can correct the problem before calling the service provider. TROUBLESHOOTING GUIDE Problem Possible Cause... -
Page 12: Limited Warranty
Limited Warranty ONE-YEAR LIMITED WARRANTY Within the 48 contiguous United States, for one year from the date of purchase, when this appliance is operated and maintained according to instructions attached to or furnished with the product, warrantor will pay for factory-specified parts and repair labor to correct defects in materials or workmanship.
Need help?
Do you have a question about the FF511L and is the answer not in the manual?
Questions and answers