Sign In
Upload
Download
Table of Contents
Contents
Add to my manuals
Delete from my manuals
Share
URL of this page:
HTML Link:
Bookmark this page
Add
Manual will be automatically added to "My Manuals"
Print this page
×
Bookmark added
×
Added to my manuals
Manuals
Brands
Dish TV Manuals
Receiver
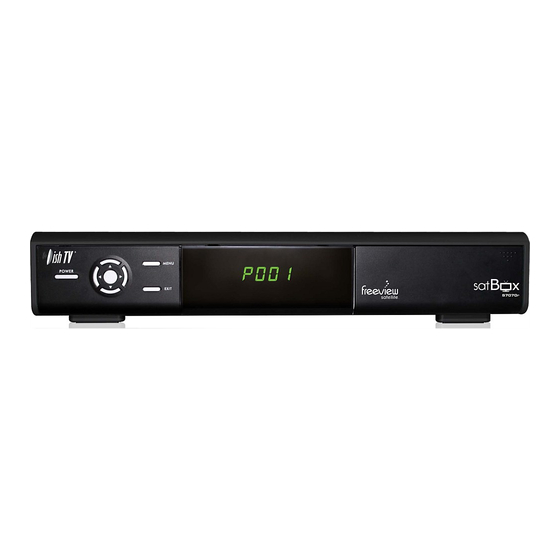
DishTV S7070r
User manual
Dish TV DishTV S7070r User Manual
Dvb-s single tuner usb pvr satellite receiver
Hide thumbs
Also See for DishTV S7070r
:
User manual
(40 pages)
1
2
3
Table Of Contents
4
5
6
7
8
9
10
11
12
13
14
15
16
17
18
19
20
21
22
23
24
25
26
27
28
page
of
28
Go
/
28
Contents
Table of Contents
Troubleshooting
Bookmarks
Table of Contents
User Manual
In the Box
Rear View
Table of Contents
Your Remote Control
Connecting Your Satbox
Getting Started
Main Menu
User Settings
Favourite View
Organizer
User Preference
Blind Scan
Satellite Scan
Installation
System Setting
Country Setup
Factory Default
S/W Uprade Via OTA
System Configuration
Wakeup Timer
Version
Esg
Media Manager
Thumbnail Browser
Recorded Book List
Media Information
Recording
Recordings Library
Bookmarking
Editing Recordings
Firmware Upgrade
Frequently Asked Questions
Troubleshooting
Check Your Signal Levels
Technical Specifications
Warranty
Advertisement
Quick Links
1
Your Remote Control
2
Connecting Your Satbox
3
Recording
4
Firmware Upgrade
5
Troubleshooting
Download this manual
See also:
User Manual
DishTV S7070r
DVB-S Single tuner USB PVR Satellite Receiver
User Manual
Table of
Contents
Previous
Page
Next
Page
1
2
3
4
5
Advertisement
Table of Contents
Need help?
Do you have a question about the DishTV S7070r and is the answer not in the manual?
Ask a question
Questions and answers
Related Manuals for Dish TV DishTV S7070r
Receiver Dish TV S7070r User Manual
Dvb-s single tuner usb pvr satellite receiver (40 pages)
Receiver Dish TV S9020DVD User Manual
Dvd+dvb-s combo receiver (12 pages)
Receiver Dish TV S7070 User Manual
(44 pages)
Receiver Dish TV S7000 User Manual
Digital satellite receiver (29 pages)
Receiver Dish TV S9000 Operation Manual
Digital satellite receiver (20 pages)
Receiver Dish TV satBOX S7070r User Manual
Dvb-s single tuner usb pvr satellite receiver (28 pages)
Receiver Dish TV SNT7070 User Manual
Satellite & terrestrial receiver (36 pages)
Receiver Dish TV T1000 User Manual
Tv digital terrestrial receiver (22 pages)
Receiver Dish TV T1000n-VM User Manual
(23 pages)
Receiver Dish TV FreeviewHD T1000 Retuning Instructions
(2 pages)
This manual is also suitable for:
Satbox s7070r
S7070r
Table of Contents
Print
Rename the bookmark
Delete bookmark?
Delete from my manuals?
Login
Sign In
OR
Sign in with Facebook
Sign in with Google
Upload manual
Upload from disk
Upload from URL


Need help?
Do you have a question about the DishTV S7070r and is the answer not in the manual?
Questions and answers