Table of Contents
Advertisement
Quick Links
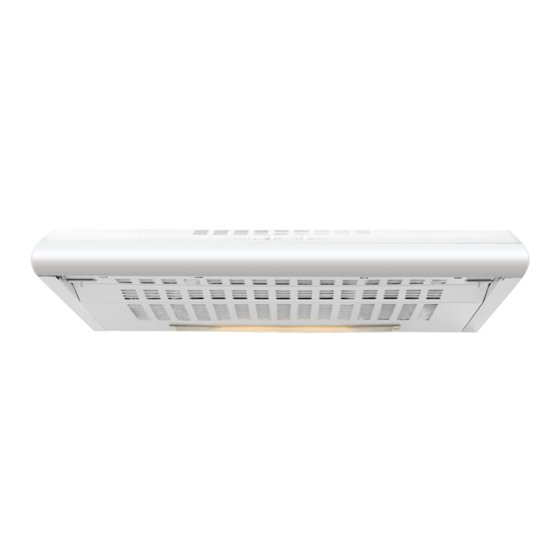
User Manual for your
GEH6021W &
GEH6013
Fixed Rangehoods
NOTE
: This User Instruction Manual contains important
information, including safety & installation points, which will
enable you to get the most out of your appliance. Please keep it
in a safe place so that it is easily available for future reference.
Advertisement
Table of Contents

Related Manuals for Baumatic GEH6021W


Summary of Contents for Baumatic GEH6021W
- Page 1 User Manual for your GEH6021W & GEH6013 Fixed Rangehoods NOTE : This User Instruction Manual contains important information, including safety & installation points, which will enable you to get the most out of your appliance. Please keep it in a safe place so that it is easily available for future reference.
-
Page 2: Table Of Contents
CONTENTS Welcome to Think Appliances……………….….……………..………….3 IMPORTANT SAFETY INFORMATION………………………………….…4 ENVIRONMENTAL NOTE ………….……………………………………….5 USING YOUR COOKER HOOD……………………………...……………..6 MAINTAINING AND CLEANING YOUR COOKER HOOD ……….7-9 INSTALLATION INSTRUCTIONS ……………………….……...….10-13 CARBON FILTER ………….……..10 ELECTRICAL CONNECTION………….………11 INSTALLING THE COOKER HOOD………….…12-13 TROUBLESHOOTING ……………………………………………14 CONDITIONS OF GUARANTEE………………………………………15-16 HT Mod 11/02/11... - Page 3 We also carry a complete range of spare parts for all Think products. For all your spare parts enquiries please contact our team at Pronto Parts on: 1300 306 973 Again, thank you for choosing an appliance brought to you by Think Appliances and we look forward to being of service to you. Kind regards...
- Page 4 Specifications of your Cooker Hood To ensure the maximum benefit and operation of your appliance, please firstly familiarise yourself with its specifications, safety advice and operational instructions included in this manual. You will also need this manual to ensure that your Cooker Hood has been installed properly. Your cooker hood can work either as a ducted extraction fan, which is highly recommended or if required, recirculated air extractor.
-
Page 5: Welcome To Think Appliances
Important Safety Information: Please Read this before installing & using. Any installation work must be DO NOT SET YOUR * NOTE - carried out by a qualified COOKER HOOD LESS THAN electrician or competent person. 600mm ABOVE YOUR COOKER as per Australian Standards! The hood must be installed in accordance with the installation o When installed between... -
Page 6: Important Safety Information
Important Safety Information: Please Read this before installing & using. ventilation measures are being observed. Note o Ensure the ducting for that it removes odours the extractor function from your room, not has the same diameter as steam. o the outlet hole all the way through. -
Page 7: Environmental Note
Environmental Note Note : Before discarding an old appliance, switch off and disconnect it from the power supply. Cut off and render any plug useless. Cut the cable off directly behind the appliance to prevent misuse. This should be undertaken by a competent person. CONFORMITY TO W.E.E.E. -
Page 8: Using Your Cooker Hood
Using your Cooker Hood: To use your cooker hood: Make sure it has been properly installed. Find the CONTROL PANEL. It is located on the hood’s front surface near the upper right corner of the unit. The CONTROL PANEL contains switches as shown in the Figure below. These perform separate functions. -
Page 9: Maintaining And Cleaning Your Cooker Hood
The metal grille may become inflammable if it becomes saturated with greasy residue. Think Appliances recommends that you use Hillmark Rangehood FilterKleen cleaning products for optimum rangehood performance. Available from our Customer Care Department on 1800 444 357 or your local supermarket. - Page 10 Maintenance - Cleaning the Anti-grease Filters Please Read this before installing & using. Soak it for about one hour in hot water with a grease- First remove the anti- loosening detergent then rinse off grease filter by sliding the thoroughly with hot water.
- Page 11 Maintenance – Changing the Light Bulb and Carbon Foam Changing the light bulb Before changing the light bulb, ensure that the appliance is not live (i.e., ensure that you have switched it off at the omni-polar switch on the wall switch plate.). Open the grease filter support grille (see previous page).
-
Page 12: Installation Instructions
Installing / Changing the Carbon Foam Your Cooker Hood uses a CARBON and GREASE Filter to purify the air for the air recirculation function. You will find that one filter will attach over the front of the fan motor (please see figure at bottom of page). The active carbon filter must be replaced regularly, at least once every three months, to allow normal operation. -
Page 13: Electrical Connection
INSTALLATION INSTRUCTIONS - Electrical Before installation and usage, read all the instructions and make sure that the voltage (V) and the frequency (Hz) indicated on the identification plate (found inside your Cooker Hood) and all the data inside the appliance are exactly the same as the voltage and frequency in your home. -
Page 14: Installing The Cooker Hood
2) The BROWN coloured RED WIRE must be (Fig. 7 – at left ) connected to the terminal marked ‘L’ (‘Live’), or INSTALLATION INSTRUCTIONS – installing your Cooker Hood With the hood installed PLEASE NOTE THAT YOU WILL HAVE TO above a hob, there should DECIDE BEFORE INSTALLING YOUR always be a pot or pan on... - Page 15 ALL SCREWS, RAWLPLUGS, ETC. COME WITH YOUR COOKER HOOD! 3) Insert the rawlplugs into the holes and then insert the top screws part way, so that the screws stick out by 10mm. 4) Hang the hood up on the screws. Insert the bottom screws. 5) Tighten the screws the rest of the way in.
-
Page 16: Troubleshooting
Troubleshooting If something has gone wrong with your Cooker Hood, checking against this chart might keep you from having to call for service. Symptom Solution Check that the hood is connected to the electricity supply. The cooker hood will not start! Check that the fan speed control is set properly.
Need help?
Do you have a question about the GEH6021W and is the answer not in the manual?
Questions and answers