
Related Manuals for Gabarron ECO1


Summary of Contents for Gabarron ECO1
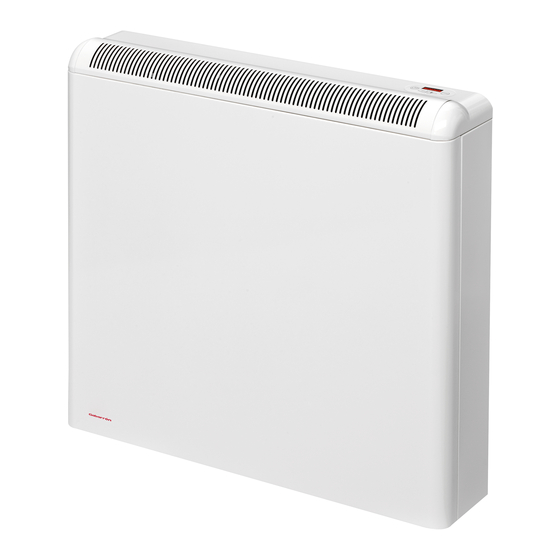
- Page 1 ECOMBI ECO1 ECO2 ECO3 ECO4 INSTALLATION MANUAL AND USER GUIDE Please read these instructions CAREFULLY before installing or using this appliance for the first time.
- Page 2 The presence of air particles of smoke, dust and other pollutants could, in time, discolor the walls and surfaces around the heater. Incorrect time settings, erroneous programming of the reduced rate time and too high temperature settings may result in a high cost of your electricity bill. TECHNICAL FEATURES Modelo ECO1 ECO2 ECO3 ECO4 LENGTH 55cm...
-
Page 3: Installation Instructions
2. - INSTALLATION INSTRUCTIONS In order to achieve a correct installation of this device, you have to follow the following steps: 1. - Chose the right place to install ECOMBI. It is necessary that the bellow indicated minimum clearance is allowed from the appliance to any combustible material such as furniture or curtains. - Page 4 3. - Take off the front panel by removing the two screws located at the bottom. Fix the lateral fittings to the metal structure by using the appropriate screws. 4. - Place ECOMBI in your selected installation area. Use the heater fixing holes as a template and mark the wall through the fixing holes with a pencil.
- Page 5 After that please unscrew the inner panel and remove it. WARNING! In the interior part of this inner panel there is a very delicate thermal insulation MICROTHERM panel. It has to be handled with extreme care. AVOID TOUCHING IT. 8. Do not disconnect the electrical heating elements. Remove the protection cardboards. Lift and recline the elements caring about not breaking their insulation.
- Page 6 9. - Place the storage bricks carefully, with the flat side facing the back of the heater. Arrange two row levels of bricks. 10. Place the heating elements again in their original position. Place the other two rows of storage bricks with the flat side facing the exterior and always on the heating elements supporting tabs.
-
Page 7: Keyboard Lock
3. - USING THE APPLIANCE. CONNECTION / DISCONNECTION. Mains switch. All models are equipped with a switch on the back side panel. It is used to connect / disconnect ECOMBI. KEYBOARD: “Clock” key: “Operation mode” key: Press the key to display date Press the key to select different and time. -
Page 8: Operation Modes
OPERATION MODES: Pressing the key various operation modes may be selected: FROST PROTECTION, AUTOMATIC STORAGE HEATER , EMITTER, ECOMBI MANUAL or ECOMBI AUTOMATIC. 1 - FROST PROTECTION MODE: To select this mode press the key several times until the message is displayed. - Page 9 3 – EMITTER MODE: This operation mode is used when it is necessary to heat the room temporarily and there is no need for storage heating. Press the key several times until the message is displayed. “Е” stands for EMITTER. “21.5”...
-
Page 10: Weekly Programming
A small red dot next to A will be displayed, when storage heater is on. Operation in this mode is similar to the Ecombi Manual Mode but the % of the storage heater charge is corrected automatically. If working hours of Emitter is higher than certain value, storage heater charge will increase in a certain %. On the other hand, if Emitter working hours does not exceed this value, storage heater charge level is reduced in the same %. -
Page 11: General Settings
GENERAL SETTINGS: ECOMBI general operation settings can be modified. By pressing the key at the same time we connect the device with the mains switch located at the right side panel, we enter to the general settings menu. This is: Starting time of reduced (off peak) rate electric period. -
Page 12: Connection Diagrams
6.- CONNECTION DIAGRAMS Mains switch. R1, R2, R3, R4 Storage heater heating elements. Emitter Heating elements. Storate heater limit thermostat. Emitter limit thermostat Limit thermostat with manual rearm. Keyboard Electronic circuit board. WARNING: To avoid overheating do not cover the heater. The symbol on the product or in its packaging indicates that this product may not be treated as household waste.
Need help?
Do you have a question about the ECO1 and is the answer not in the manual?
Questions and answers