
Related Manuals for Bushranger 600SF


Summary of Contents for Bushranger 600SF
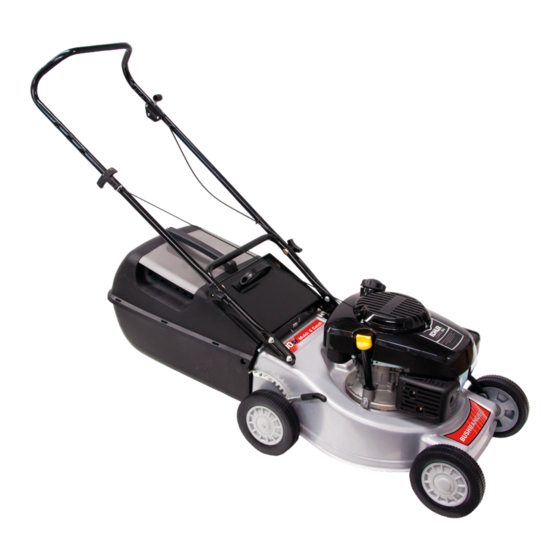
- Page 1 Owners Manual Bushranger 600SF www.poweruplawncare.com.au WARNING! Read this manual before operating your BUSHRANGER Lawnmower.
-
Page 2: Safety Instructions
DOMESTIC ROTARY LAWNMOWER OWNER’S MANUAL Note:Please read the following instructions before use. This book contain important information on SAFETY ,ASSEMBLY,OPERATION AND MAINTENANCE. Please put the manual and the engine book let aside for your future Reference. They illustrate Important information about your mower. SAFETY INSTRUCTIONS ★... -
Page 3: Safety Instructions 1
★ Replace worn or faulty silencers (muffler) ★ Mow only in good daylight. ★ Never use the mower unless the grass catcher or guards (rear flap) provided by the manufacturer are in position. ★ Start the engine carefully with feet well away from the blade. ★... -
Page 4: Engine Oil
★ Maintenance -All Models 6 & 7 - Self Propelled Models (only) 7,8 &9 -Mulch Models (only) ★ Mulch Mowing Information 9&10 ★ Warranty conditions CARTON CONTENTS: Quantity ★ Domestic rotary lawnmower ★ Owner’s manual ★ Engine owner’s manual ★ Grass catcher NB.Mowers which have the mulch option will have the mulch Plug fitted into the rear chute of the mower. - Page 5 height adjustment lever located at the rear right hand wheel. ★ Grasp the height adjustment lever (1) and pull the lever away from the base to disengage the lever from the height adjustment rack (2). ★ Move the lever either forwards or backwards to the desired position and release the lever so as to engage in the height adjustment rack.
-
Page 6: Engine Air Cleaner
★ Grasp rope handle and pull slowly until resistance is felt. Then pull the cord rapidly to overcome compression, prevent kickback and start engine. Repeat if necessary ★ If a “Choke” is fitted move the throttle control lever to the “FAST” position after the engine starts . - Page 7 ★ With the engine stopped, remove the spark plug lead and grass catcher or mulch plug. ★ Set the height of cut lever to the high cut position, and fold the handle bars. ★ Tilt the mower so the spark plug is up. ★...
-
Page 8: Every 25 Hours
Cleaning the Upper side of the Mower ★ Use a dry cloth or soft brush to remove all loose clippings. ★ Use a damp cloth with mild detergent to clean away oil or other grime. ★ Wash the grass catcher and/or mulch plug separately from the mower with a hose. Wash all clippings out of the inside, outside and from the grass catcher mesh. - Page 9 ★ Lightly grease the pawl(J),the slot in the figure 18. Rear drive wheels shaft, bushes (G) and the inside of the pinion gear (H) with light general purpose grease then refit the components onto the drive shaft in the NGrass Catcher ect orientation, retaining them with the circlip (E).
- Page 10 Reduced leaf size (from cutting too low) can seriously effect a lawn by: ★ Making it more susceptible to disease. ★ Encouraging weeds to take hold. ★ Exposing the soil to: - greater evaporation - temperature extremes - erosion Raising the cut height and using mulch mowing follows the best practice for nurturing a healthier more attractive lawn with less water usage.
-
Page 11: Warranty Conditions
2. Re-mow over the visible clippings. 3. Raise the cut height. 4. Rake the clippings up after mowing. Warranty Conditions The manufacturer warrant that this machine is free from defects in material and workmanship. This warranty is limited to making good or replacing any part which appears upon inspection by the manufacturer or his agent to be defective in material or workmanship.
Need help?
Do you have a question about the 600SF and is the answer not in the manual?
Questions and answers