Do you have a question about the TM-PAC-08E3 and is the answer not in the manual?
Questions and answers
Jennifer Bigsby
March 11, 2025
where can I get replacement parts for this model
1 comments:
Mr. Anderson
March 11, 2025
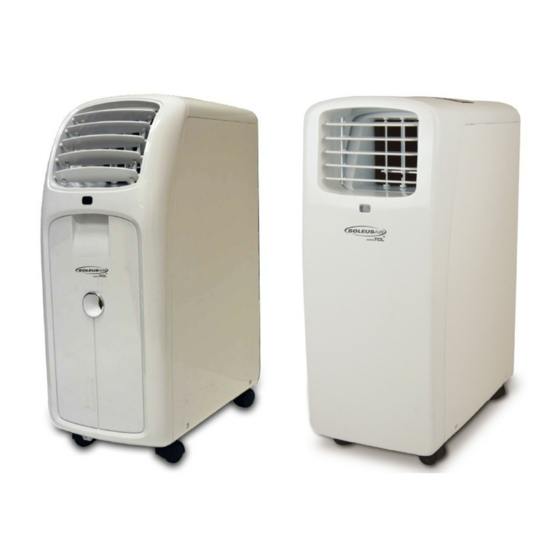
Replacement parts for the Soleus Air TM-PAC-08E3, such as a remote control, can be found on online marketplaces like Amazon. However, availability may vary. For technical support and warranty service, you can contact Soleus Home Comfort at (888) 876-5387 or write to 17911 East Ajax Circle, City of Industry, CA 91748.


Need help?
Do you have a question about the TM-PAC-08E3 and is the answer not in the manual?
Questions and answers
where can I get replacement parts for this model
Replacement parts for the Soleus Air TM-PAC-08E3, such as a remote control, can be found on online marketplaces like Amazon. However, availability may vary. For technical support and warranty service, you can contact Soleus Home Comfort at (888) 876-5387 or write to 17911 East Ajax Circle, City of Industry, CA 91748.
This answer is automatically generated
How do I purchase new parts?