
Related Manuals for Ecobee SMART


Summary of Contents for Ecobee SMART
- Page 1 ©2011 ecobee 477 Richmond Street West | Suite 210 Toronto | Ontario | M5V 3E7 | Canada toll free 1.877.932.6233 SMART Thermostat www.ecobee.com Installation Manual IM-STAT-203-R1...
-
Page 2: Table Of Contents
Installation Wizard HVAC System Compatibility Information Equipment FCC Compliance Statement Thresholds Specifications Test Equipment Installing the ecobee Smart Thermostat Sensors Installing the Equipment Interface Setting up the Remote Sensor Inputs Wiring the Equipment Interface View Wiring Diagram Wiring Diagrams Contractor Info... -
Page 3: Getting Started
GETTING STARTED Welcome Thank you for supporting ecobee, the Smart Thermostat that provides your customers with freedom and flexibility in managing their home environment. The ecobee Smart Thermostat has been designed in partnership with HVAC contractors to ensure the installation process is simple and efficient. This step-by-step Installation Manual will walk you through all aspects of the installation. -
Page 4: Before You Begin
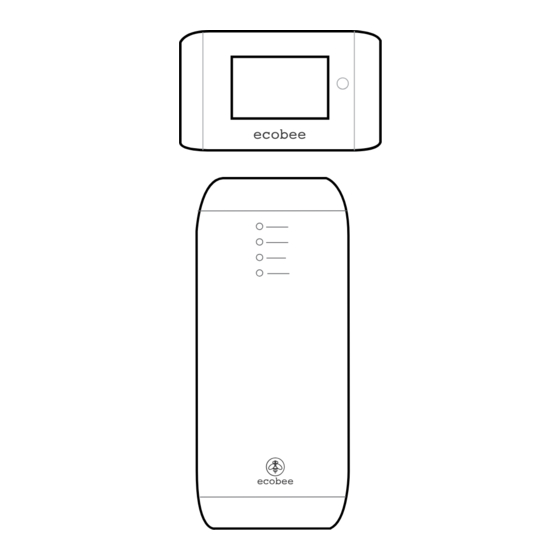
Smart Thermostat. Please read it carefully before Duel fuel systems beginning the installation. Standard electric cooling (up to two stages) For information on how to operate the ecobee Smart Thermostat, please see the ecobee User’s Manual. Boilers The ecobee Smart Thermostat consists of two parts... -
Page 5: Specifications
Equipment Interface to heating/air equipment Warning: Changes or modifications not expressly 18 AWG 20 AWG 22 AWG approved by ecobee Inc. could void the user’s authority to operate the equipment. 128ft/39m 80ft/24m 50ft/15m To satisfy FCC/IC RF exposure safety requirements, a... -
Page 6: Installing The Ecobee Smart Thermostat
INSTAllING THE SMART THERMOSTAT There are five steps to installing the ecobee Smart Thermostat Step 1: Install the Equipment Interface. Step 2: Wire the Equipment Interface. Step 3: Install the Smart Thermostat. Step 4: Connect the Smart Thermostat to the Equipment Interface. -
Page 7: Wiring Diagrams
Diagram indicates 24V humidi er terminal. If your furnace control board does not have this, you must use a 110V/24V step down transformer. from RH / RC to ACC1, ACC2, ACC3 for a 24V feed. Installing The Smart Thermostat Installing The Smart Thermostat... - Page 8 Diagram indicates 24V humidi er terminal. If your furnace control board does not have this, you must use a 110V/24V step down transformer. from RH / RC to ACC1, ACC2, ACC3 for a 24V feed. Installing The Smart Thermostat Installing The Smart Thermostat...
- Page 9 Non Powered Accessories will require a jumper from RH | RC to ACC1, ACC2, ACC3 for a 24V feed. indicates a jumper. Non-powered accessories require a jumper from RH / RC to ACC1, ACC2, ACC3 for a 24V feed. Remove factory installed jumper Installing The Smart Thermostat Installing The Smart Thermostat...
-
Page 10: Installing The Smart Thermostat
Make sure that any existing wires can be inserted through the opening for the wiring. 2. Attach the front cover of the Smart Thermostat to the 3. Using the backplate as a template, mark the location backplate. Ensure the four pins on the circuit board mate of the mounting holes on the wall as shown below. -
Page 11: Connecting Power
LED OFF The equipment interface is operational. line This LED monitors the power supplied to the Smart The second method requires the optional 120V to 12Vdc Thermostat from the Equipment Interface. power adaptor. Plug the power supply into a standard... -
Page 12: Navigating The Smart Thermostat
(such as a furnace, air conditioner, The Smart Thermostat uses touch screen technology, so it’s humidifier, dehumidifier or ventilator) that are connected From the Home easy to navigate – just tap the icons, buttons and lists. - Page 13 (18.3°C) or can be completely disabled. You will need an Staging Method of Operation internet connection for this feature to operate properly. The ecobee Smart Thermostat uses a unique method Allow Heat Pump/Auxiliary Heat to Run Simultaneously for staging for multi-stage heating or cooling. It uses...
-
Page 14: Thresholds
You will need an internet connection for this feature to operate properly. Dehumidify in Heat Mode Allows you to control the dehumidification even when the system is in heat mode. Configuring The Smart Thermostat Configuring The Smart Thermostat... - Page 15 1. The HVAC equipment will start in stage 1. As the stage 1 temperature delta is exceeded, the second stage will engage. Once the equipment has brought the current temperature back to within the Configuring The Smart Thermostat Configuring The Smart Thermostat...
-
Page 16: Test Equipment
This defines the type of input. Website address. Configure In this section you can choose from a If you are a registered ecobee contractor, you will predetermined list of commonly available sensors. If have access to your Contractor portal. In this portal,... -
Page 17: Reset Installation Settings
Reset All Setting cleaning or changing the furnace air filter. Selecting this option will reset the entire Smart Thermostat Select this item to turn the reminder on or off, and to select system back to the original factory default settings. - Page 18 Humidity Alert Select this item to set the humidity uV lamp Your UV lamp needs to be changed. level at which the Smart Thermostat will generate a Low Humidifier Filter Your humidifier pad needs to be Humidity alert. The range can be adjusted to: cleaned/changed.
-
Page 19: Warranty
This warranty does not cover removal or reinstallation costs and shall not apply if the damages were found to be ecobee warrants that for a period of three (3) years from caused by something other than defects in materials or the date of purchase by the consumer (“Customer”),... - Page 20 Notes Notes...
Need help?
Do you have a question about the SMART and is the answer not in the manual?
Questions and answers