Advertisement
Quick Links
Advertisement

Summary of Contents for Trigon Elektronik Advance
- Page 1 OPERATING INSTRUCTIONS FOR PHONO AMPLIFIER Advance...
- Page 2 Analogic Even more than two decades ago, so the propagandists of the new medium Compact Disc wanted it, the record had retired. The number of sold records removed from year to year, those of the CD’s increased, until apparently now eternally of yesterday ones and the nostalgic people at unexplainable expenditure maintained and supplemented their record collections and had still no CD player.
- Page 3 Who doesn’t want to know it so exactly first, may skip this chapter, but only this, to find out, how the Advance wants to be up and adjusted, attached, served and treated, thereby it can helps to transform the high-quality, but sensitive phono signals of your records in the best possible way into music and to thank you itself in our name for your investment.
- Page 4 2m lengths can be attached. This makes it possible to set up the Advance in direct proximity of the record player and to keep so the cable length between record players and Advance very small. This is of...
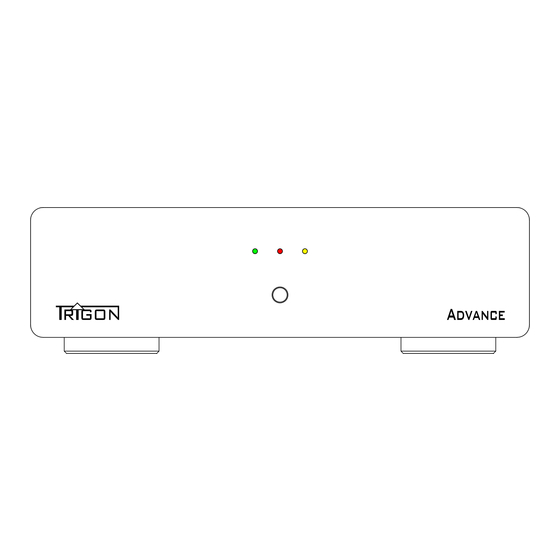
- Page 5 The following picture shows front and back of the Advance. 1.Operating key and control lamps With the tracer (1) the Advance can be switched on and off, but in addition it can be switched between the two operating modes, pure accumulator mode or combined accumulator - line operation.
- Page 6 As soon as you connect the power pack again duly with the Advance rather insert the mains plug into the wall socket, the green LED switches off and only the red LED shines alone, i.e.
- Page 7 Make sure however that you never operate this cable with and at a computer. Never connect the power pack or the Advance with the computer by this socket because then both sets will take damage.
- Page 8 Table of the switching positions for the gain setting With the four-fold mini switch for each stereo channel on the lower surface of the Advance the reinforcement can be adjusted separated.
- Page 9 47000,0 The entrance capacity without connected capacity amounts to approx. 60 - 100pF with the Advance. Each capacity, which is connected, must be added to this entrance capacity. The cable capacitance of the cable connections between record players and preamplifiers must be added, too.
- Page 10 Table 1.2 of the switching positions for the input impedances 100p 47p 1800 1000 470 220 100 47 S2 S3 S5 S6 S7 S8.. input impedance computes A 1 means: Switch posed on position ON A 0 means: Switch not switched.
- Page 11 To arrive this plug-in socket the set must be opened. Switch the set off and take off all plugs. Switch off the accumulator with the rocker switch 2,too, so that the Advance is now completely dead. Now you must unscrew the set feet. Please notice, like the feet are screwed on and respect also that you haven’t to lose an individual part.
- Page 12 To keep this humming as small as possible, we accommodated the mains transformer of the Advance in a separate housing, so that you can set up this power pack in some distance from the Advance. Of course our efforts are useless if the Advance is placed now on other sets with internal mains transformers.
- Page 13 What is if...? Emergency counsellor for possible handling defects Here we want to try to give you a few Tips, if the Advance wants not so as it has to do. The Advance cannot be switched on.
- Page 14 7 - 16VA depending upon charge of the Akkus Dimensions H x W x D: 58.5mm x 200mm x 320mm. Subject to change Production and construction: Trigon Elektronik GmbH Crumbacher Str. 60 D-34277 Fuldabrück - Bergshausen Germany Tel.: +49 (0) 561 - 20753880 FAX:+49 (0) 561 –...


Need help?
Do you have a question about the Advance and is the answer not in the manual?
Questions and answers