Cortelco 2720 Instruction Manual
Two-line / caller id / type ii set
Hide thumbs
Also See for 2720:
- Features (1 page) ,
- Owner's instruction manual (28 pages) ,
- Features (2 pages)
Table of Contents
Advertisement
Advertisement
Table of Contents

Related Manuals for Cortelco 2720


Summary of Contents for Cortelco 2720
-
Page 2: Table Of Contents
Table of Contents Why VoiceManager with Cortelco Phones? ............2 Cortelco 2720 Telephone Set Features ..............3 Telephone Set Part Identification ................4 Installation and Quick Setup Tips ................5 Telephone Set Buttons ....................6 Telephone Features ....................11 VoiceManager Most Frequently Used Features ........... 12 Voice Portal ....................... -
Page 3: Why Voicemanager With Cortelco Phones
Cortelco 2720 / Two-Line / Caller ID / Type II Set Why VoiceManager with Cortelco Phones? • Total cost of ownership savings with Cox • Total flexibility to meet your business needs • One vendor to call to support voice and equipment needs •... -
Page 4: Cortelco 2720 Telephone Set Features
Cortelco 2720 Telephone Set Main Features • Conference • Directory Name Match • Caller ID with Call Waiting Display • 10 Direct Memories • 99 Caller ID Memory • Flash/Redial • Wide-angle LCD Screen • Speakerphone • Voice Mail Indication •... -
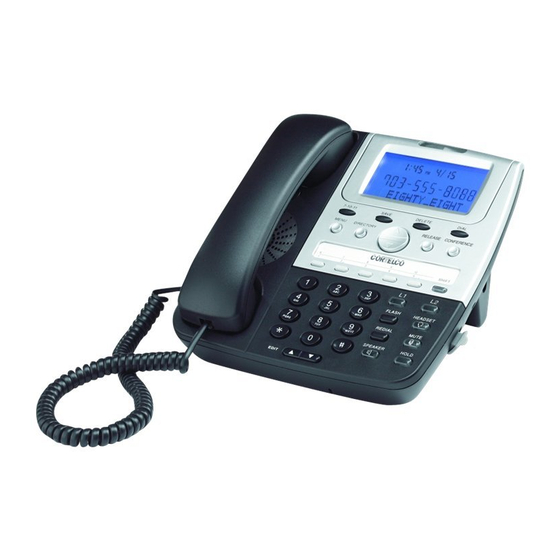
Page 5: Telephone Set Part Identification
2720 Telephone Set Part Identification 1 Conference Button 17 Line 1 Button 18 Headset Button w/LED 2 Menu/Options Button 3 Directory Button 19 Flash Button (use to 4 Save Button access VoiceManager 5 Message Lamp Transfer/Hold/Music on 6 Multi-Angle LCD... -
Page 6: Installation And Quick Setup Tips
Quick Setup — Multi-Phone Configuration The following are quick setup instructions for the phone: 1. Press MENU/OPTION button down for three seconds once to enter program mode. 2. Press MENU to leave language as English. 3. Enter your Area Code and press MENU. 4. -
Page 7: Telephone Set Buttons
Telephone Set Buttons FLASH Button Press the FLASH button to provide a line break to access services such as Three-way calling, call waiting or VoiceManager features such as music on hold and call transfer. Steps to use with call waiting service: 1. - Page 8 Telephone Set Buttons (cont’d.) SPEAKER Button — Receiving Incoming Calls • When the phone rings, press and release SPEAKER and speak normally into the built-in microphone. • You can adjust the volume of the caller’s voice by pressing the volume button on the base of the telephone.
- Page 9 Telephone Set Buttons (cont’d.) Automatic Memory (Programmable Buttons) Note: Cox Business may preset some of the memory buttons for easy access to VoiceManager features. Storing a Number 1. Press SAVE, (Save To?) appears on the display window. 2. Press the memory location. 3.
- Page 10 Note: For example, if A is the desired letter, press the #2 button once and A will appear on the display. If B is the desired letter, press the #2 button twice and B will appear on the display. Pressing the #2 button three times will select the letter C.
- Page 11 Telephone Set Buttons (cont’d.) CONFERENCE Button 1. To establish a three-way conference, press HOLD while talking on one line. The first conference person is on HOLD. 2. Press Line 1 or Line 2, whichever is not in use. Listen for dial tone. Dial the telephone number of the second person.
-
Page 12: Telephone Features
Telephone Features Automatic Memory (Programmable Buttons) Note: Cox Business may preset some of the memory buttons for easy access to VoiceManager features. Storing a Number 1. Press SAVE, (Save To?) appears on the display window. 2. Press the memory location. 3. -
Page 13: Voicemanager Most Frequently Used Features
VoiceManager — Most Frequently Used Features Feature Access Codes list the star codes for services that you have. To activate a service, hit the “ ” key and the number followed by the “#” key. Some require additional information such as a phone number, but you are prompted for that information. - Page 14 VoiceManager — Feature Descriptions Call Forward Activation 1. Lift telephone handset. Press the assigned code (ex. *72). 2. Enter phone number to which calls will be forwarded. 3. Replace telephone handset. The Call Forwarding Always service is on. Call Forward Deactivation 1.
-
Page 15: Voice Portal
Voice Portal Access the VoiceManager Voice Portal from any phone. The Voice Portal allows you to make changes to your call forwarding and initiate outbound calls that appear to originate from your office. First Time Setup 1. Initial setup must be done from your VoiceManager telephone line. -
Page 16: Troubleshooting Guide
Troubleshooting Guide Phone Does Not Ring 1. Line cord is disconnected at telephone outlet or at telephone. 2. Phone is OFF HOOK. Make certain the hook switch is depressed when the handset is in the cradle. 3. SPEAKERPHONE indicator is on. Turn off speakerphone. No Dial Tone Wire is disconnected at telephone or at wall jack. - Page 18 Please refer to the Cortelco Owner’s Instruction Manual that came with your phone for Important Safety Instructions, FCC Information, Telephone Repair and Limited Warranty Information. Service and features not available in all areas. Some features may incur local usage charges in certain markets.
Need help?
Do you have a question about the 2720 and is the answer not in the manual?
Questions and answers