Table of Contents
Advertisement
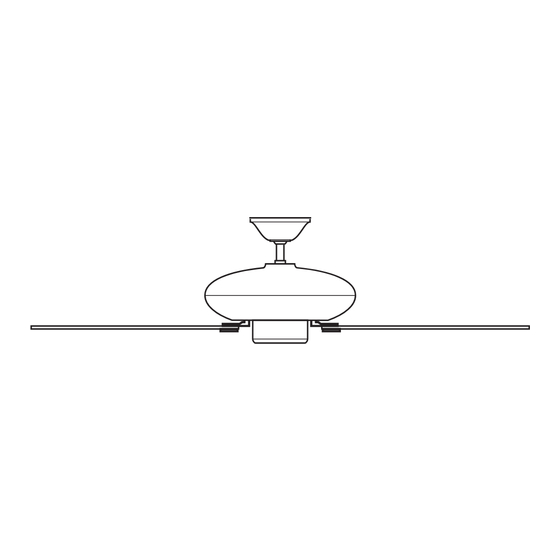
Quick Links
Advertisement
Table of Contents

Related Manuals for Hunter Indoor Ceiling Fan


Summary of Contents for Hunter Indoor Ceiling Fan
- Page 1 1 1 1 1 1 © 2003 Hunter Fan Company 41814-01 01/14/2003...
-
Page 2: Cautions And Warnings
• Lift 40 pounds. 41814-01 01/14/2003 If you need help installing the fan, your Hunter fan dealer can di- rect you to a licensed installer or electrician. gathering the tools You will need the following tools for installing the fan: •... -
Page 3: Preparing The Fan Site
If your existing fan site is suitable, go to the in in in in ins s s s s t t t t t a a a a a llin p p p p p l l l l l a a a a a t t t t t e e e e e section and begin installing your new Hunter fan. -
Page 4: Installing The Ceiling Plate
Thread the fan supply line through the outlet box so that the fan supply line extends at least 6" beyond the box as shown in Figure 8. Attach the fan supply line to the outlet box with an approved connector, available at any hardware store or electrical supply house. -
Page 5: Assembling The Fan
Insert the downrod through the canopy and canopy trim ring as shown in Figure 12. Feed wires from the fan through the downrod. Screw the downrod into the fan assembly until tight. IMPOR- TANT! Tighten downrod set screw as shown in Figure 12. -
Page 6: Hanging The Fan
#8-32 x 1” screws. hanging the fan Raise the fan and place the hook through the loop on the ceil- ing plate as shown in Figure 16. Use the note and arrow en- graved in the ceiling plate to assist in determining the direc- tion to assemble. -
Page 7: Assembling The Blades
© 2003 Hunter Fan Company assembling the blades Hunter fans use several styles of fan blade irons (brackets that hold the blade to the fan). Your fan may include blade grommets. If your fan has grom- mets, insert them by hand into the holes on the blades as shown in Figure 22. -
Page 8: Installing The Light Fixture
Remove the blade mounting screws and rubber shipping bumpers from the motor. For each blade, insert one blade mounting screw through the blade iron as shown in Figure 25, and attach lightly to the fan. Insert the second blade mounting screw, then securely tighten both mounting screws. - Page 9 #6-32 x 3/8" housing assembly screws. See Figure 30. installing without the light fixture Your Hunter fan comes with a light fixture assembly. This feature gives you the option of installing the fan with or without the in- cluded light fixture.
-
Page 10: Operating Your Ceiling Fan
To change the direction of air flow, turn the fan off and let it come to a complete stop. -
Page 11: Troubleshooting
Wood finish blades should be cleaned with a furniture polishing cloth. Occasionally, a light coat of furniture polish may be applied for added protection and beauty. Painted and high-gloss blades may be cleaned in the same manner as the fan finish. © 2003 Hunter Fan Company troubleshooting Problem: Nothing happens;...
Need help?
Do you have a question about the Indoor Ceiling Fan and is the answer not in the manual?
Questions and answers