
Related Manuals for HornetTek Enterprise


Summary of Contents for HornetTek Enterprise
- Page 1 Enterprise 3.5” SATA 4 Bay MULTI HDD BOX User Guide Include ☆ Getting Started & Notice ☆ Installing MULTI HDD BOX ☆ Hardware Installation Guide ☆ Partitioning Configured Volumes...
- Page 2 B a y M U L T I H D D B O X U s e r G u i d e Getting Started & Notice HDD1 USB 3.0 eSATA HDD2 HDD3 HDD4 The 4-bay Multi-HDD box architecture supports configuration and management of multiple storage devices connected to a single host.
-
Page 3: Hardware Overview
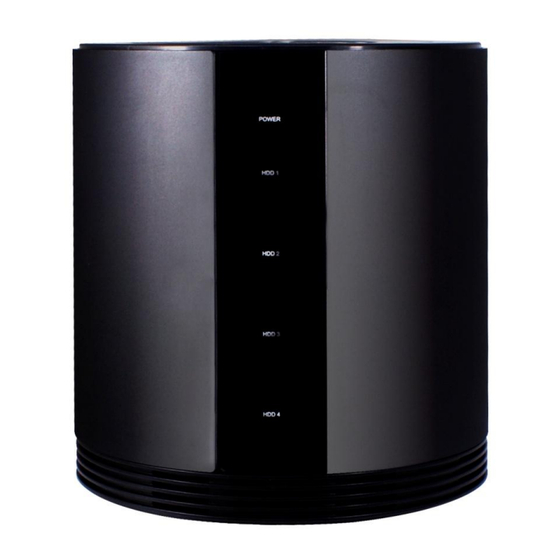
B a y M U L T I H D D B O X U s e r G u i d e 2. Installing MULTI HDD BOX Hardware Overview________________________________________ Power DC input Receptor for the provided Power Adapter - 12V DC, 100-240V AC, 50-60Hz - 4 Amp. - Page 4 B a y M U L T I H D D B O X U s e r G u i d e Front / Back View Power LED HDD1 LED HDD2 LED HDD3 LED HDD4 LED...
- Page 5 B a y M U L T I H D D B O X U s e r G u i d e 3. Hardware Installation Guide Step1: Push the Locker knob to the left to unlock the HDD tray. Step2: Take out the HDD trays.
- Page 6 B a y M U L T I H D D B O X U s e r G u i d e Step3: To plaster the EVA foam to the middle at inner side of HDD tray as if your HDD is somehow a little shorter with the screw hole to the try holder.
- Page 7 B a y M U L T I H D D B O X U s e r G u i d e Step5: Slide HDD trays into the case. Step5: Push the Locker knob to the right to lock the HDD tray.
- Page 8 B a y M U L T I H D D B O X U s e r G u i d e 4. Partitioning Configured Volumes Partition a volume A volume must be partitioned before you may begin using the drives under the operating system.
- Page 9 B a y M U L T I H D D B O X U s e r G u i d e 2. Right-click on the configured disk’s unallocated space and select New Partition. If a New Partition option is not available, select the disk and Initialize it first. To initialize a disk, please check the guidance on “Initialize a Disk”.
- Page 10 B a y M U L T I H D D B O X U s e r G u i d e 4. Select the Primary or Extended option and click Next. 5. Specify the partition size. By default the partition occupies the entire volume. Click Next.
- Page 11 B a y M U L T I H D D B O X U s e r G u i d e 6. Assign a drive letter or mount path and click Next. 7. Name, format the partition, and click Next.
- Page 12 B a y M U L T I H D D B O X U s e r G u i d e 8. Review the file system settings and click Finish to create the logical partition. 9. Note the properties selected for the logical partition in the Disk Manager is surrounded by a green box.
- Page 13 B a y M U L T I H D D B O X U s e r G u i d e Initialize a Disk If a New Partition option is not available while right-clicking on the “Unallocated” box. View the box to the left of the “Unallocated”...
- Page 14 B a y M U L T I H D D B O X U s e r G u i d e 2. Select “Initialize Disk” and follow the steps of disk’s initialization wizard to complete disk initialization. Note: Win 7 will ask what kind of disk type you want to make, “MBR” or “GPT”. It is recommended you should typically select “MBR”...
- Page 15 B a y M U L T I H D D B O X U s e r G u i d e 3. “Online” message will replace “Not Initialization” message when disk is initialized and ready for disk partitioning and formatting.
- Page 16 B a y M U L T I H D D B O X U s e r G u i d e For Product Information: info@hornettek.com For General information or RMA request: support@hornettek.com For Sales: sales@hornettek.com For Tech Support: techsupport@hornettek.com Visit our website: http://www.hornettek.com/index.php/support...
Need help?
Do you have a question about the Enterprise and is the answer not in the manual?
Questions and answers