royer R-121 Operation Instructions Manual & User Manual
Ribbon velocity microphone
Hide thumbs
Also See for R-121:
- Operation instructions manual & user manual (19 pages) ,
- Operation instructions and users manual (17 pages) ,
- Brochure & specs (2 pages)

Related Manuals for royer R-121


Summary of Contents for royer R-121
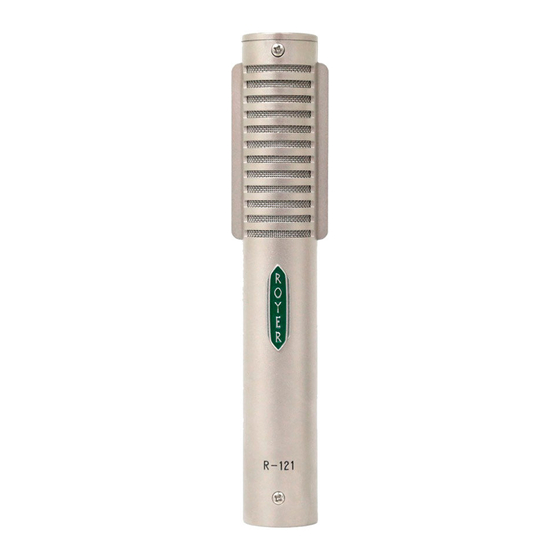
- Page 1 ROYER Labs Model R-121 Ribbon Velocity Microphone Operation Instructions Manual & User Guide Made in U.S.A...
-
Page 2: Table Of Contents
TABLE OF CONTENTS Model R-121 Ribbon Microphone Revised January 2004 Table of Contents page 1 Introduction page 2 Description page 2 Applications page 3 Ribbons in the Digital World page 3 User Guide page 4 Amplification Considerations page 6 Equalization & Ribbon Microphones page 8 Hum, Noise &... -
Page 3: Introduction
Please read the manual thoroughly in order to become familiar with all of the R-121’s capabilities. It will assist you in making the most of your microphone’s superior acoustic properties. This owner’s manual is a handy reference guide and we suggest you refer to it whenever questions arise on the use and care of your R-121 ribbon microphone. -
Page 4: Applications
However, ribbon microphones are somewhat more sensitive to direct blasts of air, and the R-121 is no exception to this rule. Discretionary use of a windscreen or pop screen, such as the... -
Page 5: User Guide
1. The R-121 is a side address, bi-directional microphone and its rejection in the “dead” areas is very strong. Due to this direc- tionality, the R-121 should be placed at 1.3 times the distance normally used with omni-directional microphones, or about the same distance used for cardioid microphones. - Page 6 It should also be noted that faulty or improperly wired cables could cause problems with your R- 121. Do not patch an R-121 through the mic tie lines of a patch bay if phantom power is enabled on any of your mic pre’s, as this will give the ribbon element a brief but damaging phantom power jolt.
-
Page 7: Amplification Considerations
Amplification Considerations The performance of any non-active ribbon microphone is directly affected by the microphone preamplifier it is paired with. With so many mic preamps on the market, how do you select one that gives the best possible performance with a rib- bon microphone? Additionally, what kind of performance can you expect from the preamplifiers built into your mixing desk? While most preamplifiers will handle ribbon microphones well... - Page 8 The so-called ideal preamplifier is the proverbial “straight wire with gain.” This may be considered the technological ideal and does not include “coloration” as a desirable feature. However, coloration is often desirable and has given rise to the populari- ty of certain preamps and even preamp stages in mixing desks. Neve preamps and the famous Trident A Range mixing console are highly praised for their classic sound.
-
Page 9: Equalization & Ribbon Microphones
EQ. Even with substantial amounts of equalization, ribbons retain their natural, “real” quality. For example, when a lead vocal is being performed on an R-121, you can actually boost upper-end frequencies to the point where the R-121 emu- lates the performance curve of a condenser mic with excellent results. -
Page 10: The Sweet Spot
well-designed microphone provides shielding to minimize the effects of stray magnetic radiation, but complete isolation is impossible and the result can be hum or buzz. Ribbon micro- phones can potentially manifest this condition to a greater degree because of their higher gain requirements. Vintage rib- bon microphones often have poor shielding and the problem can be worse. -
Page 11: Other Types Of Microphones
found for any given microphone, and usually experimentation reveals it. The sweet spot can be extremely variable since it depends on the quirks of a given microphone and a given room. Once the sweet spot is discovered, this placement can become a “rule of thumb”... -
Page 12: Proximity Effect & Working Distance
and diffraction effect offset each other somewhat. Proximity Effect & Working Distance The Sound that Is “More Real than Real” Ribbon microphones have long been renowned for “rich bass.” This effect is largely due to the fact that ribbon microphones generally have excellent bass response to begin with, and at the same time exhibit an effect known as “proximity effect”... - Page 13 Typical relationship of microphone distance to frequency response for rib- bon-velocity bidirectional microphone. real life. In contrast, using a microphone with strong proximity effect on such sound sources can deliver a “better than real” sound since the boosted bass response will compensate for the weak fundamentals in the sound source.
-
Page 14: Microphone Technique
Reed Instruments sound full and never edgy when captured with an R-121. Normal working distances are about a foot or two from the instrument. Strings sound very sweet and clean when recorded with R- 121s. - Page 15 If the front head has a hole cut in it, keep the microphone away from the hole to avoid excessive air blasts. An R-121 used as a mono room mic, four to six feet in front of the kit and compressed, will yield a surprisingly large, full drum sound.
- Page 16 away from any hole in the front head. Recording Loud or Plosive Sounds To all ribbon microphones, wind is the enemy! Air movement is far more damaging to ribbon microphones than high SPL’s. Some sound sources can generate surprisingly powerful blasts of air.
- Page 17 Example of Horizontal Positioning Technique Angling the micro- phone slightly will minimize stressing the ribbon. Due to the microphone’s pickup pattern, sound will not be affected. Side View of Kick Drum Miking Technique A) Close miking—angle mic so that pressure wave is off-axis B) Standard miking position Horizontal Positioning Technique Applied to kick drum—...
-
Page 18: Stereophonic Microphone Technique
Stereophonic Microphone Technique Classic Blumlein Technique For many years, several “coincident” microphone setups have been widely used for picking up sounds in stereo as naturally as possible. The “Blumlein” technique, named for A.D. Blumlein of England, involves the use of two figure-eight microphones positioned as in the sketch (see Figure 1);... - Page 19 Mid-Side (M-S) Technique In the early days of stereo radio broadcasting, the mid-side recording technique was developed to allow for 1) simultane- ous stereo and mono feeds from the same mic array and 2) elec- tronic manipulation of the width of the stereo image. In M-S recording, one mic faces sideways, one faces forward as shown in Figure 2, and they are connected as shown in Figure If the outputs of the two microphones are equal (or made equal...
- Page 20 If the outputs of the “mid” and “side” microphones are record- ed on separate tracks, the electrical connections shown in Figure 3 can be made at the mixer outputs and the adjustment of the stereo separation can be done during mixdown, rather than during the actual recording.
-
Page 21: Specialized Recording Techniques
Cautionary Note: It is important to note that the SPL handling capability of the rear side of the R-121 is lower than its front side. The R-121 is rated for 135dB SPL on its front side, but recordings on the rear side should not exceed 115dB SPL. -
Page 22: Care & Maintenance
Care and Maintenance The R-121 is a well-built precision instrument. All that is required to ensure proper operation of this microphone is to fol- low some commonsense rules. -
Page 23: Features & Specifications
Keep recorded tapes, spring-wound watches, and personal credit cards using magnetic coding away from the micro- phone to prevent possible damage caused by the transducer’s powerful magnets. Features and Specifications R-121 Features: • Very high overload characteristics – maximum SPL greater than 135dB •... -
Page 24: Electrical Specifications
Electrical Specifications Electro-dynamic pressure Acoustic Operating Principle: gradient Polar Pattern: Figure-8 2.5 micron aluminum Generating Element: ribbon 30HZ – 15,000HZ ± 3dB Frequency Range: Sensitivity: -50dBv Ref 1 v/pa 300 Ohms (nominal) bal- Output Impedance: anced Rated Load Impedance: > 1500 Ohms >... -
Page 25: Mechanical Specifications
Mechanical Specifications High grade Neodymium magnet assembly in Royer’s patented Flux-Frame 1.5” x 3/16” x 2.5 micron ribbon assembly Stainless steel internal baffle and dampener 244 grams (8.6 ounces) Weight: 21.1 ounces Weight with Case: Dimensions: 158mm x 25mm (6.13” L x 1” Dull Satin Nickel or Matte Black Finish: Chrome... -
Page 26: Polar Pattern & Frequency Response
Polar Pattern Frequency Response... -
Page 27: Notes
Notes:... -
Page 33: Warranty
To validate this warranty, product registration and proof of pur- chase must be on file with Royer Labs. This warranty does not apply if the product has been damaged by accident or misuse,...
Need help?
Do you have a question about the R-121 and is the answer not in the manual?
Questions and answers