royer R-121 Operation Instructions Manual & User Manual
Mono ribbon velocity microphone
Hide thumbs
Also See for R-121:
- Operation instructions manual & user manual (33 pages) ,
- Operation instructions and users manual (17 pages) ,
- Brochure & specs (2 pages)

Related Manuals for royer R-121


Summary of Contents for royer R-121
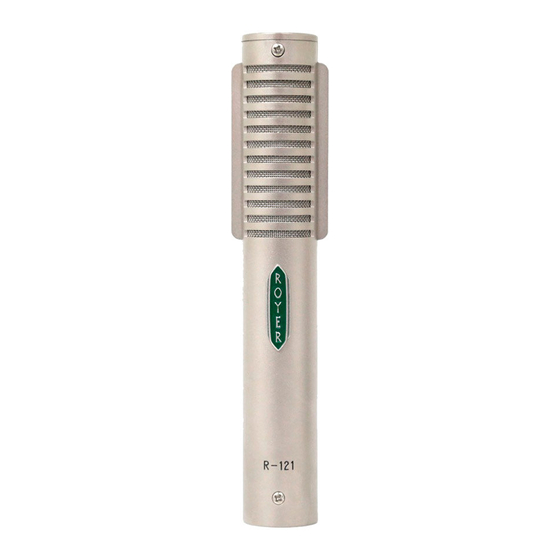
- Page 1 Royer Labs Model R-121 Mono Ribbon Velocity Microphone Operation Instructions Manual & User Guide Made in U.S.A.
-
Page 2: Table Of Contents
General Tips for Using the Royer R-121 Recording Loud or Plosive Sounds Stereophonic Microphone Techniques Classic Blumlein Technique Mid-Side (M-S) Technique Specialized Recording Techniques Recording on the back side of the R-121 Care & Maintenance Features Electrical Specifications Mechanical Specifications Polar Pattern... -
Page 3: Introduction
However, ribbon microphones are somewhat more sensitive to direct blasts of air, and the R-121 is no exception to this rule. Discretionary use of a windscreen or pop screen, such as the Royer PS-101, WS58 or equivalent, is highly recommended for close-miking vocalists or certain types of percussion and wind instruments. -
Page 4: Ribbons In The Digital World
This method is used to achieve the same ratio of direct to reflected sound. 2. In the horizontal plane, the R-121 does not discriminate against the highs off axis; nor does it boost highs on axis. Therefore, several instruments or vocalists can be placed in front of the microphone without favoring the performer in the center of the group. -
Page 5: Amplification Considerations
R-121. Do not patch an R-121 through the mic tie lines of a patch bay if phantom power is enabled on any of your mic pre’s, as this will give the ribbon element a brief but damaging phantom power jolt. -
Page 6: Equalization & Ribbon Microphones
five times the impedance of the microphone. For example, if the mic is rated at 300 Ohms (as the R-121 is), the preamp should have an input impedance of at least 1500 Ohms. If the impedance of the preamp is too low, the microphone will lose low end, body and sensitivity. -
Page 7: Hum, Noise & Mic Orientation
This is not to say that a ribbon microphone can substitute for a quality condenser mic in all cases, but the EQ friendliness inherent in ribbon microphones does allow for an enormous amount of flexibility. Ribbon mics take EQ so well because of their inherent low self-noise, unusually smooth frequency response characteristics, and freedom from off-axis coloration. -
Page 8: Other Types Of Microphones
There are only general rules as to where the sweet spot may be found for any given microphone, and usually experimentation reveals it. The sweet spot can be extremely variable since it depends on the quirks of a given microphone and a given room. Once the sweet spot is discovered, this placement can become a rule of thumb starting point for future microphone placement with similar sound sources. -
Page 9: Microphone Techniques
Radio and television announcers have long relied on proximity effect to give a full, rich, authoritative quality to their voices. By knowing how to work with the proximity effect, the engineer can get several useful effects without resorting to a box. Microphone Techniques General Tips for Using the Royer R-121... - Page 10 Placing the mic at greater distances from the speaker cabinet adds more room ambience to the mix. You will find that the R-121 does not add undesirable elements to the sound. Basically, what you hear at the amp is what you get in the control room and in your recordings.
-
Page 11: Recording Loud Or Plosive Sounds
mono room mic, four to six feet in front of the kit and compressed, will yield a surprisingly large, full drum sound. For closer miking of a kick drum (10 to 18 inches), the microphone should be leaned forward at a 45-degree angle to protect the ribbon element from excessive plosive forces (See Example 3). -
Page 12: Stereophonic Microphone Techniques
Angling the microphone slightly will minimize stressing the ribbon. Due to the microphone’s pickup pattern, sound will not be affected. 3. Side View of Kick Drum Miking Technique A) Close miking—angle mic so that pressure wave is off-axis Standard miking position 4. -
Page 13: Classic Blumlein Technique
Classic Blumlein Technique For many years, several coincident microphone setups have been widely used for recording in stereo as naturally as possible. The “Blumlein” technique, named for A.D. Blumlein of England, involves the use of two figure- eight microphones positioned as in the sketch (see Figure 1), so that one faces left and the other right, at an angle of 90 degrees (i.e. -
Page 14: Specialized Recording Techniques
Specialized Recording Techniques Recording on the back side of the R-121 The R-121 incorporates an “offset ribbon” design that enables it to handle high sound pressure levels such as those produced by loud guitar amplifiers and other instruments. An interesting... -
Page 15: Care & Maintenance
It is important to note that the SPL handling capability of the rear side of the R-121 is lower than its front side. The R-121 is rated for 135dB SPL on its front side, but recordings on the rear side should not exceed 115dB SPL. When tracking loud sounds on the front side, the R-121’s offset-ribbon design allows ample space for rearward excursions of the ribbon element. -
Page 16: Features
1. Avoid transducer damage by not exposing the microphone to severe shock or vibration. If the microphone is accidentally dropped, test it to see if damage has occurred before returning it to service. Low output or a dull sound would indicate a damaged ribbon. 2. -
Page 17: Electrical Specifications
Male XLR 3 pin (Pin 2 Hot) All Royer monaural microphones are available in matched pairs. Mechanical Specifications High grade Neodymium magnet assembly in Royer’s patented Flux-Frame transducer 1.5” x 3/16” x 2.5-micron ribbon assembly Stainless steel internal baffle and dampener Weight:... -
Page 18: Polar Pattern
Accessories: Protective wood case, protective mic sock Optional Accessories: Shock mount, popscreen To learn more about Royer products and their usage, visit our website at www.royerlabs.com. Polar Pattern Frequency Response Warranty PLEASE RETAIN YOUR ORIGINAL BILL OF SALE AS YOU WILL NEED TO PRESENT IT SHOULD YOU REQUIRE SERVICE UNDER THIS WARRANTY. - Page 19 SCOPE OF WARRANTY: From the date of original purchase and for the respective periods specified above, Royer Labs agrees to repair all Royer Labs products which are defective in material and workmanship.
Need help?
Do you have a question about the R-121 and is the answer not in the manual?
Questions and answers