Table of Contents
Advertisement
List of Contents
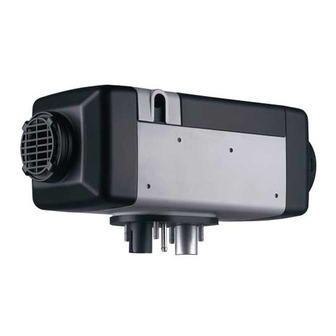
Air Heater
Air Top 2000 S D (Diesel)
Air Top 2000 S B (Gasoline)
Service and Repair Manual
– Improper installation or repair of Webasto heating and cooling systems can cause
fire or the leakage of deadly carbon monoxide leading to serious injury or death.
– Installation and repair of Webasto heating and cooling systems requires special
Webasto training, technical information, special tools and special equipment.
– NEVER attempt to install or repair a Webasto heating or cooling system unless you
have successfully completed the factory training course and have the technical skills,
technical information, tools and equipment required to properly complete the
necessary procedures.
– ALWAYS carefully follow Webasto installation and repair instructions and heed all
WARNINGS.
– Webasto rejects any liability for problems and damage caused by the system being
installed by untrained personnel.
Air Top 2000
Advertisement
Table of Contents


Need help?
Do you have a question about the Air Top 2000 S D and is the answer not in the manual?
Questions and answers