Table of Contents

Related Manuals for Makita 6300LR


Summary of Contents for Makita 6300LR
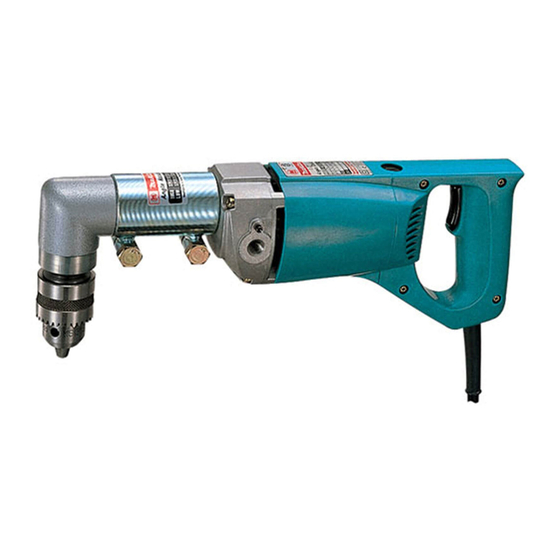
- Page 1 Angle Drill 13 mm (1/2”) MODEL 6300LR 002994 DOUBLE INSULATION I N S T R U C T I O N M A N U A L WARNING: For your personal safety, READ and UNDERSTAND before using. SAVE THESE INSTRUCTIONS FOR FUTURE REFERENCE.
-
Page 2: Specifications
SPECIFICATIONS Model 6300LR Steel 13 mm (1/2”) Capacities Wood 30 mm (1-1/8”) High 800/min. No load speed (RPM) 350/min. Without angle attachment 550/min. Overall length 380 mm (15”) Net weight 3.7 kg (8.1 lbs) • Manufacturer reserves the right to change specifications without notice. -
Page 3: Personal Safety
5. Avoid body contact with grounded sur- Tool Use and Care faces such as pipes, radiators, ranges and 15. Use clamps or other practical way to refrigerators. There is an increased risk of secure and support the workpiece to a electric shock if your body is grounded. -
Page 4: Specific Safety Rules
USE PROPER EXTENSION CORD: Make sure your extension cord is in good condition. When using an extension cord, be sure to use one heavy enough to carry the current your product will draw. An undersized cord will cause a drop in line voltage resulting in loss of power and overheating. -
Page 5: Functional Description
FUNCTIONAL CAUTION: DESCRIPTION • Always be sure that the tool is switched off and unplugged before adjusting or checking function on the tool. Switch action 003012 CAUTION: • Before plugging in the tool, always check to see that the switch trigger actuates properly and returns to the “OFF” position when released. -
Page 6: Operation
To install the drill chuck, screw it onto the angle head firmly 003064 (do not overtighten) and replace the screw removed earlier from the drill chuck. It screws in counterclockwise. Fit the sleeve onto the hex end of the drill spindle and then slip on the joint, tightening the joint bolt (A) with the wrench. -
Page 7: Maintenance
Drilling in metal To prevent the bit from slipping when starting a hole, make an indentation with a center-punch and hammer at the point to be drilled. Place the point of the bit in the indentation and start drilling. Use a cutting lubricant when drilling metals. The exceptions are iron and brass which should be drilled dry. - Page 8 CAUTION: • These accessories or attachments are recommended for use with your Makita tool specified in this manual. The use of any other accessories or attachments might present a risk of injury to persons. Only use accessory or attachment for its stated purpose.
- Page 9 First-Class Postage Required Post Office will not deliver without proper postage. Makita U.S.A., Inc. 14930 Northam Street La Mirada, CA 90638-5753 Fold...
- Page 10 Design Repair Service Industrial Maintenance Features Durability Home Maintenance Size Power Hobby Price Other ( Other ( Makita Brand 5. Any comments: DATE PURCHASED MODEL NO. MONTH YEAR SERIAL NO. STATUS INTL. LAST NAME / COMPANY NAME Married Single STREET ADRESS...
-
Page 11: Factory Service Centers
Date Purchased When you need service: Send complete tool (prepaid) to one Dealer’s Name & Address of the Makita Factory Service Centers listed, or to an Authorized Makita Service Center. Be sure to attach a letter to the outside of Model No. -
Page 12: Warranty Policy
MAKITA LIMITED ONE YEAR WARRANTY Warranty Policy Every Makita tool is thoroughly inspected and tested before leaving the factory. It is warranted to be free of defects from workmanship and materials for the period of ONE YEAR from the date of original purchase.
Need help?
Do you have a question about the 6300LR and is the answer not in the manual?
Questions and answers