Table of Contents
Advertisement
Quick Links
Advertisement
Table of Contents

Related Manuals for Axis T92A20


Summary of Contents for Axis T92A20
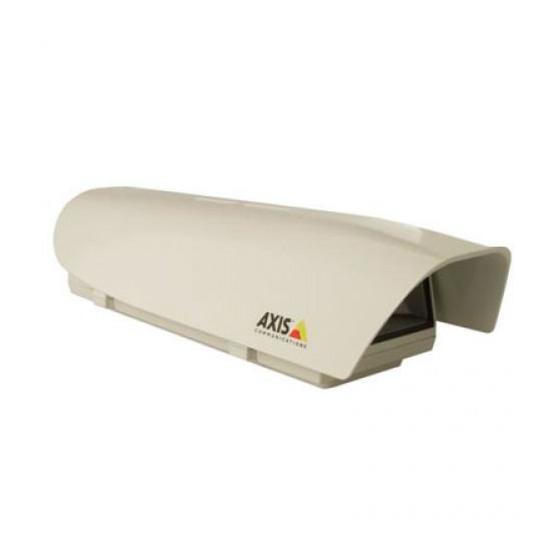
- Page 1 INSTALLATION GUIDE AXIS T92A20 Protective Housing...
-
Page 3: Axis Network Cameras
• AXIS 211W external antenna required, see www.axis.com • AXIS 221 • AXIS 223M Note: Before you begin, make sure that the AXIS T92A20 package contents and the required cables, tools, and documentation are available. See “Package contents” on page 4. -
Page 4: Package Contents
Wall bracket with internal cable channel Axis Network Camera* AXIS P1311, AXIS Q1755, AXIS 210/ 210A, AXIS 211/211A/211M/211W, AXIS 221, AXIS 223M printed installation guide Instructions on how to install the camera on the network Required cable (not included) -
Page 5: Install The Bracket
Page 5 Install the bracket Install the mount for AXIS T92A20 on a wall ceiling or pole and make sure that the screws and plugs are appropriate for the material (e.g. wood, metal, sheet rock, stone). Install the wall bracket in the intended position. -
Page 6: Install The Camera In The Housing
AXIS T92A20 Installation Guide Install the camera in the housing AXIS T92A20 comes with a pre-installed 12V High PoE Splitter. 1. Loosen the 2 Phillips positioning screws to remove the holder from camera housing (fig.1). 1. The housing is shipped with 3 black plastic spacers. Use one, two or three spacers between the camera and holder: •... -
Page 7: Connect Power And Network Cables To The Camera
1. The pre-installed red (+) and black (GND) wires are used to power the camera (fig.3). 2. Connect the wires to the terminal connector on the Axis network camera (fig.4). 3. Connect the supplied RJ45 patch cable to the Data Out connector on the pre-installed High PoE Splitter (fig.3). - Page 8 Page 8 AXIS T92A20 Installation Guide Axis network cameras - power terminal connectors FIG. 4 AXIS 211/211A/211M/211W AXIS 221 1 2 3 4 5 6 7 8 9 10 RESET PWR NET NETWORK / POWER POWER RS-232 AXIS 210/210A AXIS 223M...
-
Page 9: Route The Cables To The Housing
1. Check that all cables and wires in the housing are properly connected. 2. Connect the AC mains power cable to the AXIS T8123 High PoE Midspan and check that the LEDs on the camera light up according to the description in the Installation Guide. - Page 11 Installation Guide Ver.1.1 AXIS T92A20 Printed: June 2013 © Part No. 52620 Axis Communications AB, 2009-2013...
Need help?
Do you have a question about the T92A20 and is the answer not in the manual?
Questions and answers