Do you have a question about the 904 and is the answer not in the manual?
Questions and answers
Jill Hopgood-Clark
August 6, 2025
Have lived here for 18yrs, rarely ever used this oven as it’s never worked efficiently, previous owners built the house 4 yrs before I bought it.
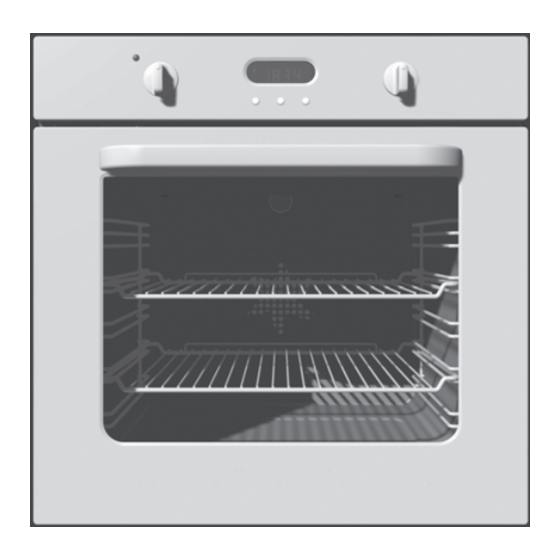
The glass windows always bothered me because of baked on grease ( not from me!) so idiot me ( yes, I’m a female, 75 yrs young and screaming at myself now) decided to undo those little 2 screws and set to work cleaning it… thought I’d save my pension.. I removed anything that could possibly come away to be soaked in the sink & be cleaned… wonderful, everything sparkling…, HELP bits of rubber has come away ( little wonder it use to lose heat… my bum doesn’t need to eat cake anyway) and for the life of me, no manual to be found to put this bad boy back together again! Can you please help me? Can I purchase a new stove and throw this to the same dump Erin Patterson use to chuck her dehydrator? Or are you able to feel sorry for me and send me a manual with directions please? I Thankyou & your patience, Cheers, Jill


Need help?
Do you have a question about the 904 and is the answer not in the manual?
Questions and answers
Have lived here for 18yrs, rarely ever used this oven as it’s never worked efficiently, previous owners built the house 4 yrs before I bought it. The glass windows always bothered me because of baked on grease ( not from me!) so idiot me ( yes, I’m a female, 75 yrs young and screaming at myself now) decided to undo those little 2 screws and set to work cleaning it… thought I’d save my pension.. I removed anything that could possibly come away to be soaked in the sink & be cleaned… wonderful, everything sparkling…, HELP bits of rubber has come away ( little wonder it use to lose heat… my bum doesn’t need to eat cake anyway) and for the life of me, no manual to be found to put this bad boy back together again! Can you please help me? Can I purchase a new stove and throw this to the same dump Erin Patterson use to chuck her dehydrator? Or are you able to feel sorry for me and send me a manual with directions please? I Thankyou & your patience, Cheers, Jill
How do I clean between the 2 glass door panels?
HOW DO YOU CLEAN INSIDE OF GLASS ON DOOR