Table of Contents
Advertisement
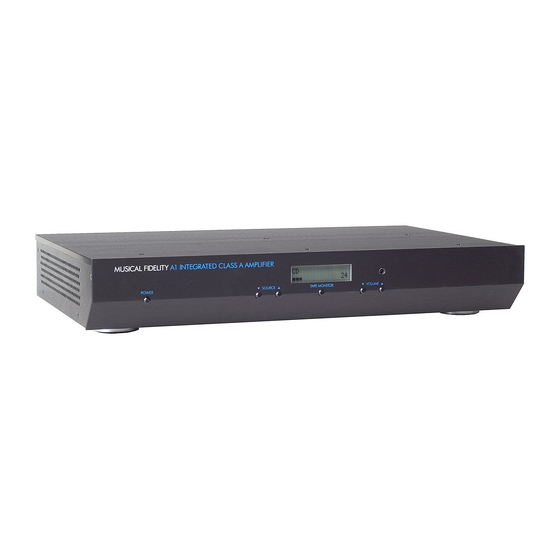
A1 Integrated
A1 SERIES CLASS A INTEGRATED AMPLIFIER WITH USB INPUT
INSTRUCTIONS FOR USE
Thank you for purchasing the Musical Fidelity A1 Integrated amplifier.
This new incarnation of the A1 Integrated uses a class A biased output stage to deliver the absolute best in
audio quality with no listener fatigue from crossover distortion artefacts. This results in an astounding
improvement in musicality and tonal neutrality.
The A1 is designed to be partnered with future A1 products, as well as our supercharger range. This offers a
financially lossless upgrade path. As a pure amplifier the A1 is almost perfect. The only limitation, due to
class A operation, is overall power. When you want to upgrade, the A1 is a perfect driver for the 550K or
750K superchargers, and was designed with this in mind. This combination yields one of the best
amplification systems available at any price.
Used properly and carefully, it should give many years of outstanding musical reproduction.
Dust regularly with a soft duster or soft brush, but be careful when using cleaning or polishing agents - they
may harm the surface finish.
If you have any questions about your audio system,
Please consult your dealer who is there to help and advise.
Advertisement
Table of Contents

Related Manuals for Musical Fidelity A1 Integrated


Summary of Contents for Musical Fidelity A1 Integrated
- Page 1 Thank you for purchasing the Musical Fidelity A1 Integrated amplifier. This new incarnation of the A1 Integrated uses a class A biased output stage to deliver the absolute best in audio quality with no listener fatigue from crossover distortion artefacts. This results in an astounding improvement in musicality and tonal neutrality.
-
Page 2: Table Of Contents
A1 Integrated CONTENTS PAGE Section Mains plug (U.K. only) Safety information Modification warning Installation precautions General advice User information EU disposal information Disposal information Introduction Installation Cleaning Installation Audio connection Illustrations – Main unit front & rear panels Facilities and connections... -
Page 3: Safety Information
If connecting to a BS1363 plug, a 13 amp fuse must be used. WARNING: ANY MODIFICATIONS TO THIS PRODUCT NOT EXPRESSLY APPROVED BY MUSICAL FIDELITY WHO IS THE PARTY RESPONSIBLE FOR STANDARDS COMPLIANCE COULD VOID THE USER'S AUTHORITY TO OPERATE THIS EQUIPMENT. -
Page 4: General Advice
Do not remove any covers or try to gain access to the inside. There are no internal adjustments or fuses you can replace yourself. Refer all service work to an authorised Musical Fidelity agent. Note: Unauthorised opening of the equipment will invalidate any warranty claim. -
Page 5: Disposal Information
A1 Integrated ITEM DISPOSAL INFORMATION DISPOSAL AFVAL The crossed out wheeled bin label that appears on the Het label op de achterzijde van dit apparaat, een back panel of the product indicates that the product must not be afvalbak op wielen met een kruis doorgehaald, geeft aan dat dit disposed of as normal household waste. -
Page 6: Installation
A1 Integrated INSTALLATION INTRODUCTION POWER CONNECTIONS Congratulations on the purchase of the new A1 Class A The A1 is supplied with a standard IEC mains cable which Integrated amplifier. Great attention has been paid to internal plugs into the IEC socket at the back of the unit (see P.7) layout, isolating each circuit section to prevent possible interaction. -
Page 7: Facilities And Connections
A1 Integrated FACILITIES AND CONNECTION FRONT PANEL 1. ON/OFF Button 4. TAPE MONITOR button 2. ANALOGUE, USB INPUT source selector buttons 5. VOLUME up/down 6. IR RECIEVER lens 3. DISPLAY REAR PANEL 7. USB Input (type ‘B’ socket) 11. CD, TUNER, AUX/HT, TAPE INPUT RCA Sockets 8. -
Page 8: Remote Control
A1 Integrated REMOTE CONTROL Remote control Handset The universal remote control shown below enables functions from this and related units to be operated from a convenient distance. Equivalent buttons on the remote control have the same functions as those on the front panel of the unit. Other functions are only available by remote control. -
Page 9: Amplifier Operation
A1 Integrated AMPLIFIER OPERATION STARTING PHONO Once all connections are made, switch on the unit, using To use the phono (MM) input, connect turntable the POWER button front of the unit. The backlit cartridge outputs to the phono input RCA sockets (see display will light. - Page 10 A1 Integrated AMPLIFIER OPERATION line level outputs from home theatre processor to the Computer setup for input USB input AUX/HT input (see p.7). Volume control is now only possible (for this input) on the external processor. A good quality USB A to B cable is required to connect the unit to the computer.
-
Page 11: Amplifier Problems
Batteries are running out Change batteries for a new set. If none of these actions affect a cure, please contact the dealer, or an authorised Musical Fidelity service agent. Remember; never open the case of the A1, as this will invalidate the guarantee. -
Page 12: Amplifier Specifications
15 ¾ lbs Unboxed 10.5 kg 23 lbs In shipping carton, with all accessories Musical Fidelity reserves the right to make improvements which may result in specification or feature changes without notice. Issue 2: 05 March 2008 Page 12 of 13... - Page 13 A1 Integrated MANUAL REVISION RELEASE DATE CHANGES Issue 1 January 2008 issue Corrected front panel Issue 2 March 2008 buttons Issue 2: 05 March 2008 Page 13 of 13...
Need help?
Do you have a question about the A1 Integrated and is the answer not in the manual?
Questions and answers