Table of Contents
Advertisement
Quick Links
Advertisement
Table of Contents

Related Manuals for Edimax HP-5001


Summary of Contents for Edimax HP-5001
- Page 2 Edimax Technology Co., Ltd. reserves the right to revise this publication and to make changes from time to time in the contents hereof without the obligation to notify any person of such revision or changes.
-
Page 3: Table Of Contents
Contents Chapter 1: Introduction ............................. 3 1.1 Product Features ..........................3 1.2 Application ............................3 1.3 Compatibility ............................3 1.4 System Requirements .......................... 4 Chapter 2: Adapter ............................5 2.1 Ethernet Port............................5 2.2 Buttons ..............................5 2.3 LEDs ..............................6 Chapter 3: Utility Software Installation ...................... -
Page 4: Chapter 1: Introduction
Chapter 1: Introduction 1.1 Product Features Data rates up to 500Mbps Transmits network data via existing electrical wires (no external cabling required) Easy plug-and-play setup Works with routers, computers, and other network devices Consumes less than 1W of power in power saving mode 1.2 Application ... -
Page 5: System Requirements
1.4 System Requirements Operating System Utility can support Windows 2000/XP/Vista/7 Intel Pentium III 2.0GHz (or higher) 128MB (at least) Free Disk Space 20MB (at least) Network Interface Fast Ethernet (100Mbps) network interface and an Ethernet cable... -
Page 6: Chapter 2: Adapter
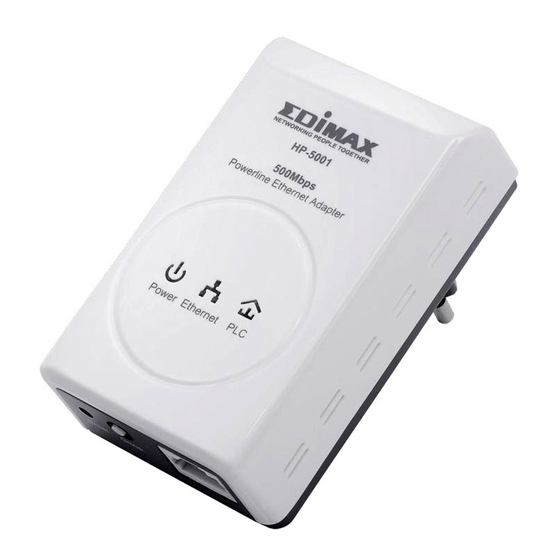
Chapter 2: Adapter 2.1 Ethernet Port You can connect the HP-5001 to a router, a computer, or any network device via this Ethernet port. 2.2 Buttons Reset Press and hold the reset button for 3 seconds to restore the powerline adapter to factory defaults. -
Page 7: Leds
2.3 LEDs Ethernet connection established Ethernet Green Flashing Network activity Port No Ethernet connection Powered on In power saving mode Device resetting Power Green Flashing Synchronizing password Powered off Green: PHY RATE > 80Mbps Green/ Orange: 40Mbps < PHY RATE < 80Mbps Orange/ Red: PHY RATE <... -
Page 8: Chapter 3: Utility Software Installation
Chapter 3: Utility Software Installation Step 1 Before installing the utility software, make sure that no other powerline utility is installed on your computer. If any other utility software is installed, uninstall it and reboot the computer. Step 2 Insert the CD into your CD-ROM drive. When the following image appears, click “500Mbps Device”. - Page 9 Note : You will get the following image, if your computer did not install WinPcap4.1.2 before. Please click “Apply” to install WinPcap4.1.2.
- Page 12 Step 4 When the setup wizard appears, click “Next” to continue. Step 5 Select where you want to install the utility software, and then click “Next”.
- Page 14 Step 6 After the installation is complete, click “Close”. Step 7 An icon will appear on your desktop. Click the icon to open the utility software. Note: You can manage all the connected powerline adapters with the utility software. However, installing the utility software is optional.
-
Page 15: Chapter 4: Using The Utility Software
Chapter 4: Using the Utility Software 4.1 Main Tab The “Main” tab provides a list of powerline adapters connected to the computer. The upper panel displays local powerline adapters. The lower panel displays remote powerline adapters in the network. Connect Click “Connect”... -
Page 16: Privacy Tab
4.2 Privacy Tab In the “Privacy” tab, you can create a private network by changing the default network name and configure its security settings. If the network name is modified to anything other than the default, the network type in the “Main” tab will be changed to “Private”. Set Local Device Only This button is used to change the network name and password of the local device. -
Page 17: Diagnostics Tab
4.3 Diagnostics Tab The “Diagnostics” tab displays the system information and history of all remote devices. The upper panel displays technical data concerning the software and hardware on the host computer and the lower panel displays the history of all remote devices. -
Page 18: About Tab
4.4 About Tab The “About” tab contains some basic information about the software. You can also enable or disable the autoscan function under “Preferences”. -
Page 19: Chapter 5: Security (Group) Button
Chapter 5: Security Button This section demonstrates how to add or remove devices from a HomePlug AVLN with the “Security (Group)” button. The “Power” LED indicates the operation status and result. 5.1 Forming a HomePlug AV Logical Network When two devices with different NMK values are connected to the same powerline and you want them to form a logical network, follow the following procedures: Step 1 Press the “Security (Group)”... -
Page 20: Leaving A Network
Step 2 Press the “Security” button on any device in the network for less than 3 seconds. This should be done within 1 minute. Step 3 Wait for the connection to complete. The “Power” LED on both devices will blink evenly at 1-second intervals until the operation succeeds or fails. -
Page 21: Federal Communication Commission Interference Statement
Federal Communication Commission Interference Statement This equipment has been tested and found to comply with the limits for a Class B digital device, pursuant to Part 15 of FCC Rules. These limits are designed to provide reasonable protection against harmful interference in a residential installation.
Need help?
Do you have a question about the HP-5001 and is the answer not in the manual?
Questions and answers