Table of Contents
Advertisement
Quick Links
Advertisement
Table of Contents

Summary of Contents for Zodiac G4
- Page 1 Instruction Manual & Warranty Card...
- Page 2 MASTERING THE ELEMENTS Renowned worldwide for the quality and reliability of its products in the aeronautical and marine sectors, Zodiac has now brought its expertise to swimming pools, to bring you a full range of pools, automatic pool cleaners and water treatment systems.
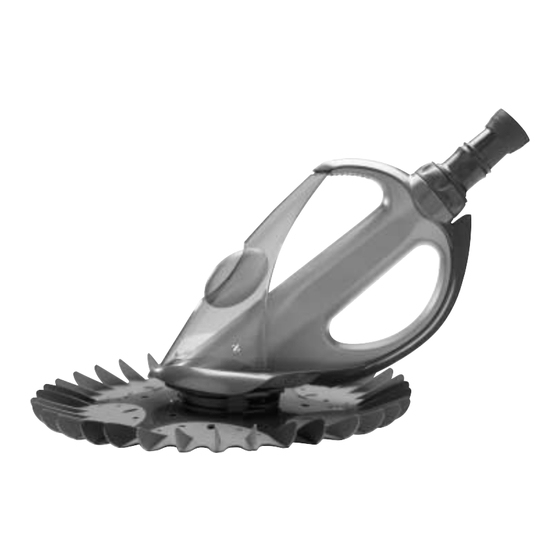
- Page 3 Dear Customer, Thank you for buying a Zodiac G4. It is thanks to you that we have achieved our position as market leader. The Zodiac G4 has been designed and manufactured to be easily installed and to provide years of low maintenance operation •...
-
Page 4: Table Of Contents
SECTION 1 – INSTALLATION ....... .1 SECTION 2 – ZODIAC ACCESSORIES ......7 SECTION 3 –... -
Page 5: Section 1 - Installation
SECTION 1 – INSTALLATION It is much easier to assemble your new ZODIAC G4 automatic pool cleaner beside the skimmer box of your pool. PRE-INSTALLATION OF POOL CLEANER: Step 1: Where main drain is connected to your skimmer box, block off the access... - Page 6 SECTION 1 – INSTALLATION INSTALLATION Firmly push the wheel deflector (part #5) onto the hose wheel adaptor until it clicks into place. Firmly push the pink leader hose adaptor (part # 7) onto the end of the hose wheel adpator. Submerge cleaner head to remove all air. Select a hose length and clip the hose weight (part # 4) onto the end that does not have the Baracuda stamp.
- Page 7 Proper balancing must be accomplished in the DEEPEST area of the pool. The buoyancy of the hose tends to LIFT the ZODIAC G4™ especially in deeper water. The hose weight is provided to help neutralise the buoyant effect of the hose.
- Page 8 SECTION 1 – INSTALLATION Fit hose protector mesh (part # 2) to the end of the last length of hose, which will be the section coming out of the skimmer box. Using the parts shown below choose a fitting combination best suited to your pool from figures A, B or C and install.
- Page 9 SECTION 1 – INSTALLATION Before connecting hose to fittings in the skimmer box it is essential that all air is removed from the cleaner head and hose. For pools with more than one skimmer box; close off all suction points except for the one the cleaner will be operating from.
- Page 10 (A) by pressing down on the flow door (B) It’ s that simple! Your Zodiac G4 pool cleaner should now be working. If it is not working correctly, please go to our troubleshooting section at the end of this manual.
-
Page 11: Section 2 - Zodiac Accessories
2. W26705 The Leaf Eater Use when heavy debris or leaf situations exist Zodiac recommends the following water chemistry readings for optimal performance of any pool equipment Free Chlorine Total Alkalinity Calcium Hardness Cyanuric Acid... -
Page 12: Section 3 - Care And Maintainence
QUICK ACCESS CONTROL SYSTEM: Unlike other brand automatic pool cleaners, the Zodiac G4 has the Quick Release Access Cassette System. This unique feature allows almost instantaneous access to the one moving part – the diaphragm. -
Page 13: Section 4 - Diaphragm Removal
Step 5 Remove blockage and rinse. Do not use sharp objects as damage to diaphragm may occur. If replacement parts are needed, contact Zodiac customer service on 1800 688 552 or your authorized Zodiac pool shop. -
Page 14: Section 5 - Diaphragm Assembly
SECTION 5 – DIAPHRAGM ASSEMBLY DIAPHRAGM ASSEMBLY: Prior to reinstalling the diaphragm, rinse the diaphragm and the inner extension pipe thoroughly to remove any grit or algae. Step 1: Push the diaphragm onto the end of the inner extension pipe until it sits flush against the raised lip Step 1 Step 2: Push the inner extension pipe... -
Page 15: Section 6 - Pool Pulse
The Pool Pulse® is a flow meter that measures the volume of water flowing through your Zodiac cleaner. It must be used to properly set the flow and can be used as a diagnostic tool when the cleaner isn’t running properly. -
Page 16: Section 7 - Troubleshooting
SECTION 7 – TROUBLESHOOTING Note: If the automatic pool cleaner is climbing the walls excessively, that is an indication that the flow is too high. Review the installation procedures and ensure the Adjustable Auto Control Valve is set at setting #1. For additional assistance contact our customer service department on 1800 688 552. - Page 17 NOTES ................................................................................................................................................................................................................................................................................................................................................................................................................................................................................................................................................................................................................................................................................................................................................................................................................................................
-
Page 18: Warranty Information
Purchaser's claims against Zodiac Group Australia Pty. Ltd. shall be limited to those claims which may be asserted under the limited warranty relating to any defect, malfunction or wear of the ZODIAC G4. To obtain warranty replacement or repair, the unit should be returned to the place of purchase.When submitting a claim, always supply serial number, evidence of purchase date, retailer and a brief description of the problems/defects encountered. - Page 19 This certificate must be completed and returned within 14 days of date of purchase. I certify that my Zodiac G4 was purchased on: ______________________________________ Month Year and that I have read and understand the terms of the Zodiac G4 warranty provided by Zodiac Group Australia Pty. Ltd. ______________________________________________________ Customer Signature Date...
-
Page 20: Warranty Certificate
WARRANTY CERTIFICATE RETURN TODAY TO SECURE YOUR 2-YEAR WARRANTY Zodiac Group Australia Tel: 1800 688 552 Fax: (02) 9896 5766 www.zodiac.com.au...


Need help?
Do you have a question about the G4 and is the answer not in the manual?
Questions and answers