Table of Contents
Advertisement
Read this manual before
operating the cleaner
This cleaner was inspected and packaged carefully before being shipped from the
factory. If you should happen to need assistance during assembly or operation call
l-900-944-9200 for an automated referral of authorized service outlet
locations (U.S. only)
or
l-339499-9499 to speak with a representative in our Consumer
Response Center or
Visit us online at www.hoover.com to find the service outlet nearest you
(click on the "Service" button).
PLEASE DO NOT RETURN THIS PRODUCT TO THE STORE
Owner's Manual
ENGLISH + pp.l-14
Advertisement
Table of Contents

Related Manuals for Hoover 53425


Summary of Contents for Hoover 53425
-
Page 1: Operating The Cleaner
(U.S. only) l-339499-9499 to speak with a representative in our Consumer Response Center or Visit us online at www.hoover.com to find the service outlet nearest you (click on the “Service” button). PLEASE DO NOT RETURN THIS PRODUCT TO THE STORE... -
Page 2: Save These Instructions
Do not use with damaged cord or plug. H appliance is not working as it should, has been dropped, damaged, left outdoors, or dropped into water, take it to a Hoover Factory Servtce Center or Authorized Hoover Warranty Service Dealer (Depot). - Page 3 Consumer Response Center or Visit us online at www.hoover.com to find the service outlet nearest you (click on the “Service” button). This cleaner is intended for household use. Side mounted hose trademark of The Hoover Company...
-
Page 4: Step 3 Attach Handle
’ Stats& Assemble Note: The white switch lock above the ON/Off switch, aids in assembly of your cleaner. Assembly can be continued if the switch lock is missing. However, do not remove the switch lock until assembly is completed. Align upper handfe and lower handle as shown. - Page 5 Pull bracket toward bottom of handle slightly to make sure bracket is locked in place. Make sure hole in bracket aligns with hole in handle. Step 4 Attach bag compartment Pull bag door latch forward and remove door. Set bag door aside. With ON/OFF switch to the front, place assembled handle down onto extension on cleaner base.
-
Page 6: Step 6 Position Tools
Sqep 5 AHach paper bag Align opening in paper bag with dirt tube (S) inside bag compartment. Pull switch lock (U) above ON/OFF switch (V) straight out. Dispose of lock. Note: If lock has,come off during assembly make sure switch is in the OFF position (down) before plugging cord into electrical outlet. -
Page 7: Handle Positions
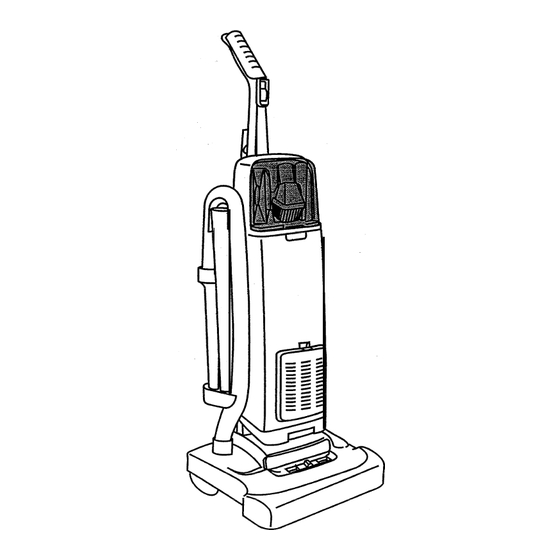
cleaner description Operate cleaner only at voltage specified on data plate on bottom of cleaner. This cleaner is intended for household use. ON-OFF switch To turn cleaner ON, push switch (A) up. To turn cleaner Off, push switch down. Note: To reduce the risk of electric shock, this appliance has a polarized plug (one blade is wider than the other). -
Page 8: Stair Cleaning
$sr&et height adjust- When it is necessary to raise and lower the front of the- cleaner (A) for various carpet pile heights, slide the carpet height control (3) to the correct setting. Edge cleaning Special edge groomers are provided on both sides of the front of the cleaner to help remove dirt in carpet near baseboards and furniture. -
Page 9: Filter Bag
Press cover back into place. To assure that your cleaner operates at peak performance, it is imperative that you use only genuine HOOVER filter bags distributed by The Hoover Company. HOOVER bags can be identified by these trademarks -... - Page 10 To remove this filter when it becomes dirty, depress door latch and remove door. -Headlight What to buy This cleaner uses a 12 volt, wedge base type 912 bulb, Hoover part No. 27313-101 How to replace Disconnect cleaner from electrical outlet. Removing hood...
-
Page 11: Agitator Brush Roll
Belt. replacement, The -belt on your .HOOVER cleaner causes the agitator to rotate- and is important-for the effective operation of the cleaner.- The belt is located under the bottom-plate of the cleaner and should be checked from time to time to be sure it is in good condition. -
Page 12: Replacing Edge Groomers
(U.S. only) OR .- checking-the Service section of The Hoover Company on-line at wwwhooverzom Do not send your cleaner to The Hoover Company in North Canton for service, this will only result in delay. If further assistance is needed, contact... -
Page 13: Clearing Blockages
The Hoover Company on-line at www.hoover.com This warranty does not cover pick up, delivery, or house calls; however, if you mail your appliance to a Hoover Factory Service Center for warranty service, transportation will be paid one way. While this warranty gives you specific...
Need help?
Do you have a question about the 53425 and is the answer not in the manual?
Questions and answers