Table of Contents
Advertisement
Advertisement
Table of Contents

Related Manuals for Hoover 5221 ULTRA LIGHT


Summary of Contents for Hoover 5221 ULTRA LIGHT
- Page 1 Ultra Lightweight Lithium Performance...
-
Page 3: Features
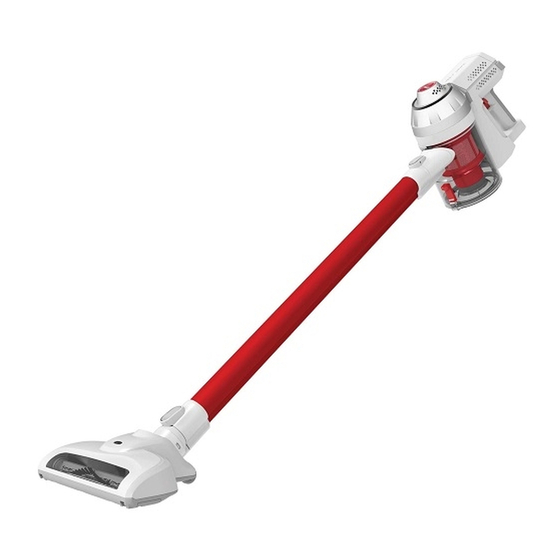
5221 Ultra Light Congratulations on the purchase of your new HOOVER vacuum cleaner. There are many useful features built into your cleaner and we recommend that you carefully read this instruction manual so that you may take best advantage of them. -
Page 4: Before You Begin
Before You Begin This cleaner must be operated in accordance with these instructions and used only for domestic household cleaning to remove DRY dirt and dust from household carpets, flooring, walls and fabrics. This cleaner is not fit to be used as an industrial cleaner hence will void the manufacturer’s warranty if used inappropriately. -
Page 5: Safety Precautions And Warnings
Safety Precautions & Warnings IMPORTANT! Always switch off the appliance before cleaning, when not in use or attempting any maintenance task. The charger must only be connected to an AC power supply at the voltage shown on the rating label. This cleaner should only be used for its intended purpose as described in this instruction manual. - Page 6 Battery use and care the filters in place. 16. Before vacuuming, remove any large or sharp The battery can only be replaced by a qualified objects from the floor or cleaning surface in order technician. Do not try to open the cleaner to to prevent damage to the filter.
-
Page 7: Assembly
Assembly IMPORTANT! Always remove the battery from the appliance before fitting or removing accessories. Installing the battery Align the sliding slot of the battery with the guide rail on the machine body component. Insert the battery into the machine case component in the direction as shown, until a “click”... - Page 8 Assembly (continued) Connecting the rod to the unit During installation of the rod, insert the plug end into the air inlet of the cleaner. Once securely in place, you will hear a “click” sound. ntinuous mode lock的。 在on/off按钮边上。 Connecting accessories to the unit When inserting accessories into the cleaner you will hear a “click”...
-
Page 9: Continuous Mode
Instructions for Use Continuous Mode To enable continuous mode, pull the lever back, it will click into place. To disable continuous mode, push the lever forward. Attention: After each use of your product, please ensure that the continuous lock in the “unlocked” position. Failure to do so may cause the poor performance or battery failure. - Page 10 Accessories 2 in 1 upholstery brush and crevice tool The 2 in 1 upholstery brush and crevice tool can be attached to the unit for cleaning hard to reach places. Floorhead ode lock的。 在on/off按钮边上。 continuous mode lock的。 在on/off按钮边上。 Ideal for daily cleaning on carpets and hard floors.
-
Page 11: Maintenance
Maintenance Charging the vacuum cleaner Insert the charger into the vacuum cleaner. When the charging indicator light is flashing red, the vacuum cleaner is being charged. When the charging indicator light turns from red to green, the vacuum cleaner battery is fully charged. Product needs to be charged for 5-6 hours NOTE: During the first three applications of use, twelve hours of continuous charging shall be ensured every time. -
Page 12: Emptying The Dust Canister
Maintenance 图片能显示continuous mode lock的。 在on/off按钮边上 (continued) IMPORTANT! Turn off the cleaner and remove the battery before conducting any maintenance tasks. It is recommended to clean the dust canister after each use or when dust is up to the max fill line. 的。... -
Page 13: Cleaning The Roller Brush
To remove the exhaust filter, press the filter release button and pull it out from the cleaner. Then, pull the filter out from the filter holder. All the filter can be washed. Rinse under lukewarm water. The filters needs to be air dried for 24 hours before it can be reinstalled to the machine. -
Page 14: Spare Parts
Spare Parts Please contact Hoover Customer Care: 1300 360 845, NZ: (09) 263 7573 to find your local spare parts provider. Part Part Number Filter 32201278 Battery 33201278... -
Page 15: Troubleshooting
Troubleshooting Problems and solutions If you come across a problem, please use the checklist of troubleshooting tips before contacting Hoover Customer Care. Fault Cause Solution Cleaner doesn’t start - Flat battery - Charge the vacuum cleaner Reduced suction - The dust canister is full of dust... - Page 16 Cordless Handstick Vacuum Cleaner Conditions of warranty Your Hoover cleaner, in the case of domestic use, has a one year Electrical Home-Aids Pty Ltd is unable to accept responsibility under parts and labour warranty against product defects and failures when...
Need help?
Do you have a question about the 5221 ULTRA LIGHT and is the answer not in the manual?
Questions and answers
Trying find the "fine filter"for inside the canister [bin ] of the Hover Ultra light stick vac 5221
The fine filter for the Hoover Ultra Light stick vacuum model 5221 is located inside the dust canister. To access it, press the canister release button and pull the canister away. Then, turn the mesh filter clockwise to unlock and remove it.
This answer is automatically generated
I’m having difficulty removing the filter for cleaning
To remove the filter for cleaning on a Hoover 5221 ULTRA LIGHT:
1. Press the canister release button and pull the canister downward and outward.
2. Turn the mesh filter clockwise to unlock it, then pull it out from the cleaner.
3. Turn the cyclone separator clockwise to unlock it, then pull it out from the cleaner.
This answer is automatically generated
How to clean the filter on the Hoover cordless ultralight