Table of Contents
Advertisement
Quick Links
Download this manual
See also:
Instruction Manual
Advertisement
Table of Contents

Subscribe to Our Youtube Channel
Related Manuals for FAVI RioHD-LED-2


Summary of Contents for FAVI RioHD-LED-2
-
Page 2: Warranty And Support Information
------------------------------------------------------------------------------ Your RioHD-LED-2 projector is guaranteed to be free of defects in material and workmanship for a period of 45 days from the date of receipt. Should your RioHD-LED-2 projector develop Safety instructions ---------------------------------------------------------------------- an issue requiring it to be repaired within this time frame, we will repair or exchange any defective or damaged unit at no cost to you. - Page 3 ● No warm up time: Plug in the projector, turn it on, and it begins projecting almost immediately. ● Small size: At just over 8 inches wide and weighing under 3 pounds, the RioHD-LED-2 is designed with portability in mind.
-
Page 4: Safety Instructions
Specifications Safety instructions 3.2” TFT LCD panel Do not operate this projector in an environment where the temperature is above 104 ºF. LCD native resolution 640x480 Doing so could damage your projector and void your warranty. Supported resolutions 640x480 up to 1920x1080 Do not expose this projector, or its power supply to liquids. -
Page 5: Getting Started
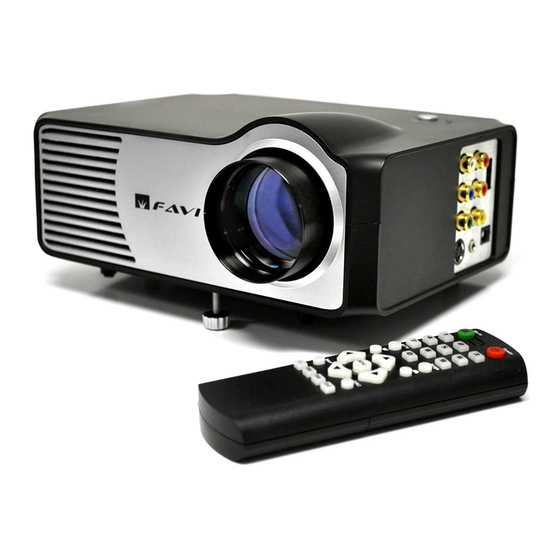
Troubleshooting (continued) Getting started Problem: Solution: The following diagrams point out the features of your projector: Small text is hard to read in VGA mode. Set your desktop resolution to 800x600 or lower. 9 10 First, check to make sure the projector is properly I can’t get my desktop to appear in VGA mode. -
Page 6: Troubleshooting
Getting started (continued) Troubleshooting If you have any issues setting up or using your RioHD-LED-2, before contacting us please refer to the Powering on/off your projector following troubleshooting guide: After plugging your projector in, press the power button on either the remote control, or the projector. To turn... - Page 7 Menu settings (continued) Getting started (continued) This menu screen is only available in the VGA video Here is a picture of your projector’s A/V and power input panel. The connectors are all labeled, and are mode. When switching to VGA mode, the projector will self explainatory.
- Page 8 Getting started (continued) Menu settings (continued) The remote control that comes with your projector is also used for other models, some of which The sound menu screen allows you to adjust settings such as have different sets of features. The image below points out which buttons activate features on treble, bass, and balance.
-
Page 9: Menu Settings
Menu settings Connecting a PC to your projector Pressing the “MENU” button on the remote control will bring up the projector’s menu screen. The There are several ways to connect your PC to your projector. The simplest method is to enable the TV out four arrow buttons around the “MENU”... -
Page 10: Projector Setup
Projector setup Image adjustment The following diagrams are examples of how your projector can be set up for use. Keystone correction Focus adjustment After setting up your projector and powering it on, the Rotating the lens clockwise will make it retract into the image may look trapezoid shaped even after the projector, while rotating it counter clockwise will make it projector...
Need help?
Do you have a question about the RioHD-LED-2 and is the answer not in the manual?
Questions and answers