Table of Contents
Advertisement
Quick Links
Speci cations
Model
Native resolution
LCD
Support resolution
Video
Input signal
Audio
Output signal
Speaker
Focus
Lens
Model
Power
Lamp
Life
Size
Image
Brightness
Keystone
Voltage
Input power
Power
Power adapter
Voltage
Projector
Dimensions
3.5" TFT
800 x 600
1024 x 768
Component video, S-video,
VGA, HDMI, USB
Stereo
1W x 2
130mm
LED
70W
20,000 hours
50-100"
1500 Lumens
15 degree
19V 10%
90W
AC110-240V / 50-60Hz
8.07" x 6.3" x 2.76"
14
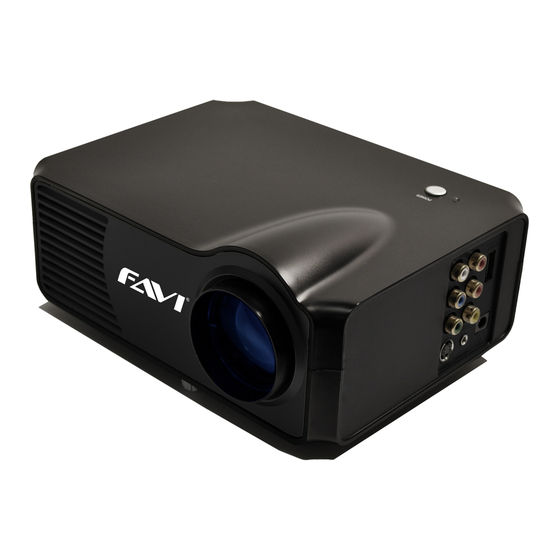
RioHD-LED-3
®
User Guide
Advertisement
Table of Contents

Related Manuals for FAVI RioHD-LED-3


Summary of Contents for FAVI RioHD-LED-3
-
Page 1: Speci Cations
Speci cations ® User Guide Model 3.5” TFT Native resolution 800 x 600 Support resolution 1024 x 768 Component video, S-video, RioHD-LED-3 Video Input signal VGA, HDMI, USB Stereo Audio Output signal Speaker 1W x 2 Focus 130mm Lens Model... -
Page 2: Table Of Contents
TABLE OF CONTENT Troubleshooting Safety Precautions ....................... 01 Problems Possible solution(s) What’s in the Box ........................03 No power - Check the power cable Projector Features ........................ 04 Installation ..........................05 - Allow 5 minutes (between on and o sessions) Remote control Standard Setting ...................... -
Page 3: Safety Precautions
Menu Settings Safety Precautions Setting Menu Before using this projector, please read this manual carefully. Menu Setting OSD Language English / Germany / Chinese Restore factory default Yes or No WARNING: Blending O / Lower / Middle / High OSD Duration OFF / 5 sec / 10 sec / 15 sec Do not stare directly into the light of the lens. -
Page 4: Menu Settings
Safety Precautions Menu Settings WARNING: Picture Menu Sound Menu Time Menu Before use, please read this manual carefully. If not operated correctly it can cause electrical shock or re. When using or repairing this projector, please comply with the following suggestions. 1. -
Page 5: What's In The Box
If any items are missing, contact your dealer. (picture 1). 2. Press the “ < / > “ keys to change menu options to “picture” > “sound” > “time” > 1x RioHD-LED-3 Projector “set up” interface. 1x Remote Control 3. -
Page 6: Projector Features
Projector Features Image Adjustment FRONT REAR BOTTOM When using the projector for the rst time, please make the following focus adjustments: Focus Adjustments Keystone Adjustments Slowly dial the lens until the image is If a projected picture has keystone brought into focus. distortion, correct image with keystone dial located under the projector. -
Page 7: Installation
Remote Control Features Installation WARNING: Standard Setting Turn ON / OFF Con rm Refer to the following chart to adjust Please check the following picture for your picture size and distance. Keystone adjustment. Mute NOTE: Distance refers to the distance from the lens to the projector screen. -
Page 8: Installation Methods
Installation Installation Installation Method Connection Instructions Contact a professional service technician to mount this projector to a ceiling. Source switch: Follow the instructions below for the correct projector positions: Left audio Right audio 1. Press “source” key on remote input input control, the screen will show source (picture below)
Need help?
Do you have a question about the RioHD-LED-3 and is the answer not in the manual?
Questions and answers