Table of Contents
Advertisement
Advertisement
Table of Contents

Related Manuals for Emotiva XPR-2


Summary of Contents for Emotiva XPR-2
- Page 1 XPR-2 Stereo Reference Power Amplifier User Manual...
-
Page 2: Important Safety Precautions And Explanation Of Symbols
Do not install the XPR-2 on any stand, shelf, or other piece of furniture that is unable to support its weight. If a cart is used to move the unit, use caution to avoid injury from tip-over. - Page 3 SERIOUS INJURY OR DEATH. The XPR-2 should only be cleaned as directed in the manual. Avoid spraying liquids directly onto the unit and NEVER spray liquids into the vents. Care should be taken so that small objects do not fall into the inside of the unit.
-
Page 4: Table Of Contents
Features .....................5 Unpacking...................6 XPR-2 Front Panel ................7 XPR-2 Rear Panel ................9 Quick Start ..................11 Connections..................12 Configuration and Operation ............14 Care and Maintenance ..............15 Specifications ...................16 Troubleshooting ................18 Emotiva Audio Corporation Five-Year Limited Warranty ....20 Accessories ..................22 Notes ....................23 Page 1... - Page 5 XPR-2 Page 2...
-
Page 6: Introduction
Emotiva. The XPR-2 can effortlessly deliver 600 watts per channel into 8 ohms and 1000 watts per channel into 4 ohms with both channels driven, at less than 0.1% THD (that’s 2 kilowatts total into 4 ohms). -
Page 7: About This Manual
About This Manual This User Manual will provide you with all the information you need to get started enjoying your XPR-2 Stereo Reference Power Amplifier. We suggest that you read through the entire manual; we kept things as short and direct as possible. -
Page 8: Features
XPR-2 Features The XPR-2 Stereo Reference Power Amplifier is a truly exceptional performer. It combines the power, reliability, and superb sound quality of a great audiophile amplifier with the features and aesthetics of a true audio showpiece. Some of the features offered by the XPR-2 include: • Superb sound quality - as with all Emotiva amplifiers, the XPR-2 was designed first... -
Page 9: Unpacking
XPR-2 Unpacking Your XPR-2 was carefully packed and should reach you in perfect condition. If you notice any shipping damage or other issues when you unpack it, please contact Emotiva immediately. Gently remove your XPR-2 from the packing carton and remove all wrappings and shipping material. -
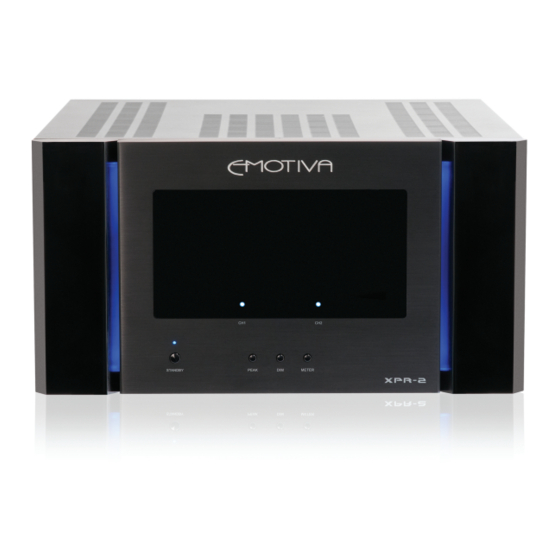
Page 10: Xpr-2 Front Panel
Meter above it. Either or both are active depending on the configuration chosen. If a fault occurs on one or both channels of the XPR-2, the LED above the Standby button, the Channel Status LEDs, and the LED Bargraph Meter LEDs associated with the channel that is reporting the fault will flash red. - Page 11 XPR-2 5. Dim Button Controls the brightness of the Accent Lighting and all LEDs (in four steps). 6. Meter Button Press to switch between LED and Accent Lighting modes: 1) LED Bargraph Meters + Status LEDs + Accent Lighting. 2) Status LEDs only.
-
Page 12: Xpr-2 Rear Panel
2. Trigger Input and Trigger Output The XPR-2 is switched On (from Standby) when a trigger signal is presented at the Trigger Input; the XPR-2 returns to Standby when the trigger signal is removed. When the XPR-2 is on, a 12 VDC signal is sent from the Trigger Output to control other devices. -
Page 13: Input Selector Switch
6. AC Power Switch Switches the main AC power to the XPR-2 On and Off. When this switch is off, no controls operate (the XPR-2 cannot be turned On from the front panel or trigger). -
Page 14: Quick Start
XPR-2 Quick Start To get the most from your XPR-2, we urge you to read the entire manual. If you just can’t wait to listen to it, this section will cover the basics you need to get started. • Find a secure location for your XPR-2. Make sure you choose a stand or shelf that can support the full weight of the XPR-2 safely. -
Page 15: Connections
If, while music is playing, the speaker terminals or speaker cables are inadvertently shorted to each other, to interconnect cables, or to ground, the XPR-2 can cause damage to associated equipment, and may even pose a risk of electric shock. - Page 16 DO NOT connect a digital signal to the inputs of your XPR-2 (or you may damage it or your speakers). Connecting the Trigger Input and Trigger Output The Trigger Input accepts a 12 VDC (nominal) trigger signal from another device via a standard 1/8”...
-
Page 17: Configuration And Operation
AC Power Switch (rear panel) The rear-panel AC Power switch controls the main AC power for your XPR-2. When this switch is in the Off position, the amplifier will not operate. Turning it On will put the XPR-2 into Standby mode. -
Page 18: Care And Maintenance
• Use only a soft cloth and AVOID abrasive cleaners or coarse cleaning cloths as they may scratch the finish. Note: DO NOT spray water or cleaning solution directly onto the XPR-2 or into the vents. Page 15... -
Page 19: Specifications
Damping Factor (8 Ohm load): > 500 Speaker Output Connections: Super heavy-duty custom Emotiva speaker binding posts - with clear acrylic insulators and heavy duty gold plated contacts; designed to accept heavy-gauge bare cables, lugs, or banana plugs. Page 16... -
Page 20: Power Supply
XPR-2, the LED above the Standby button, the Channel Status LEDs, and the LED Bargraph Meter LEDs associated with the channel that is reporting the fault will flash red. Returning the XPR-2 to Standby or switching off the AC Power will reset the protection circuitry. -
Page 21: Troubleshooting
We really doubt you’ll ever have any problems with your XPR-2 but, if you do, here are a few things you could try: Problem: No sound is heard from either channel (nothing is lit). - Page 22 Problem: The Standby LED is red and the XPR-2 fails to come on when triggered. Reason: The XPR-2 is in Standby mode and should respond to a valid trigger signal. • Check your trigger cable.
-
Page 23: Emotiva Audio Corporation Five-Year Limited Warranty
NOT APPLY TO YOU. A claim under this warranty must be made by you within the Term. A claim shall not be valid (and Emotiva has no obligation related to the claim) if it is not made within the Term and if it is not made in strict compliance with the requirements of the “How do you get service?”... - Page 24 The CSR will provide you with a returned material authorization number (“RMA”). Ship the product to Emotiva at the following address, with the RMA written in large, bold numbers on the outside of the box, and with the letters “RMA” written before the number.
-
Page 25: Accessories
Using high-quality speaker cables and audio interconnects will ensure that you get the best sound quality and maximum reliability from your XPR-2 and the speakers connected to it. Emotiva Audio offers high-quality speaker cables and audio interconnects that feature solid engineering, premium build quality, excellent performance, and reasonable cost (you will find them in the Interconnects section of our website at www.emotiva.com). -
Page 26: Notes
XPR-2 Notes All information contained in this manual is accurate to the best of our knowledge at the time of publication. In keeping with our policy of ongoing product improvement, we reserve the right to make changes to the design and features of our products without prior notice.
Need help?
Do you have a question about the XPR-2 and is the answer not in the manual?
Questions and answers