Table of Contents
Advertisement
Advertisement
Table of Contents

Subscribe to Our Youtube Channel
Related Manuals for Emotiva XPA GEN3


Summary of Contents for Emotiva XPA GEN3
- Page 3 Do not install the XPA Gen3 amplifier on any stand, shelf, or other piece of furniture that is unable to support its weight. If a cart is used to move the unit, use caution to avoid injury from tip-over.
- Page 4 Only replace the fuse(s) in the XPA Gen3 amplifier with fuse(s) of proper value and voltage rating. The XPA Gen3 should only be cleaned as directed in the manual. Avoid spraying liquids directly onto the unit and NEVER spray liquids into the vents. Care should be taken so that small objects do not fall into the inside of the unit.
-
Page 5: Table Of Contents
About This Manual ......................4 Features ..........................5 Unpacking ...........................6 XPA Gen3 Front Panel .....................7 XPA Gen3 Chassis Rear Panel (XPA Gen3 five shown) .........8 XPA Gen3 Amplifier Module (300M module) ............10 Quick Start ........................11 Connections ........................12 Configuration and Operation ................... 13 Care and Maintenance .................... - Page 6 XPA Gen3 Page 2...
-
Page 7: Introduction
35%, which makes the new XPA Gen3 amplifiers easier to ship and easier to install. It also seamlessly detects and configures itself for any line voltage between 100 VAC and 250 VAC, and features a convenient push-button circuit breaker for easy recovery from any power faults. -
Page 8: About This Manual
About This Manual This manual will provide you with the information you need to get started enjoying your XPA Gen3 modular power amplifier. We suggest that you read through the entire manual; we kept things as short and direct as possible. -
Page 9: Features
Standard IEC power inlet - fits all standard and audiophile IEC power cables. • Fully five year warranty - ensures that you’ll be able to enjoy your XPA Gen3 amplifier for years to come. You can find more information about the XPA Gen3 on our website at www.emotiva.com. -
Page 10: Unpacking
XPA Gen3 Unpacking Your XPA Gen3 modular power amplifier was carefully packed and should reach you in perfect condition. If you notice any shipping damage or other issues when you unpack it, please contact Emotiva immediately. Gently remove your XPA Gen3 from the packing carton and remove all wrappings and shipping material. -
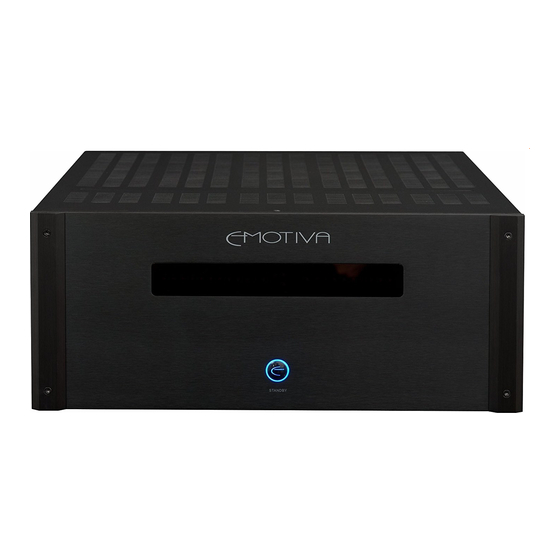
Page 11: Xpa Gen3 Front Panel
Press to switch the amplifier On; press again to return to Standby; the halo ring around the button (and the “E” on the button) illuminate amber for Standby and blue for On. Note: In order for the XPA Gen3 to operate, the rear panel AC Power Switch must first be turned On. -
Page 12: Xpa Gen3 Chassis Rear Panel (Xpa Gen3 Five Shown)
The XPA Gen3 is switched On (from Standby) when a trigger signal is presented at the Trigger Input; the XPA Gen3 returns to Standby when the trigger signal is removed. When the XPA Gen3 is on, a 12 VDC signal is sent from the Trigger Output to control other devices. -
Page 13: Circuit Breaker
6. AC Power Switch Switches the main AC power to the XPA Gen3 On and Off. When this switch is Off, no controls operate (the XPA Gen3 cannot be turned On from the front panel or by a trigger signal). -
Page 14: Xpa Gen3 Amplifier Module (300M Module)
XPA Gen3 XPA Gen3 Amplifier Module (300M module) INPUT SELECT Note: Each Amplifier Module channel has separate Balanced and Unbalanced inputs and an independent Input Selector switch. 1. Unbalanced (RCA) Input Audiophile quality gold plated machined RCA input connector (accepts a line level unbalanced input). -
Page 15: Quick Start
Turn on the AC Power switch and turn up the volume a bit! • Enjoy! While you’re enjoying your XPA Gen3, it would be a great time to read the rest of the manual to learn more about it. Page 11... -
Page 16: Connections
DO NOT connect a digital signal to the inputs of your XPA Gen3 (or you may damage it or your speakers). -
Page 17: Configuration And Operation
When a trigger cable is connected to the Trigger Input (on the rear panel), and a trigger signal is received (between 5-20 V - AC or DC), the XPA Gen3 will switch from Standby to On; when the trigger signal ceases, the XPA Gen3 will return to Off. -
Page 18: Care And Maintenance
If necessary, the XPA Gen3 should be cleaned gently with a soft rag. • If something sticky gets on the front panel or case of the XPA Gen3, it should be cleaned with a mild cleaning solution applied to a soft rag, followed by wiping with a clean rag dampened with plain water and drying with a soft dry rag or cloth. -
Page 19: Specifications
The front panel display and protection system are designed to work with the maximum number of channels, and so need not be updated when the XPA Gen3 is expanded; on the rear panel, slots not occupied by amplifier modules will be covered with protective cover panels. -
Page 20: Circuit Topology
250 watts RMS per channel XPA Gen3 (six channel): 225 watts RMS per channel XPA Gen3 (seven channel): 200 watts RMS per channel Power Bandwidth (at rated power; 8 Ohm load) 20 Hz to 20 kHz (+ / - 0.1 dB). -
Page 21: Speaker Output Connections
XPA Gen3 Minimum Recommended Load Impedance 4 Ohms; which equals one 4 Ohm load or two paralleled 8 Ohm loads. Damping Factor (8 Ohm load) > 500. Speaker Output Connections Audiophile grade, gold plated, 5-way binding posts. Power Supply High efficiency, audiophile grade, Switch Mode Power Supply (SMPS). -
Page 22: Front Panel Controls And Indicators
Circuit Breaker; press button to reset circuit breaker. Protection The XPA Gen3 is protected against excessive operating temperature, shorted speaker connections, ground faults, and other common fault conditions. Dimensions: 17” wide x 8” high x 19” deep (unboxed; including feet). -
Page 23: Troubleshooting
Problem: The halo around the Standby button is lit amber and your XPA Gen3 fails to come on when triggered. Reason: Your XPA Gen3 is in Standby mode and should respond to a valid trigger signal. • Check your trigger cable. -
Page 24: Emotiva Audio Corporation Five-Year Limited Warranty
The original owner must make a claim within the Term of the Warranty. A claim shall not be valid (and Emotiva has no obligation related to the claim) if it is not made within the Term and if it is not made in strict compliance with the requirements of the “How do you get service?”... - Page 25 365 days of the Term, Warrantor shall refund to you the purchase price that you paid for the Product; and (ii) if the claim was submitted after the first 365 days of the Term, Emotiva shall issue you a credit equal to the purchase price that you paid for the product. The credit may only be used for the purchase of merchandise from Emotiva, and cannot be used for freight charges.
- Page 26 What if my product is damaged on the way to you? Emotiva is not liable for damages that may incur while an item is in transport to us. Please purchase insurance when you ship your item. If your Product was not adequately packaged, we will refuse receipt and the damaged package will be returned to you at your cost.
-
Page 27: Accessories
Using high-quality speaker cables and audio interconnects will ensure that you get the best sound quality and maximum reliability from your XPA Gen3 amplifier and the speakers connected to it. Emotiva Audio offers high-quality speaker cables and audio interconnects that feature solid engineering, premium build quality, excellent performance, and reasonable cost.
Need help?
Do you have a question about the XPA GEN3 and is the answer not in the manual?
Questions and answers