Advertisement
Advertisement

Related Manuals for Fitness Quest EXCEL 286


Summary of Contents for Fitness Quest EXCEL 286
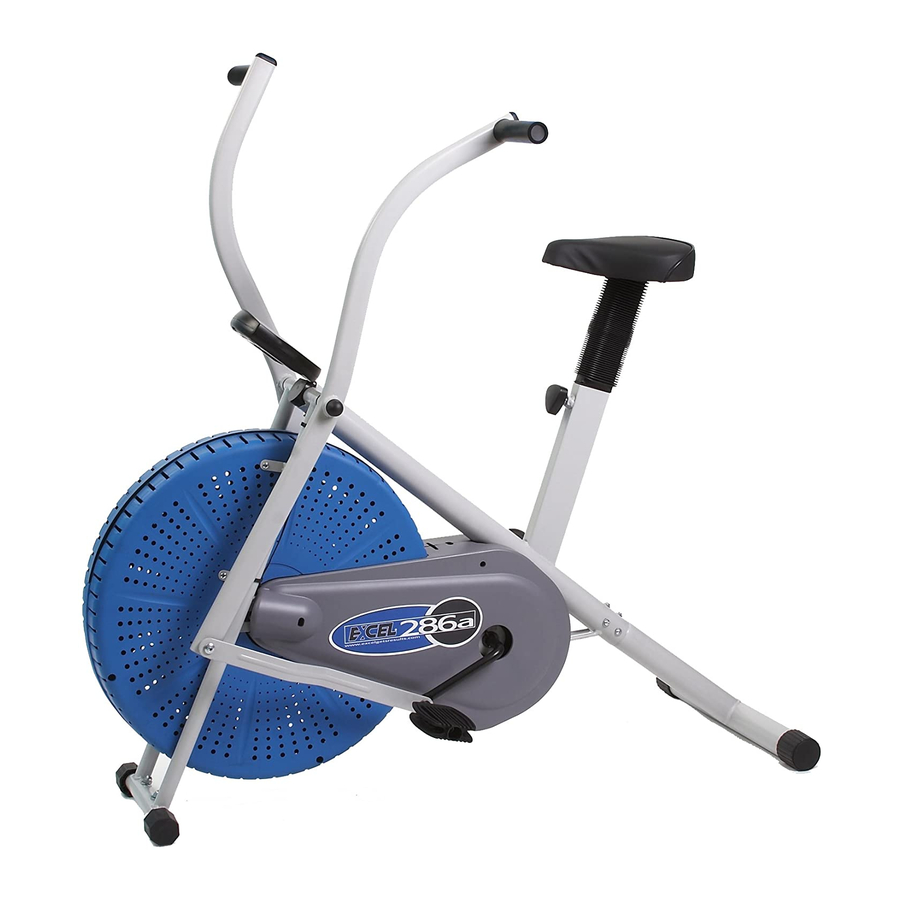
- Page 1 ® Model 286 Dual Action Upright Fan Bike RtnessO_to...
-
Page 2: Table Of Contents
Be sure to read through this Owner's Manual carefully. It is the authoritative source of information about your Excel 286 Bike. Retain this manual for future reference. ' 21 Table of Contents: Important Safety Instructions ...... -
Page 3: Important Safety Instructions
IMPORTANT SAFETY INSTRUCTIONS Reid all instructions before using this machine, CAUTION: Exercise of a strenuous nature, as is customarily done on this equipment, should not be undertaken without first consulting a physician. No specific health claims are made or implied as they relate to the equipment. 1. -
Page 4: Comments Or Questions And Parts Identification
Please write or call our Customer Service Specialists at the address or phone number listed below, or contact us on our web site, with any comments or questions you may have. Excel 286 Bike Customer Service Department 1400 Raft Road SW, Canton, OH 44750-0001... -
Page 5: Assembly Instructions
NOTE: Occasionally our products contain components that are pre-lubricated at the factory. We recommend that you protect flooring, or anything else the parts may contact, with newspaper or cloth, ASSEMBLY - Foot Tubes IMPORTANT PLEASE READ ALL INSTRUCTIONS CAREFULLY BEFORE ASSEMBLING. FIGURE 1 Step 1. - Page 6 ASSEMBLY - Seat FIGURE 3 Step 3, Attach SEAT (10) to SEAT POST (13) using (3) LOCK NUTS M8 (11) and (3) 8mm WASHERS (12). Step 4. Slide BELLOWS (14) on to SEAT POST (13). Step 5. Remove SEAT ADJUSTMENT KNOB.
- Page 7 ASSEMBLY - Pedals FIGURE 4 Step 7. (At this point you will need two 13mm wrenches. One is included in package). Attach handlebar assemblies (marked R/L) to FRAME (3) with AXLE (20), two large FLAT WASHERS (21), two LOCK NUTS M8 (30) and two PLASTIC CAPS (23).
- Page 8 ASSEMBLY- Monitor FIGURE 5 Step 9. Attach REED SWITCH WIRE (33) to MONITOR (32) and attach to FRAME (3) using two MACHINE SCREWS M5 x 15ram (31). Install two "AA" Batteries (included) into back of MONITOR (22) IMPORTANT Your monitor includes low grade batleries that will operate the computer for display purposes...
-
Page 9: Troubleshooting Guide
TROUBLESHOOTING GUIDE Problem Cause Correction No display on monitor Batteries weak or dead Replace batteries Reed switch wire not Securely plug reed switch connected to monitor. wire into back of monitor. No speeding distance displays on monitor. Reed switch not working Replace Reed Switch. - Page 10 HOW TO BEGIN WARNING: Prior to undertaking any exercise, or program of exercise that requires a major increase in physical activity, consultation with a competent medical authority is strongly recommended. In addition, anyone who has a physical handicap, who suffers from a prolonged illness, or who has increased risk factors such as obe- sity, hypertension, cardiocirculatory problems, etc., should consult a competent medical authority before undertaking any exercise, or engaging in a continuing program of exercise.
-
Page 11: Exercise Program
PLANNING AN EXERCISE PROGRAM When and how much exercise to do, Probably the most important part of exercising, especially if exercise is new for you, is commitment, commitment, commitmentl Maintaining a physically fit body does not require hours and hours of your time. - Page 12 HEART RATE TARGET ZONE FOR CARDIOVASCULAR FITNESS TABLE 1 leart Rate (Beats/Min) Maximum "-. Attainable ..Heart Rate "_''-4._ Target Zone Target Zone AGE (YRS) TABLE Exercise Warm Up THR% Cool Down Total Sessions Total Time Week Period Minutes Period Time Per Wk.
- Page 13 WARMING UP The greatest improvements are achieved when muscles are warm. Stretches should be slow, steady, and held for 15 to 30 seconds, then gradually release back to the starting position. Stretch to a point where tension is felt, not pain. Never bounce or jerk while stretching. The most important feature of balanced fitness is to be consistent.
-
Page 14: Monitor Instructions
MONITOR INSTRUCTIONS USING YOUR MONITOR Your monitor is designed to provide five functions (Time, Speed, Distance, Calories and Scan.) SPEED can be displayed in either "Miles" or "KM" per hour. DISTANCE is displayed from 0.1 to 9999 miles or km. TIME is displayed in hours;... -
Page 15: Parts List
PARTS LIST ITEM QTY. PART NAME QTY. PART NAME ITEM Leveling Cap PlasticCap Rear Foot Tube Grip Frame Connecting Arm Machine Screw M6 x 10ram Pedal Front Foot Tube Metal Bushing1/2" Carriage BoltM8 x 35ram Spacer Flat BlackWasher 5/16 Crank Cap Nut M8 Lock Nut 1/2"... - Page 16 RtnessO_u t. Dedication to Quality Fitness Quest warrants this product to be free from all defects in material and workmanship when used according to the manufacturer's instructions. See Limited Warranty & Service for details. If you have any comments or questions contact our...
Need help?
Do you have a question about the EXCEL 286 and is the answer not in the manual?
Questions and answers
turn monitor off
The monitor on the Fitness Quest EXCEL 286 turns off automatically when you stop pedaling.
This answer is automatically generated
Is there a way to adjust the tension on the bike?
To adjust the chain tension on the Fitness Quest EXCEL 286 bike:
1. Remove the left and right chain guards at the center of the fan wheel.
2. Loosen the 3/8" nut on both sides of the bike.
3. Tighten the two 3/16" nuts at the eyebolts on both sides until the slack is removed from the chain.
4. Retighten the 3/8" nuts on both sides.
5. Reattach the left and right chain guards.
This answer is automatically generated
Bike makes some knocking noise when spinning pedals.
A knocking noise when spinning the pedals on a Fitness Quest EXCEL 286 bike could be caused by slack in the chain. To fix this, loosen the 3/8" nuts on both sides of the bike, then tighten the two 3/16" nuts at the eyebolts on both sides until the chain slack is removed. After adjusting, retighten the 3/8" nuts and reattach the chain guards.
This answer is automatically generated
Monitor shows ml for speed and distance. What does ML stand for?
ML does not appear as a label or display indicator for speed or distance on the Fitness Quest EXCEL 286 monitor. The monitor uses "K" for kilometers and "M" for miles.
This answer is automatically generated
What does ML mean on speed and distance
"ML" does not appear in the provided context. The display shows "K" for kilometers and "M" for miles. Therefore, "ML" is not defined in the manual.
This answer is automatically generated
Bike is squeaking, have lubricated pedals and other joints with no luck
Your Fitness Quest EXCEL 286 bike may still be squeaking despite lubricating the pedals and joints due to chain tension issues. The manual mentions adjusting the chain tension by loosening the 3/8" nuts on both sides, tightening the 3/16" nuts at the eyebolt until slack is removed, and then retightening the 3/8" nuts. Try checking and adjusting the chain tension to see if it resolves the squeaking noise.
This answer is automatically generated
Bike is squeaking
To fix a squeaking Fitness Quest EXCEL 286 bike, follow these steps:
1. Check for Loose Parts – Inspect bolts, nuts, and washers, especially around the seat, pedals, and handlebars. Tighten any loose components using the appropriate wrenches.
2. Lubricate Moving Parts – Apply lubricant to any joints, axles, and moving connections, particularly around the pedals and handlebar assemblies.
3. Inspect for Wear – Look for worn-out or damaged parts, such as bushings or washers, and replace them if necessary.
4. Ensure Proper Assembly – Verify that all components are installed correctly according to the assembly instructions.
5. Use on a Level Surface – Make sure the bike is placed on a stable, even surface to prevent unnecessary strain on the frame.
If the squeaking continues, check for defective parts and contact customer service for further assistance.
This answer is automatically generated
How much does a new monitor cost if I want to replace it?